The Ultimate Guide: Printing Stunning Christmas Cards with Ghost White Toner
When it comes to creating elegant and personalized Christmas cards, nothing beats the charm of a DIY project. With Ghost White Toner, you can take your designs to the next level, producing professional-grade cards right at home. This guide will walk you through the process of designing and printing your own high-quality Christmas cards with ease.
Why Choose Ghost White Toner for Your Christmas Cards?
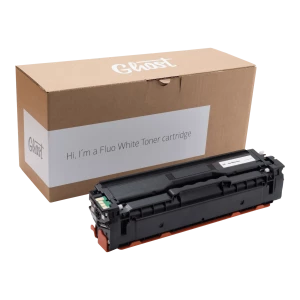
Ghost White Toner is a game-changer in DIY printing. It enables you to print opaque white designs on dark or colored paper, creating stunning effects that standard printers simply can’t achieve. Whether you’re crafting minimalist designs, intricate patterns, or adding a touch of elegance with metallic accents, Ghost White Toner ensures your cards stand out.

What You’ll Need
To get started with your DIY Christmas card project, gather the following materials:
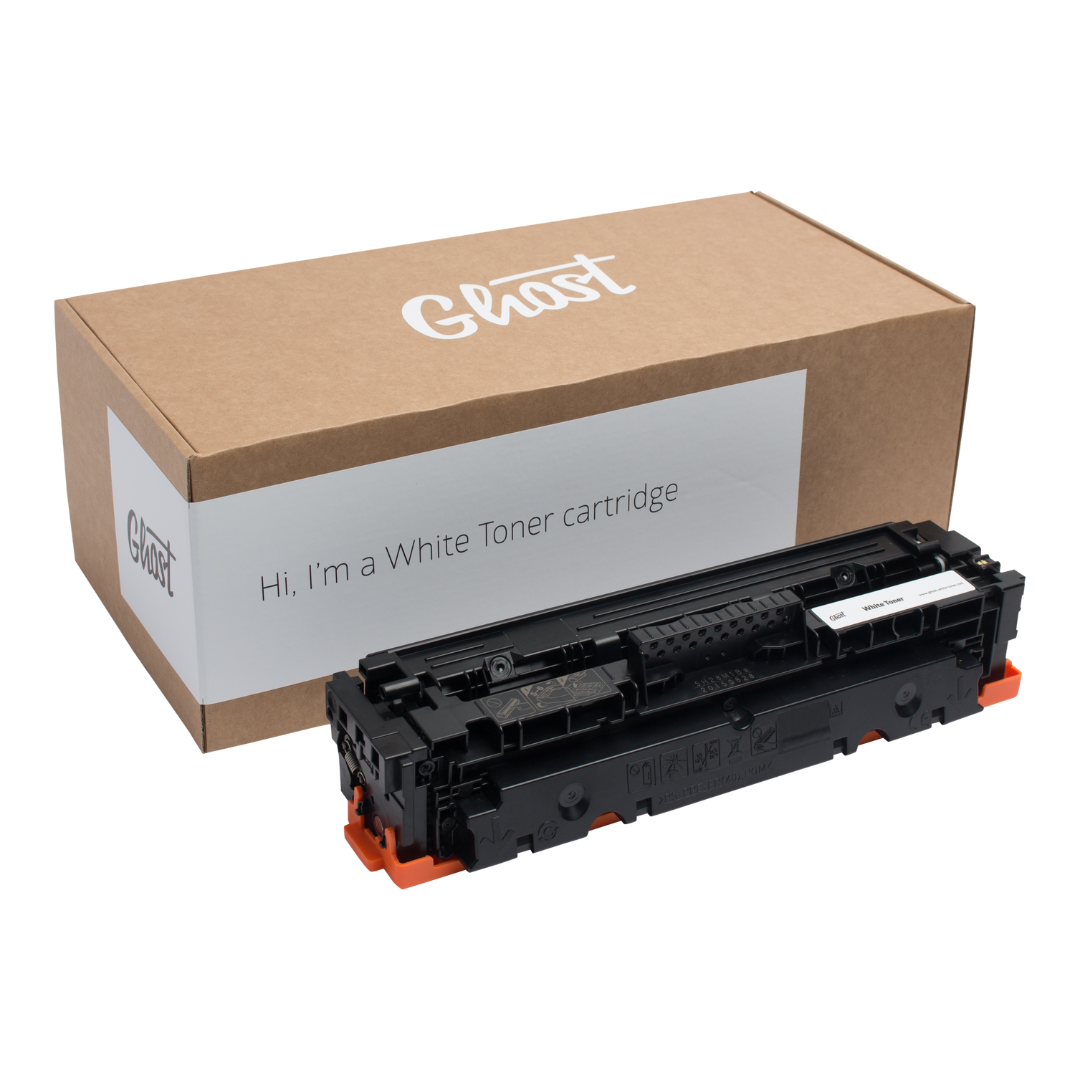
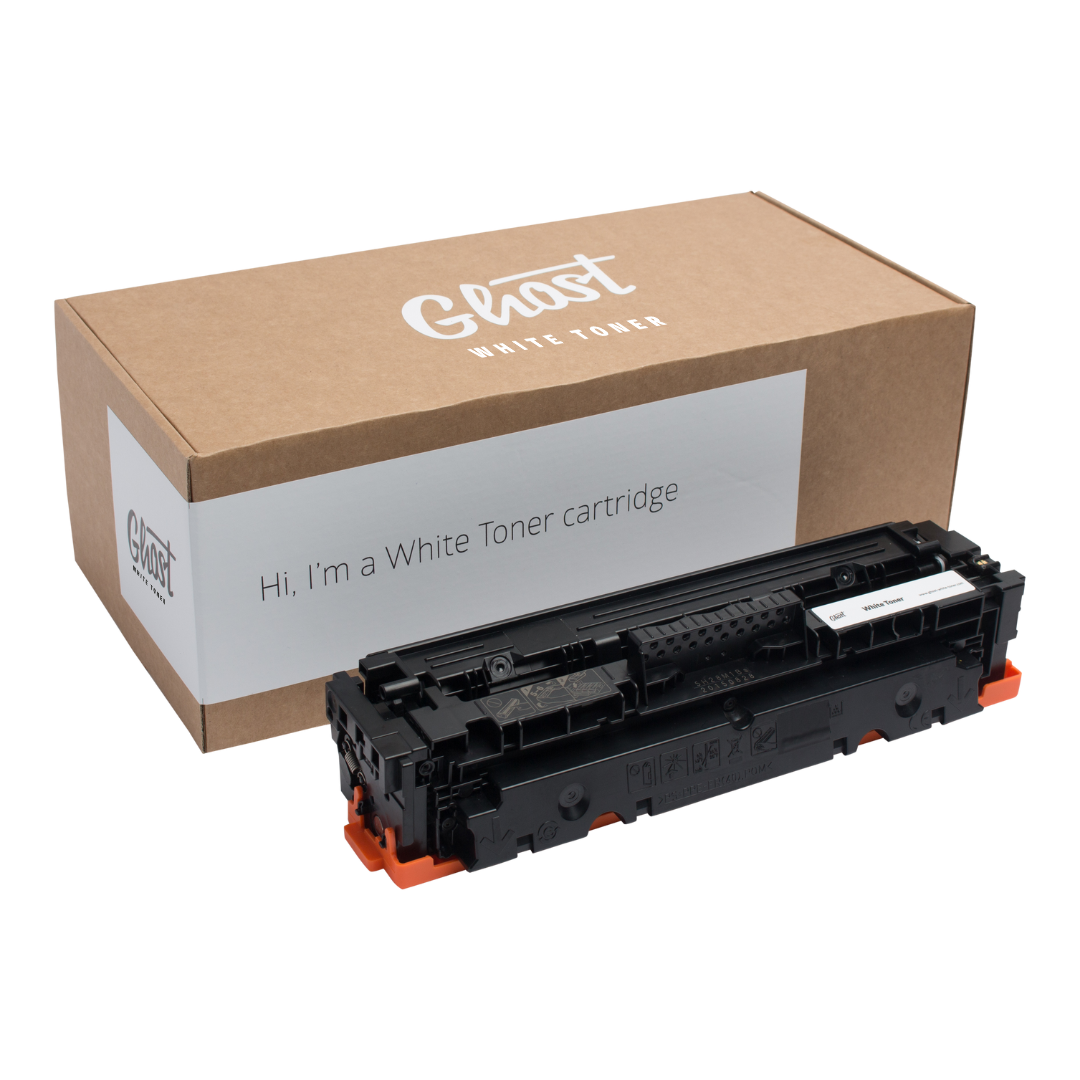
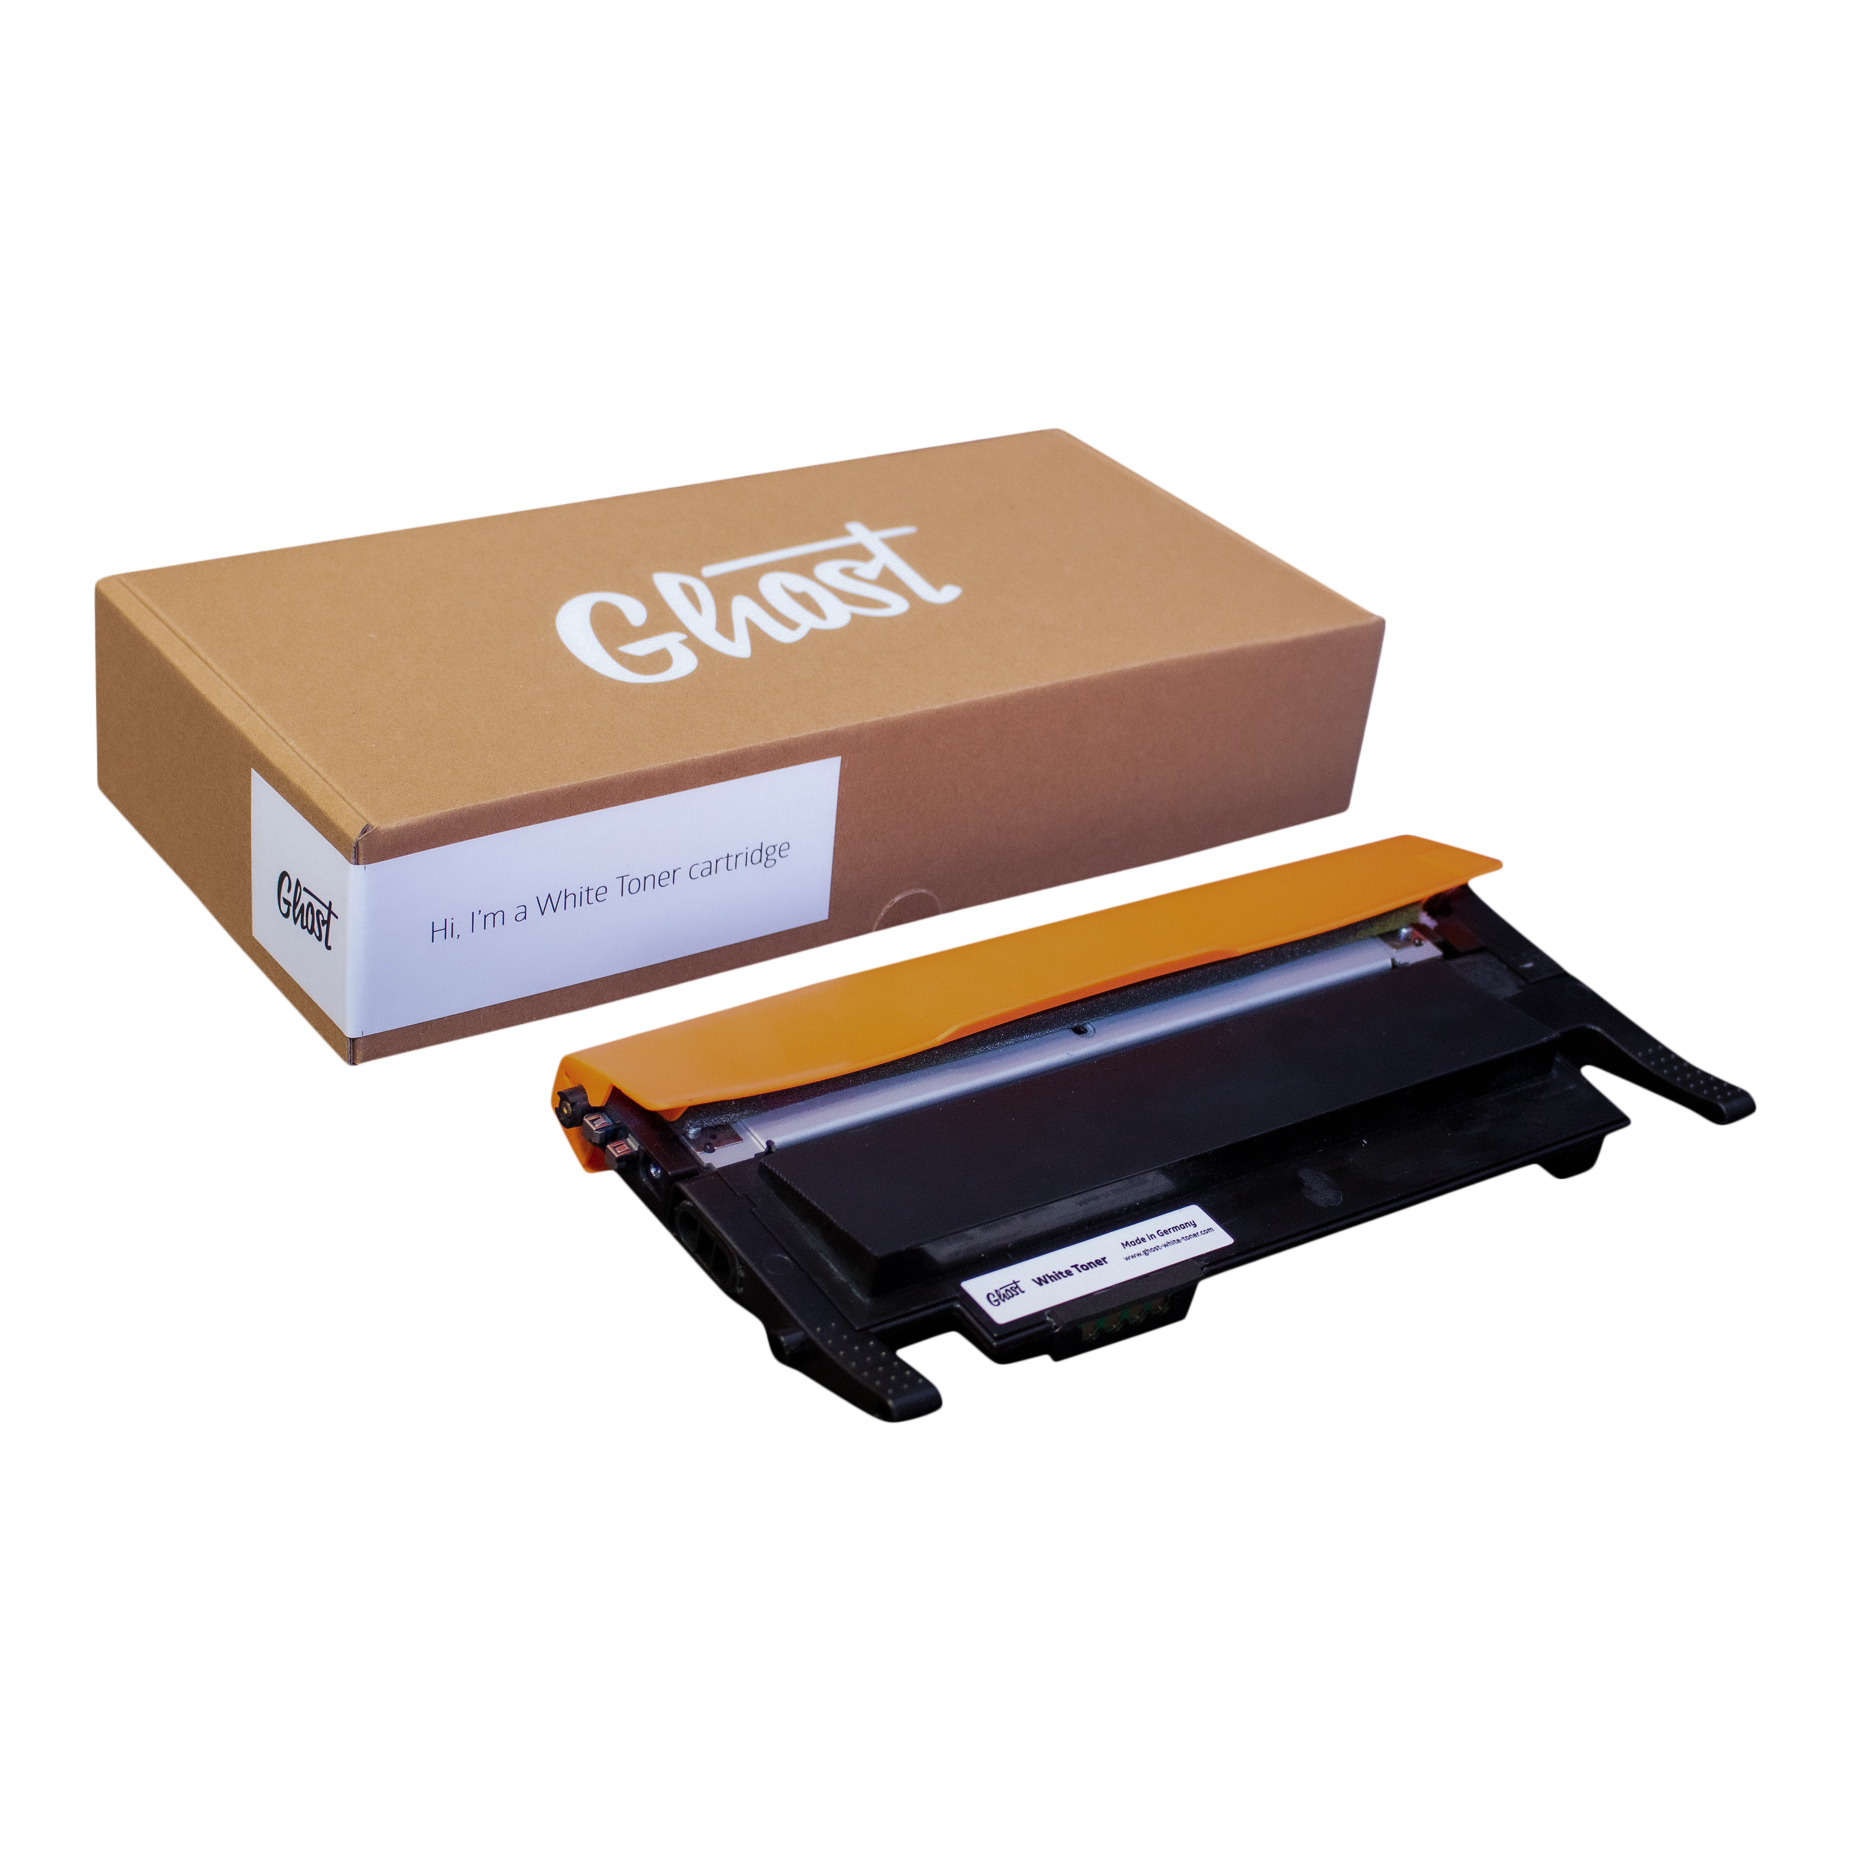
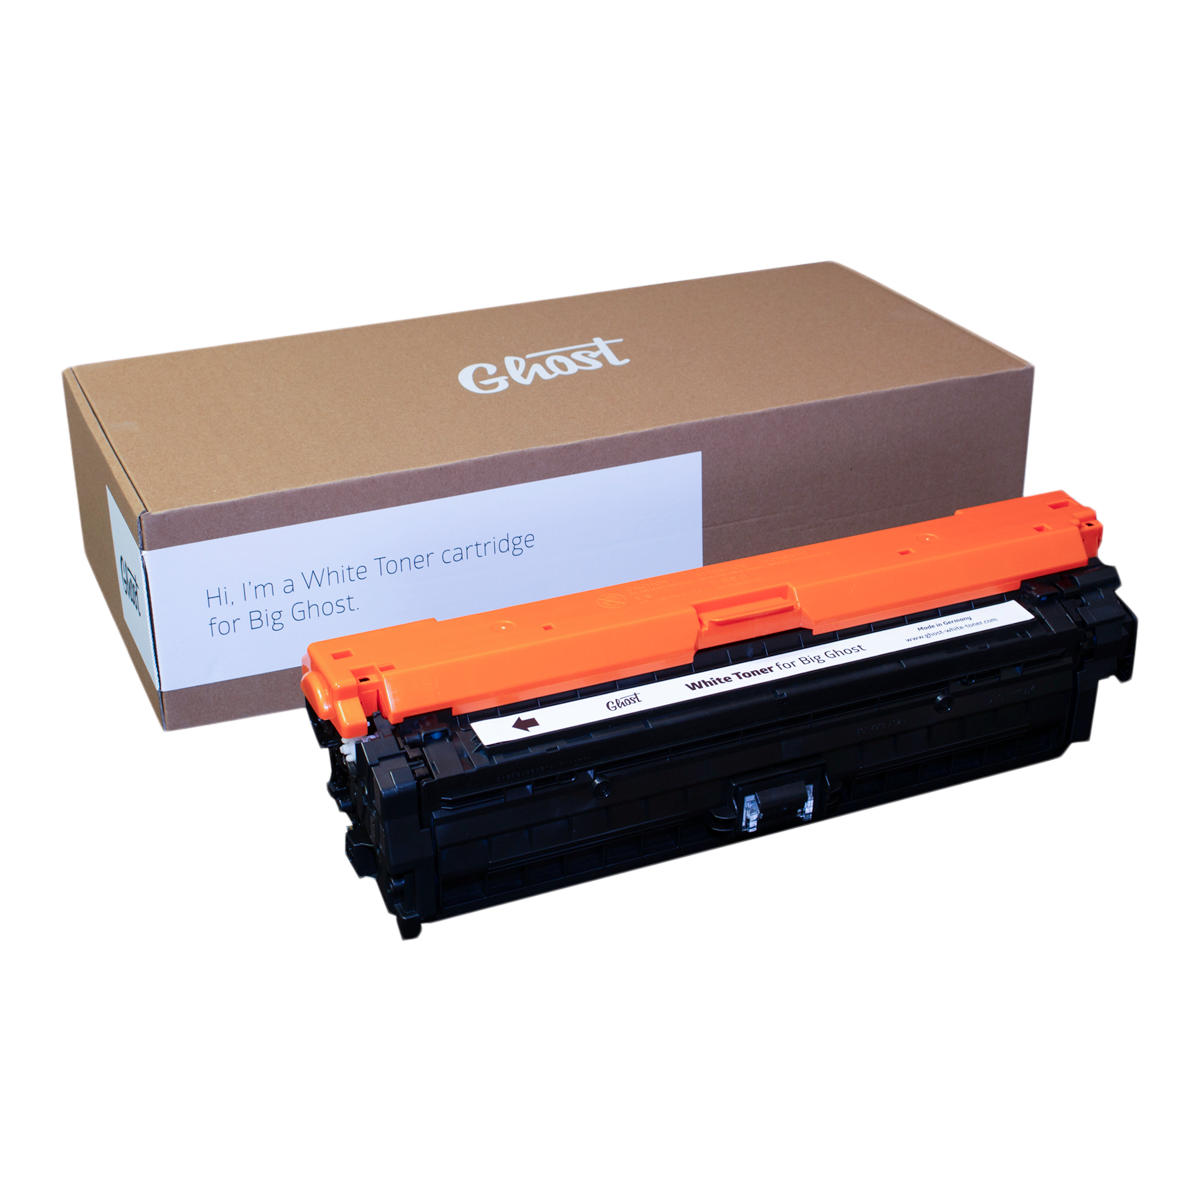
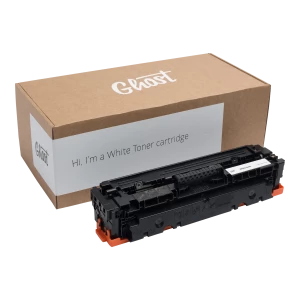
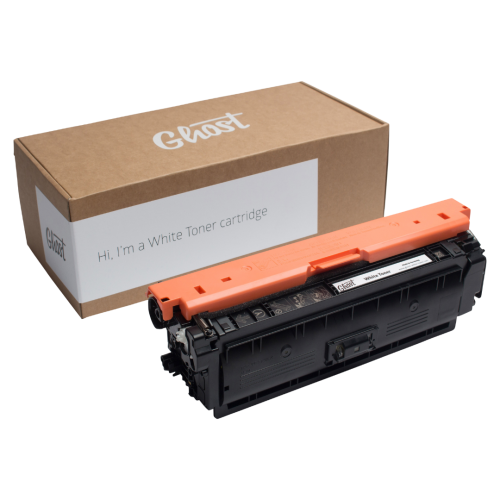
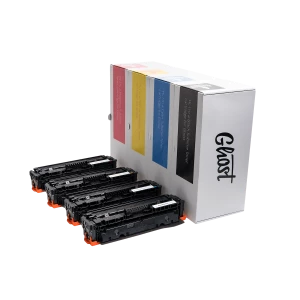
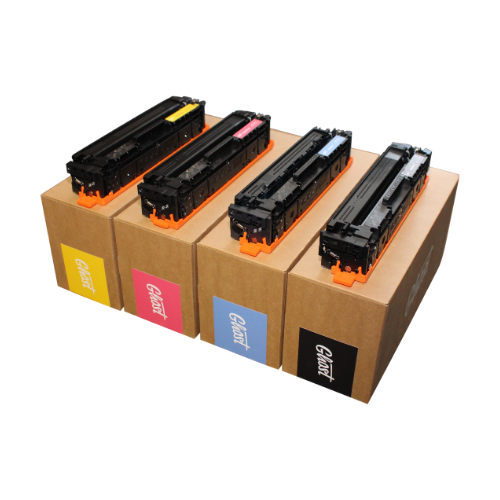
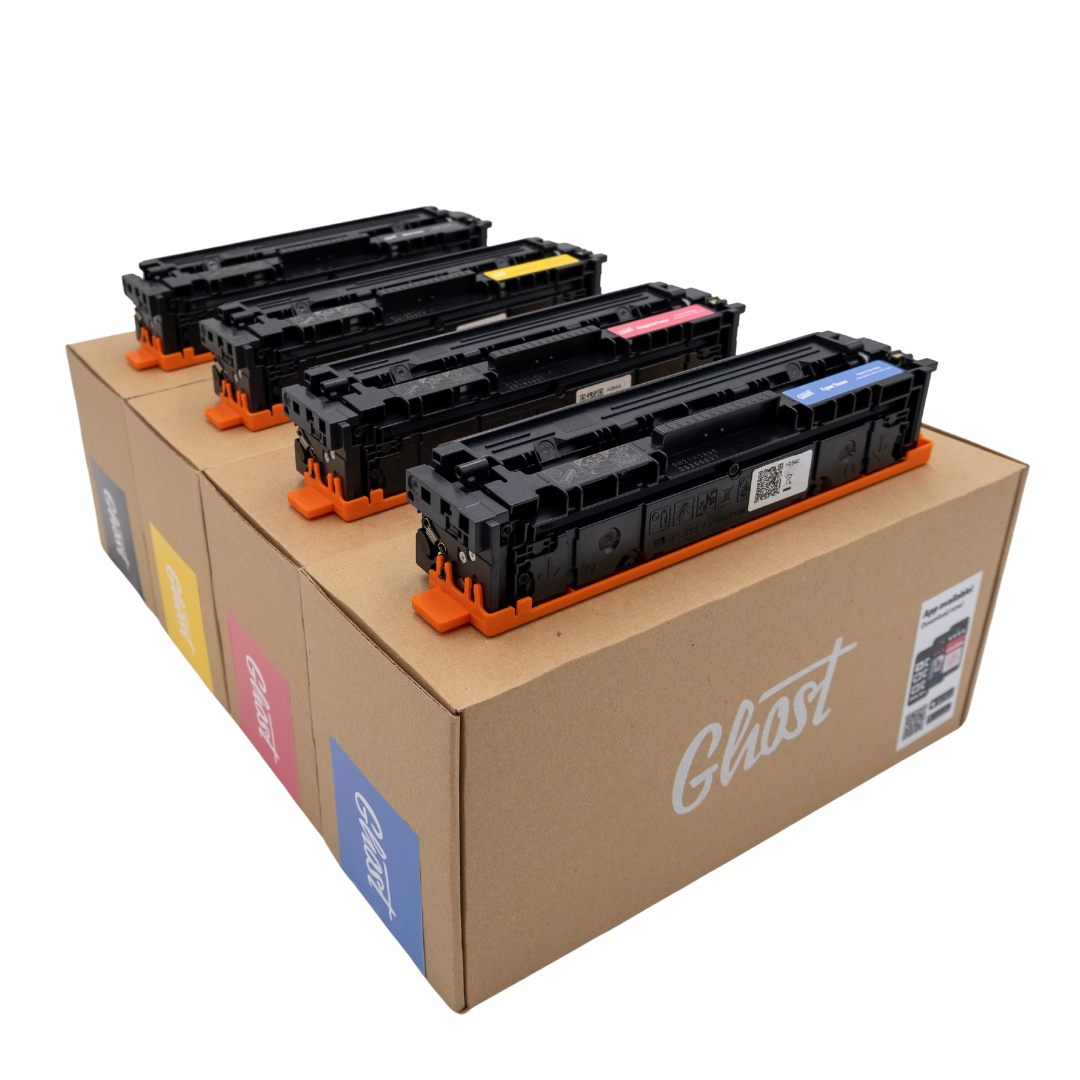
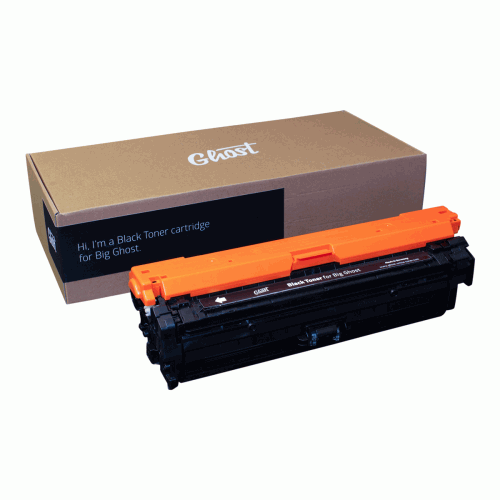
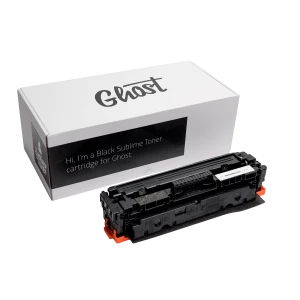
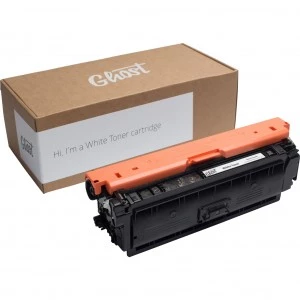
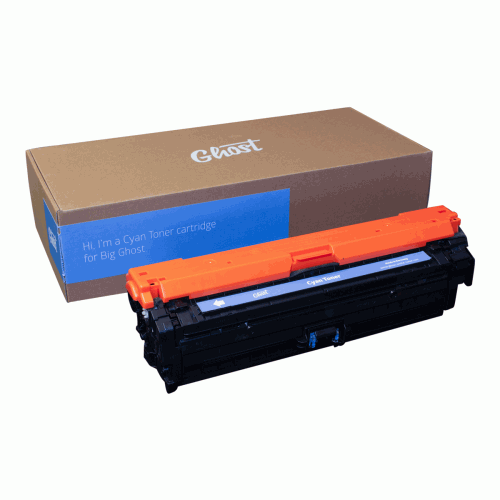
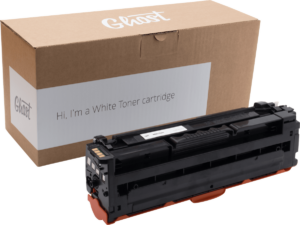
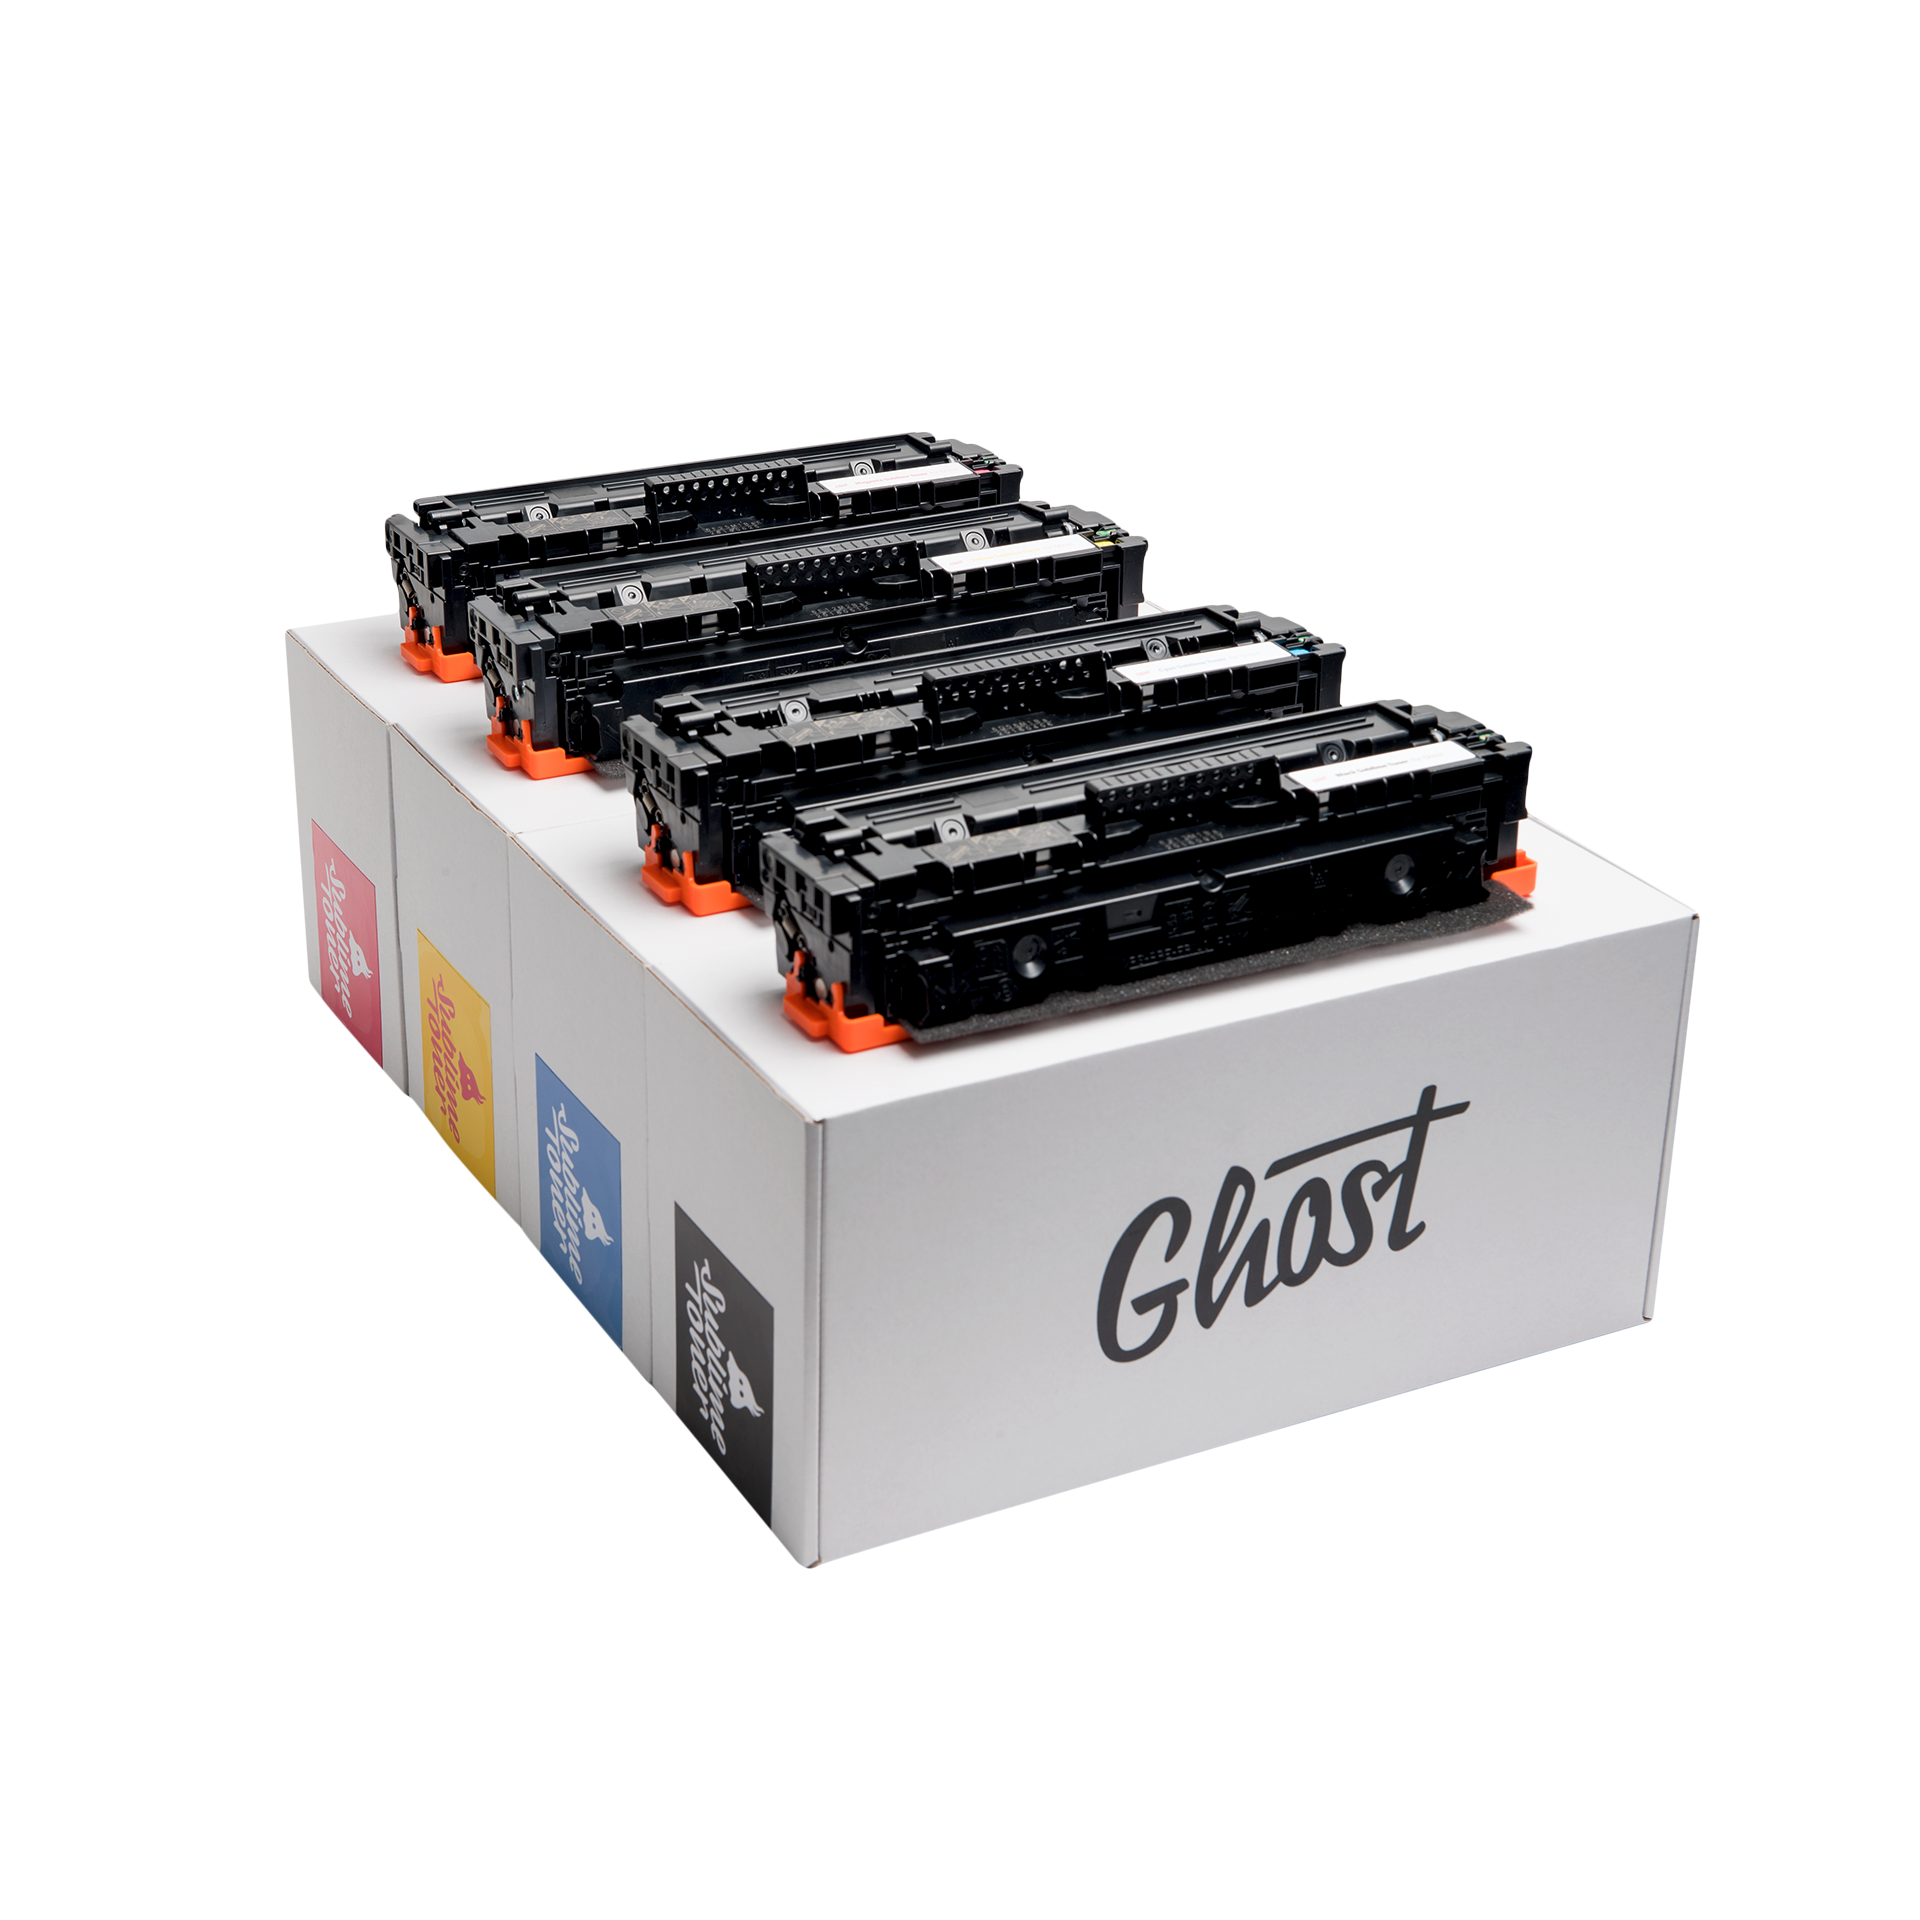
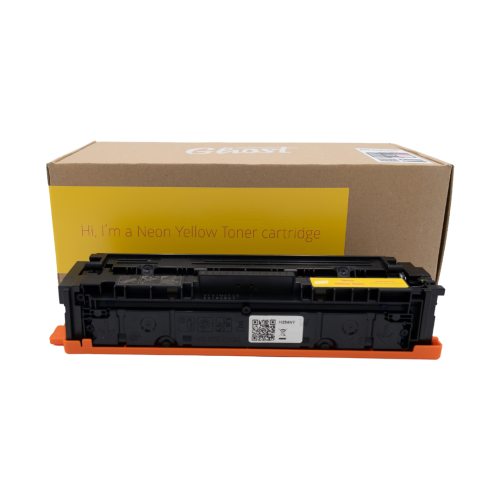
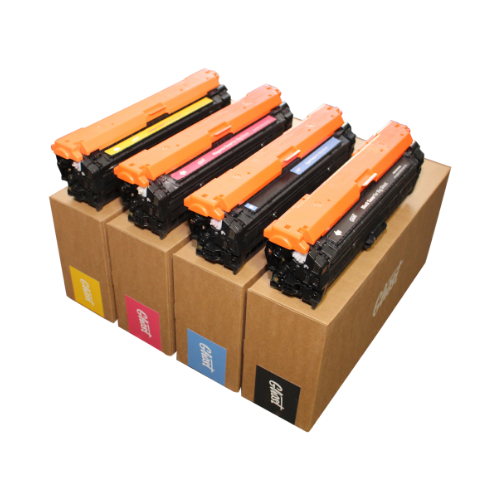
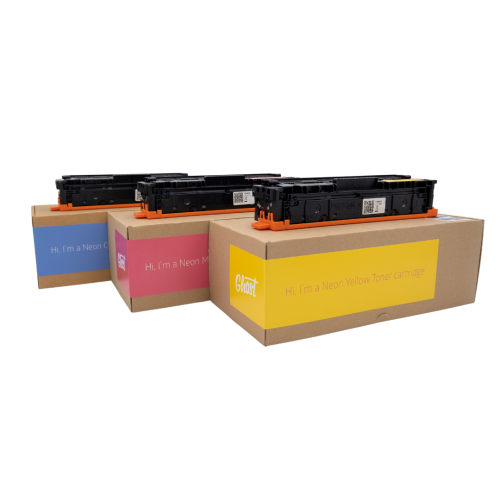
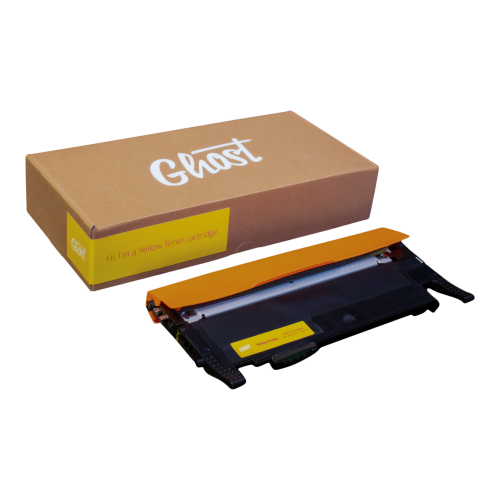
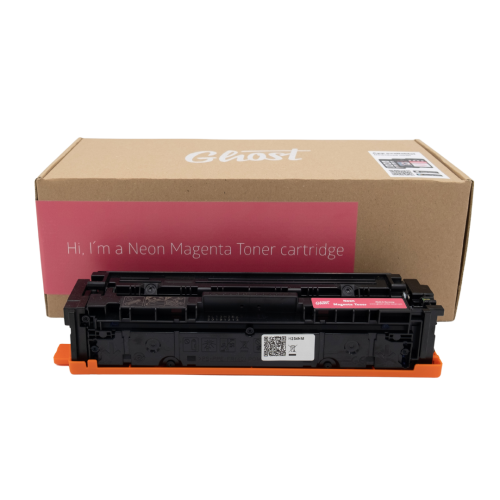
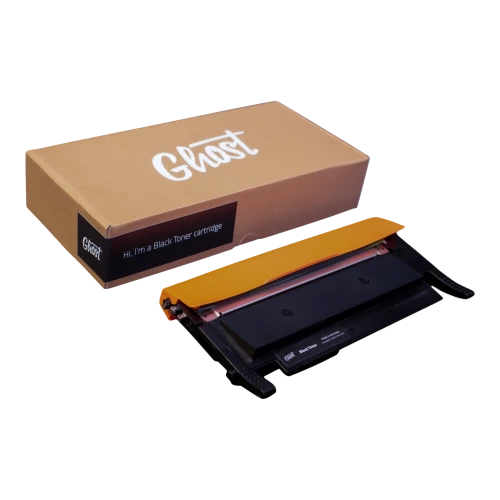
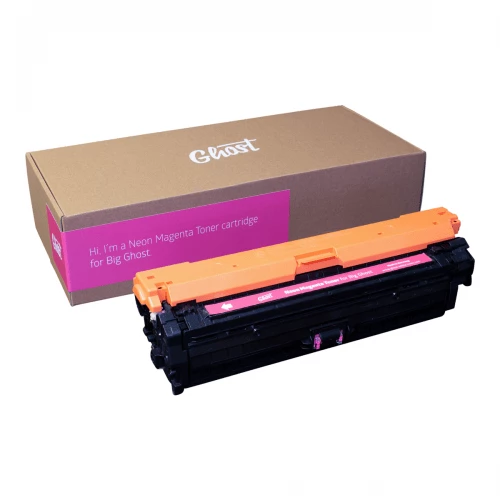
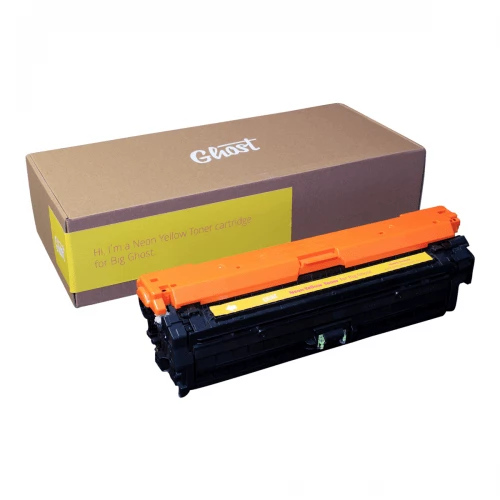
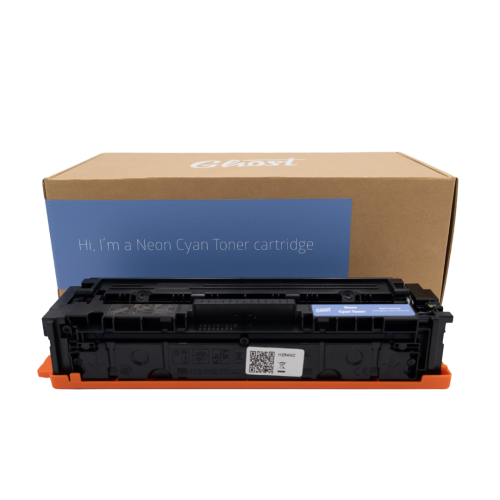
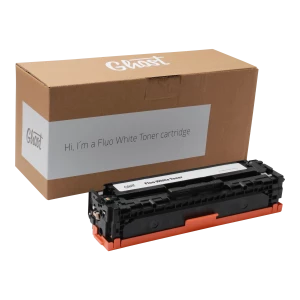
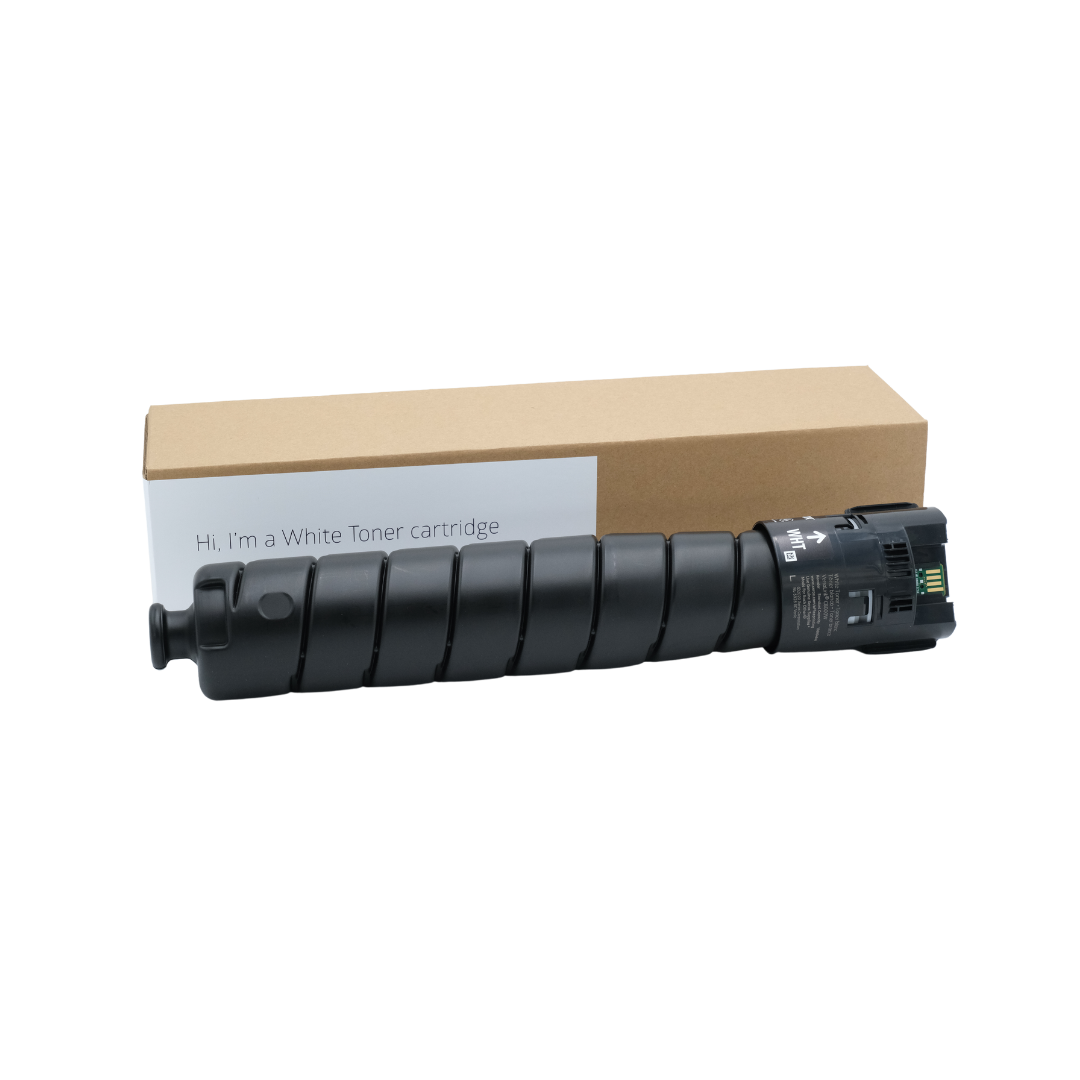
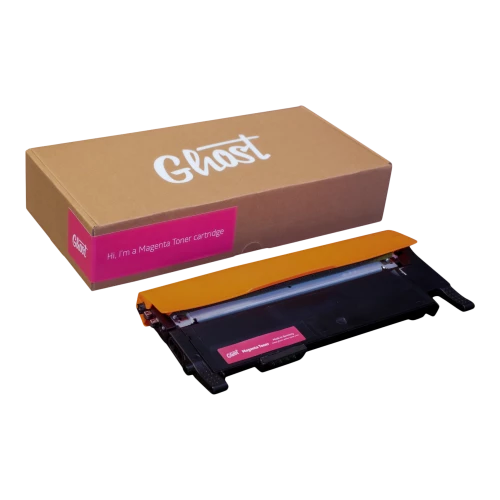
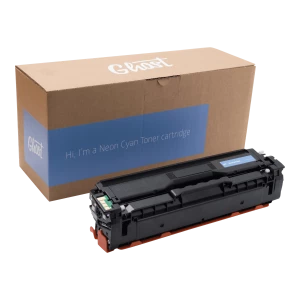
- A printer compatible with and a Ghost White Toner: Ghost Toner works with a range of laser printers, making it easy to switch your regular toner for Ghost White Toner.
- Cardstock or specialty paper: Choose paper that matches your vision—dark colors, kraft paper, or metallic finishes work exceptionally well with white toner. It is important to use papers that align with your printer’s technical capabilities, ensuring smooth feeding and optimal printing results.
- Design software: Use programs like Canva, Adobe Illustrator, or even Microsoft Word to create your card designs.
- Accessories: Scissors, embellishments, and envelopes to complete your cards.
Step-by-Step Guide to Printing Your Christmas Cards with Ghost White Toner
- Design Your Cards
Start by brainstorming your card theme. Classic snowflakes, holiday wreaths, or calligraphy-style text look particularly striking when printed with Ghost White Toner. Create your design digitally using your preferred software. - Prepare Your Printer
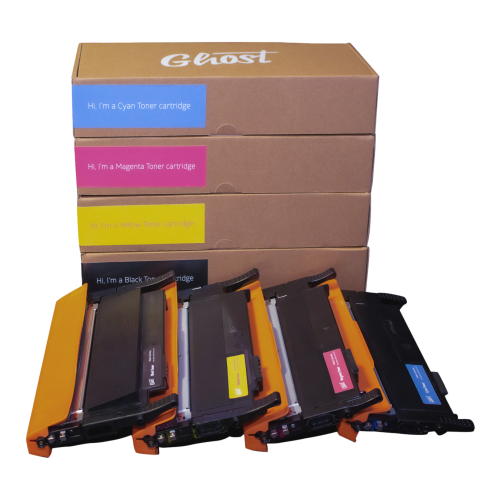
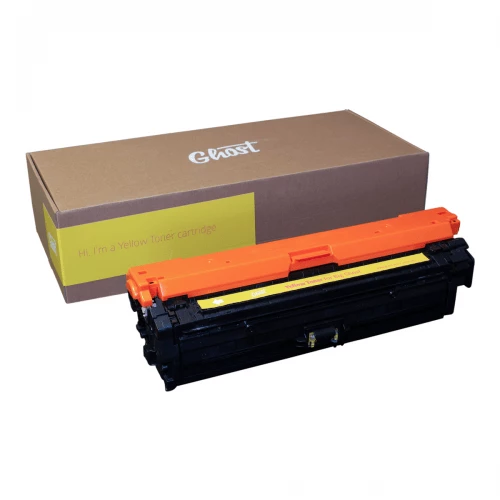
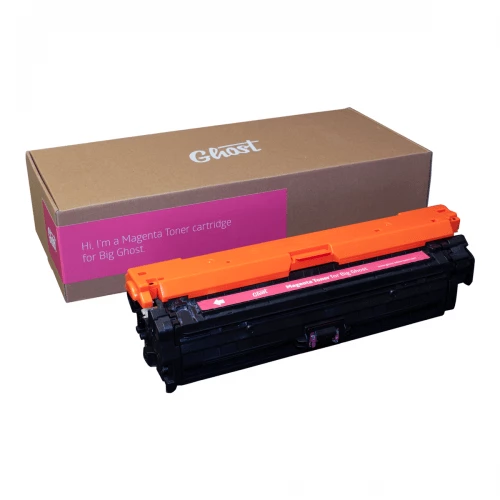
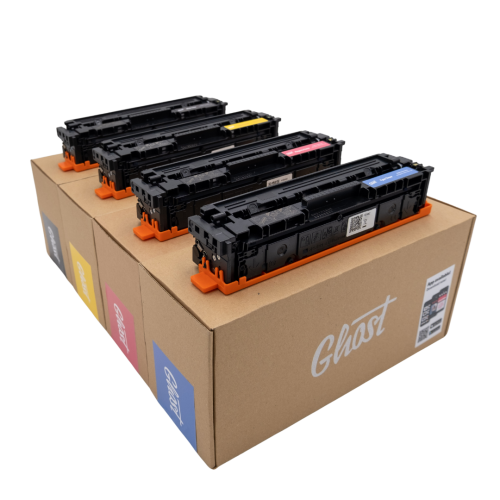
Install Ghost White Toner in place of your standard black toner cartridge. This quick switch transforms your regular laser printer into a machine capable of printing vibrant white on any surface. - Choose the Right Paper
Dark or colored paper creates the most dramatic effect with white toner. For a festive touch, consider using red, green, or metallic cardstock. - Print Your Designs
Load your chosen paper into the printer and adjust the settings for optimal results. Print a test card to ensure alignment and toner application are perfect. - Add Foil Accents (Optional)
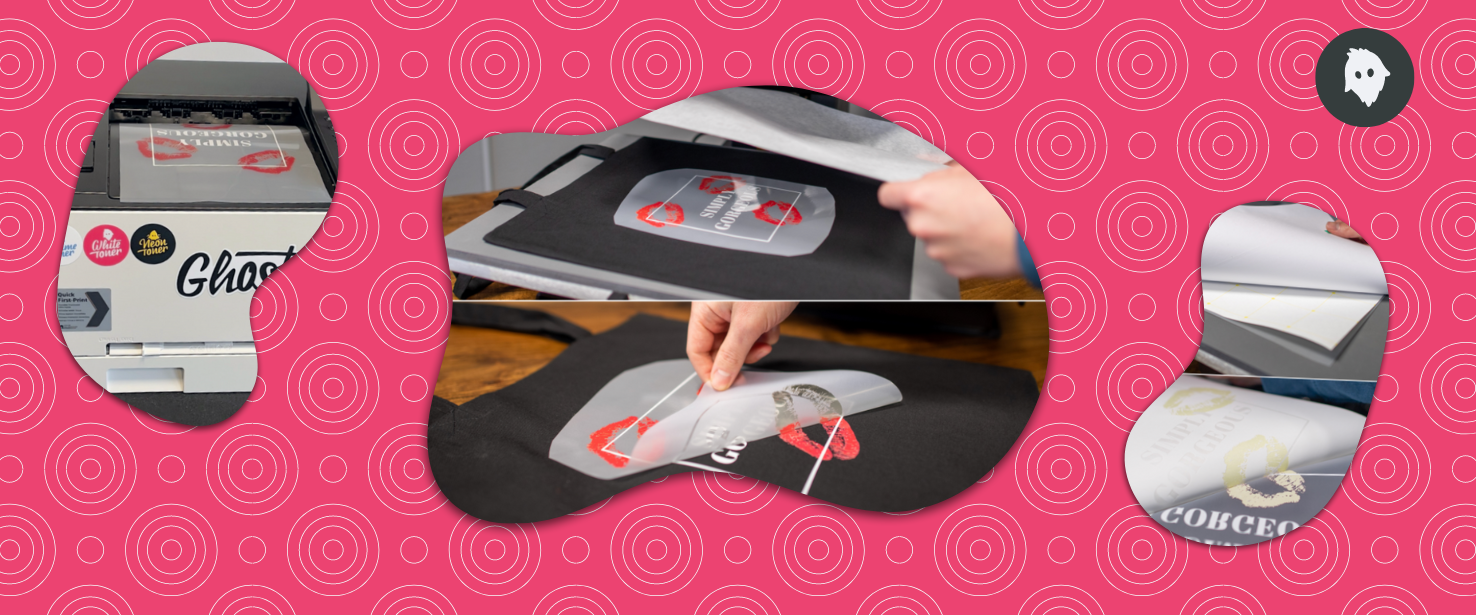
If you want to elevate your cards, use a heat press to apply Flex-Soft foils and create speciall effects. Lay the foil over your printed design, press it with heat, and peel it back to reveal a metallic finish. - Assemble and Decorate
Cut your cards to size, fold them, and add final touches like ribbons, stamps, or glitter.
Why DIY Christmas Cards with Ghost White Toner Are Worth It
Creating your own Christmas cards isn’t just about saving money—it’s a heartfelt way to connect with loved ones. With Ghost White Toner, your cards will look so professional that recipients will treasure them for years to come. Plus, you’ll enjoy the creative process and the satisfaction of crafting something truly unique.
Conclusion
This holiday season, impress your family and friends with custom Christmas cards printed using Ghost White Toner. With just a few materials and some creativity, you can produce stunning designs that rival professional printing services.
Ready to get started? Explore our range of Ghost White Toner products and compatible printers to unlock endless creative possibilities for your Christmas projects!

Find your Ghost White Toner
And start printing White!


