Toner Transfer Guide
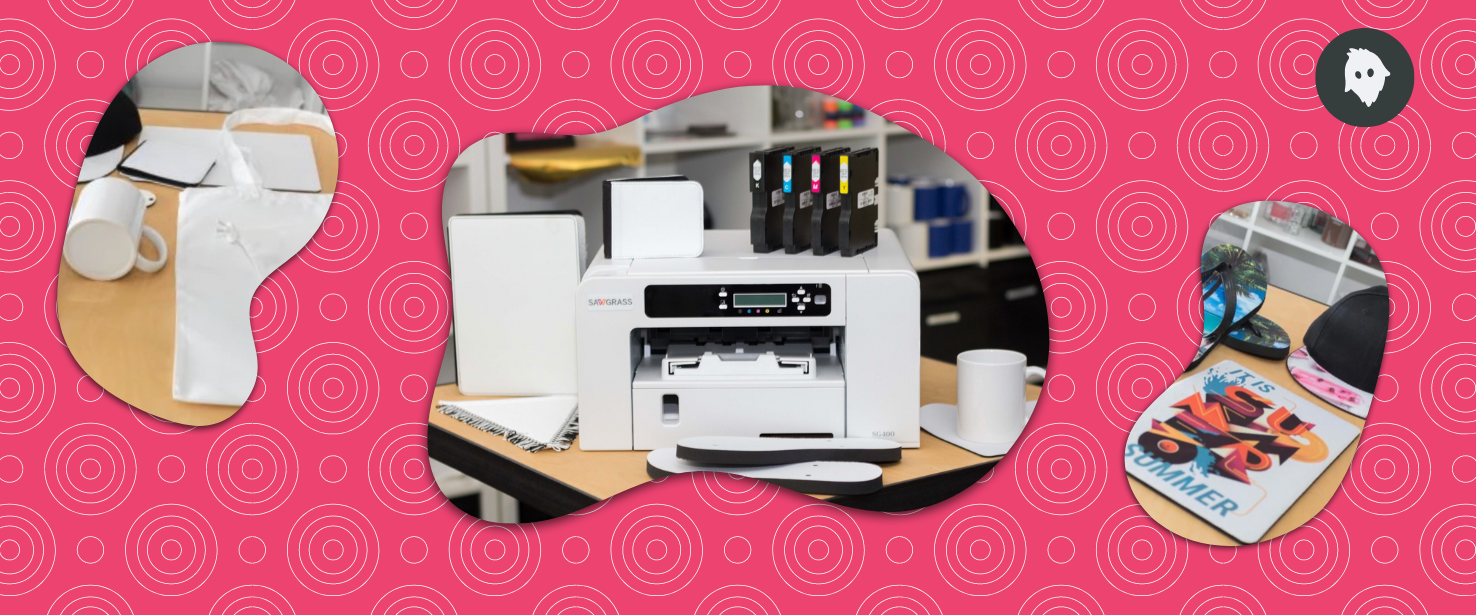
Create unique products with Toner Transfer. Print on materials like textiles, cotton, wood, metal, ceramics, glas and leather. Design your own products quick and easy. Small scale productions of mugs, bottles, textiles, t-shirts, or bags are affordable and great in quality.
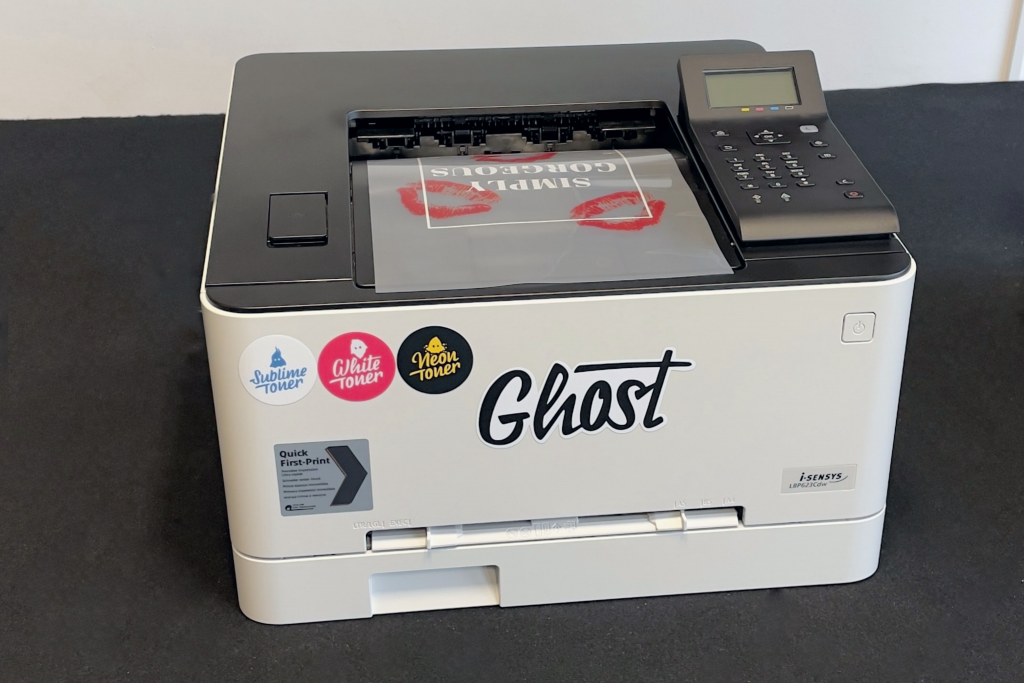
Print a mirror image of your design
Print a mirror image of your design on the A foil, on the side with the mat finish.
If you want to transfer a colored and white design, you have to print it in two steps. Firstly, insert the black toner cartridge and print all colored areas of your design.
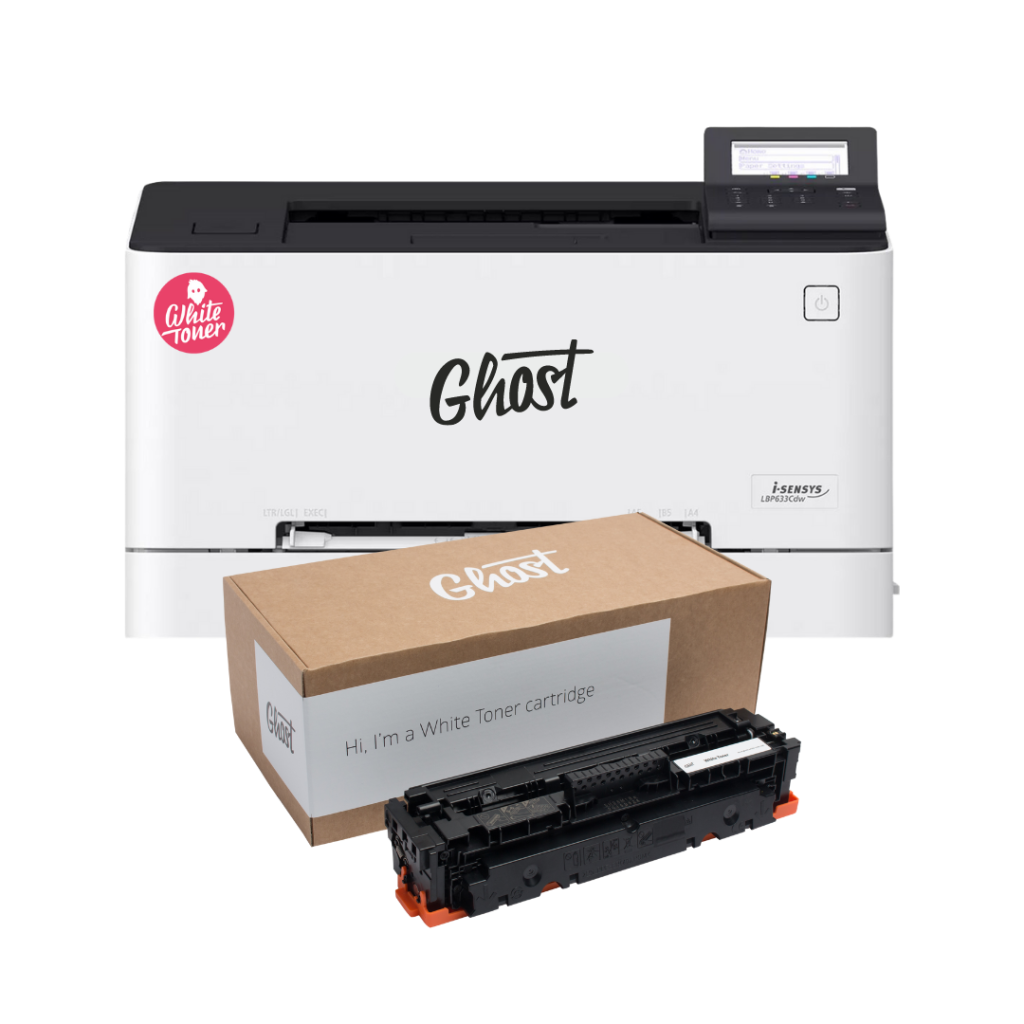
Secondly, insert the Ghost White Toner cartridge and print all white areas of your design.
Connect and separate A foil and B paper
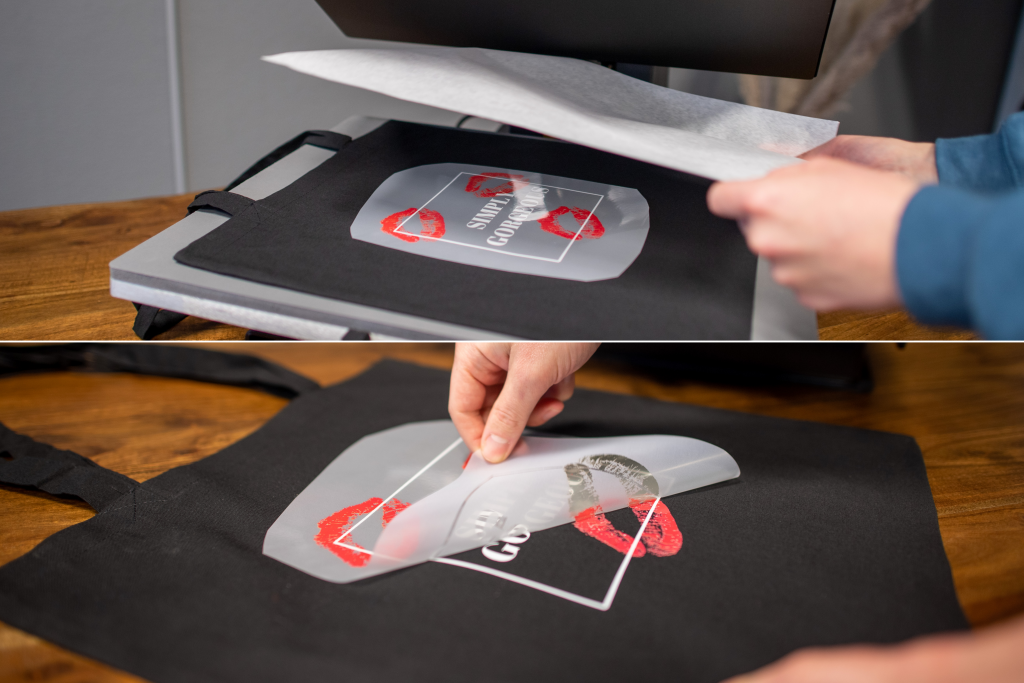
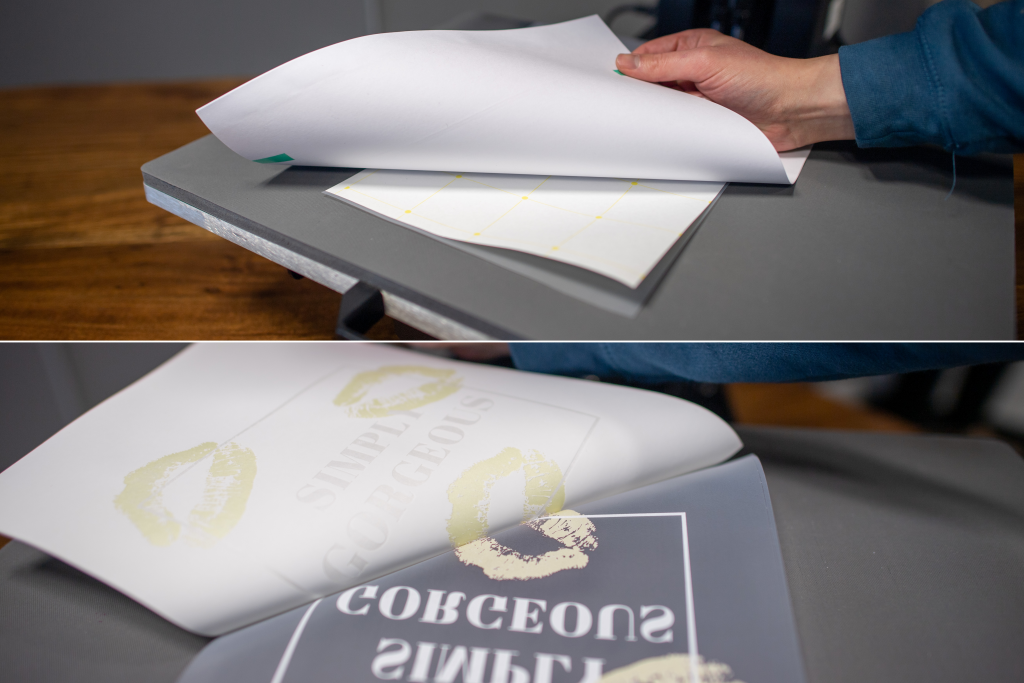
Having printed your design on the A foil, connect the A foil to the B paper using the heat transfer press. Preheat the press to approx. 160° C (320 ° F).
Place the A foil on the base plate of the press with the printed side facing upwards. Cover it with the B paper, coated side facing downwards. Place a protective paper on top of the B paper and initiate the pressing procedure. Press the A foil and the B paper together for approx. 2 minutes.
Separate the B paper from the A foil directly after the pressing procedure.
They must be separated without lifting them from the heated base plate to ensure a complete transfer of the adhesive.
Note that once the papers have cooled down too much they cannot be neatly separated from each other.

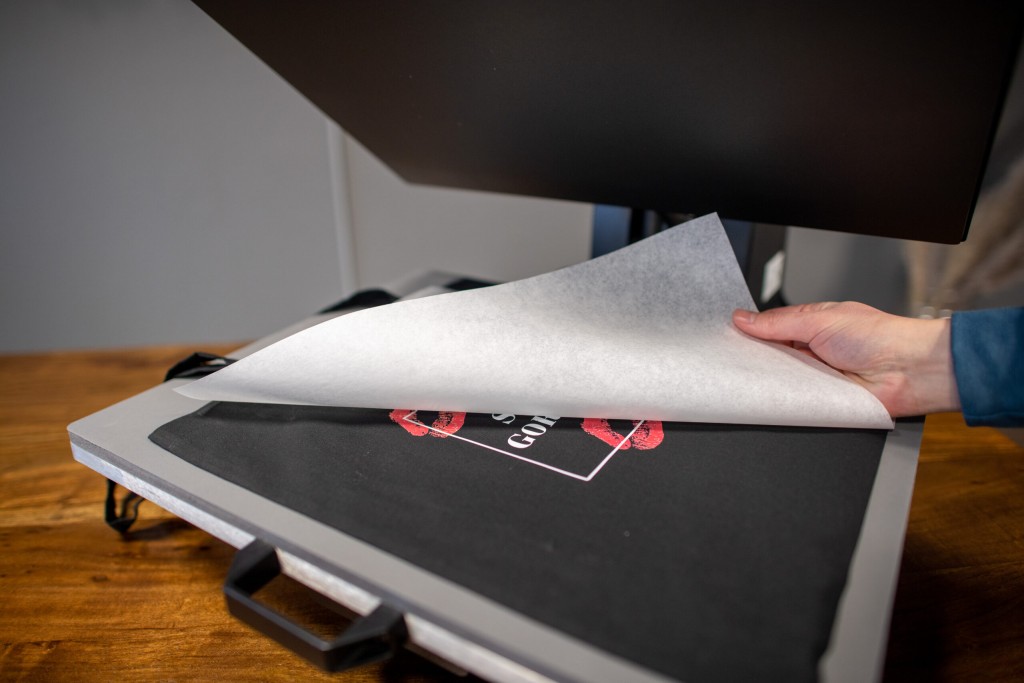
Transfer your design to fabrics and other materials
Place a piece of fabric or other material of your choice on the base plate.
Position the A foil with your design, print facing downwards, on the fabric and cover it with a protective paper.
Press it together at 160° C (320 ° F) for approx. 30 seconds.
Finishing and fixing of the toner
Let the fabric cool down completely before removing the A foil.
After removing the A foil, place the protective paper on the fabric and press it again for 15 seconds. Thus, you fix the print to the fabric, make it resistant to washing and give it a mat finish.
Checkliste
No-cut transfer method
Forget flex printing and cutting out foil. With toner transfer you only apply what you printed. That’s it.
Cost-effective production
Low purchase price and production costs compared to other techniques such as screen printing. Perfect also for professional small scale productions.
Quick and easy transfer
The toner transfer method is an easy technique that saves you time.
Applicable to all kinds of materials
Unlike conventional fabric printing, toner transfer enables you to transfer you prints not only to fabrics, but also to glass, metal, wood and more.
Vibrant colors
Achieve high-resolution prints in vibrant colors and a brilliant white. The results will always be opaque and razor sharp.
Washing-resistant prints
All prints are resistant to washing at 40° C (104 ° F). Delight your customers with durable products.
The advantages of Ghost White Toner printing

Insert Ghost White Toner and start printing
You don’t need any special software for Ghost. Just create your file in your usual design software and export it as a PDF. If you want to print on colored paper or a Transfer Foil, replace the black cartridge in your laser printer with the white one. It can be a Ghost printer, but also many other laser printer models are suitable for this. Now print everything that is black on the screen in white. If you want to print on other materials, the Toner Transfer is suitable. For this you need a Transfer Press and Transfer Foils. You print the motif mirror-inverted on the Transfer Foil. With pressure and heat, it is then transferred to materials such as T-shirts, cardboard, ceramics, glass, fabric or wood.
