Tutorial: How to prepare a file in Photoshop for White Toner underprinting
Learn how to prepare your files for white underprinting with Ghost. This makes it easier and more precise to create dark T-Shirts with colored prints.
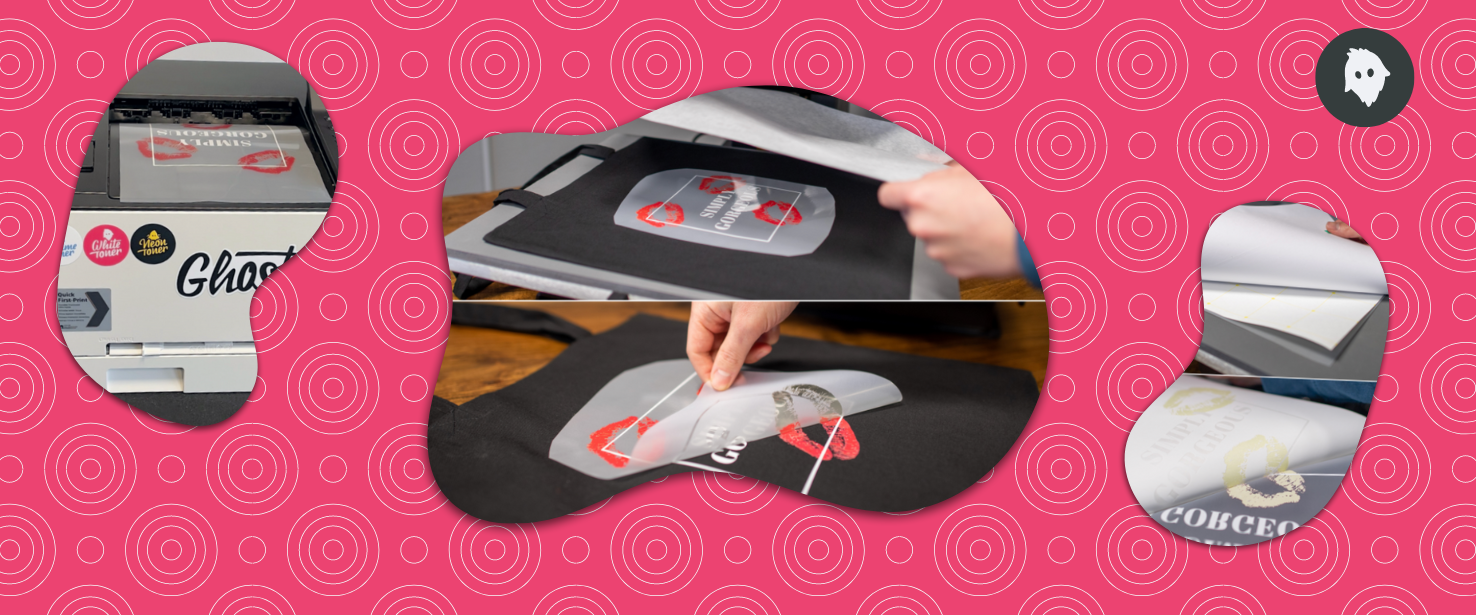
Some designs need full color, black and white to look great on a dark T-Shirt. Just like Tony in the picture (below). To get the best results when making such a transfer we recommend to print colors and blacks first with the CMYK-Toner installed.
After this you will run a second print on the same sheet with the White Toner inside your printer. For this print you need to create a black mask of your design and shrink it to align well with your first print.
Today tutorial is going to show you how to create such a mask in Adobe Photoshop CC.
As many of you requested we finally filmed a screencast tutorial on how to use Photoshop to create a white underlayer or baselayer in Photoshop. In this tutorial we will show you how you create a black mask of your desgin and shrink it appropriately so that you can use it as underprint for your T-Shirt Transfers. Follow along the steps and bring your CMYK + White designs onto T-Shirts. In a following video we will show you how the design is transferred to a dark T-Shirt. With Ghost White Toner in your HP Laserjet printer you can easily create T-Shirts, Textiles, Mugs and more with great CMYK + White designs. You need no special software. Just print your CMYK design on the Laser-Dark (no-cut) A-Foil Transfer Media. After this you can reinsert the paper and print a White background on the image. This way you can transfer even to dark substrates.
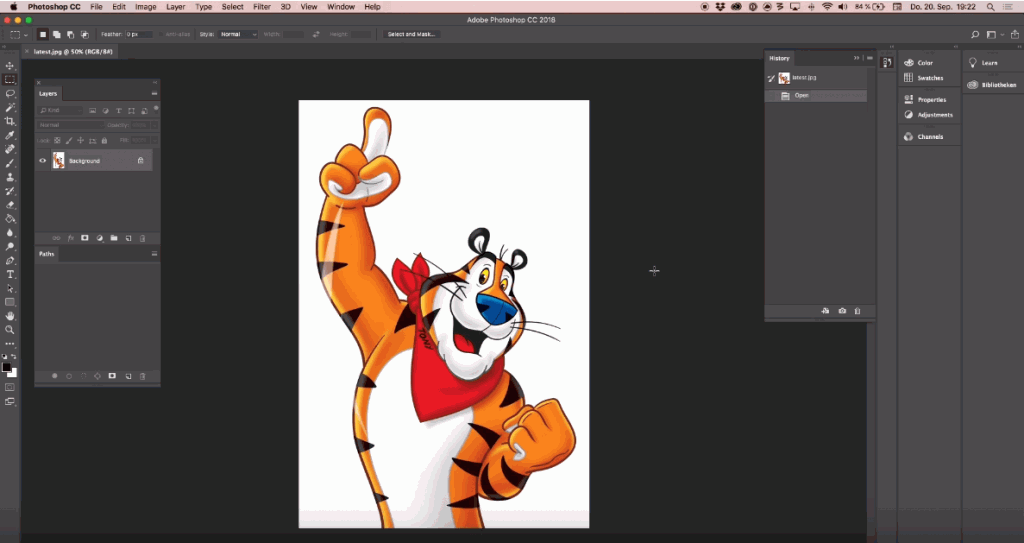
Open your file
Open your design in Photoshop. You can use any design or file formate compatible with Photoshop. Of course there are other editing programs available such as GIMP, Paint.com and more, which offer similar tools to achieve the same result.
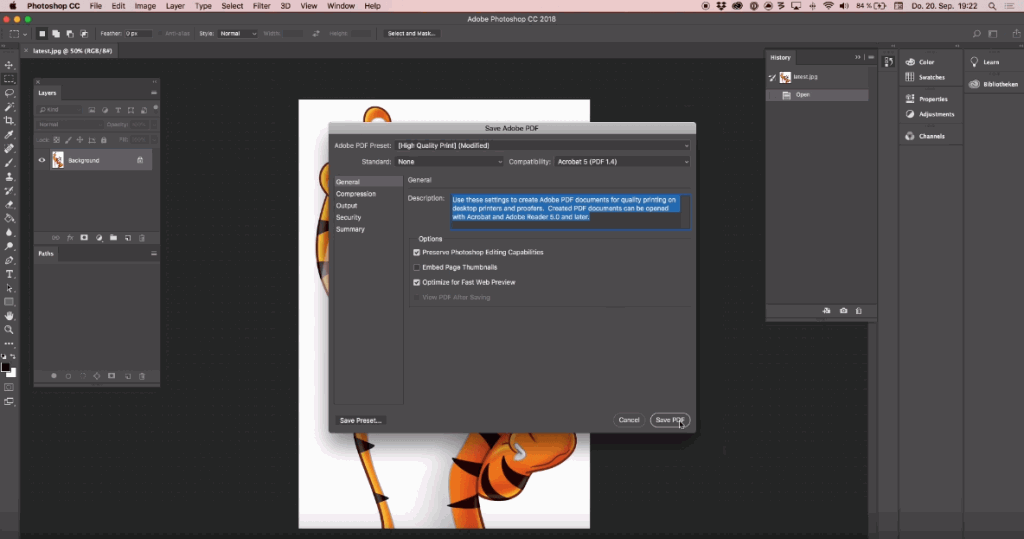
Go to File -> Save as… and choose “Photoshop PDF” to create a PDF File. Also save a working copy of your file before you start.
Save a working copy
Go to File -> Save as… and choose “Photoshop PDF” to create a PDF File. Also save a working copy of your file before you start. We will call this working copy latest-mask.pdf in our example.
Now select the “Magic Wand Tool”.
Select & Invert
With the Magic Wand I click on the white background to select this area. By holding the Shift-Key I can add areas to my selection which I also want to be selected.
The I go to Seletct -> Inverse in the menue to invert my selection. Now only the outline of Toni is selected marked by a dotted line.

Shrink selection
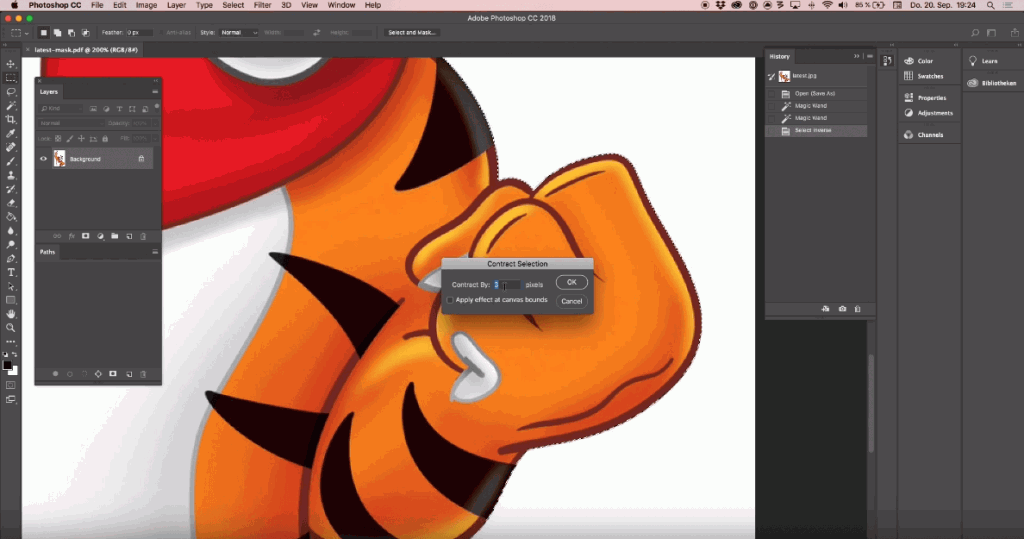
To get a good alginment of the mask with the print you need to shrink the selection. Therefore go to Select -> Modify -> Contract…
Enter a value between 3-5 pixels depending on you design to contract the selection. To get a good impression on screen we recommend that you zoom in by 200% of your picture.
Delete background
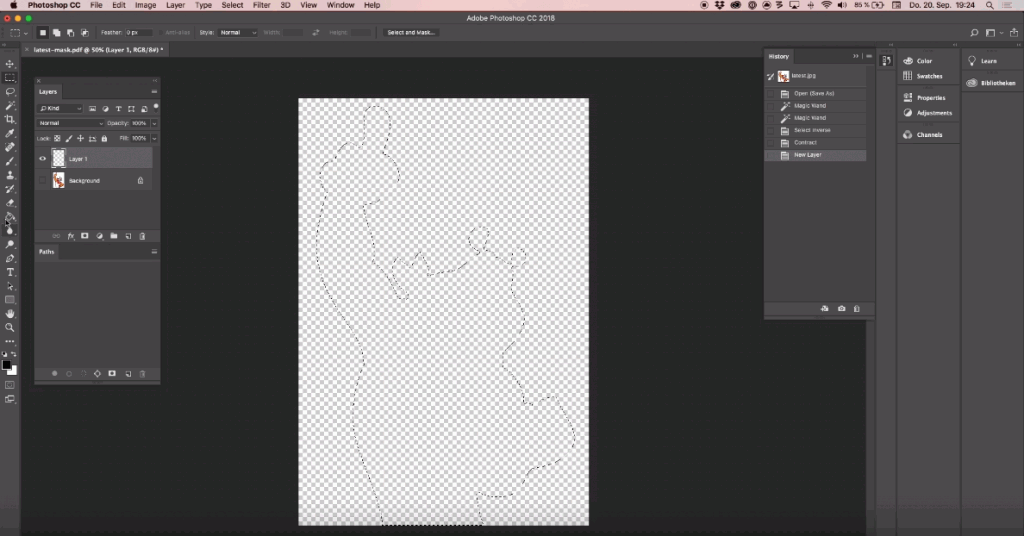
Now you can zoom back out. To delet the backgroung or creating a black mask you need to make a new layer by clicking “Layer -> New -> Layer”. Make the bottom layer invisible by clicking on the “Eye-Symbol” in the “Layer-Panel”.

Use the Fill Tool
Choose the “Fill Tool” and select black as your color. Now fill the selection by clicking into it with the Fill Tool. Merge the layers by clicking “Layer -> Flatten Image”
The result is a perfectly aligning black mask layer for White Underprinting with Ghost.