Toner Transfer News – Print on a brown leather bag
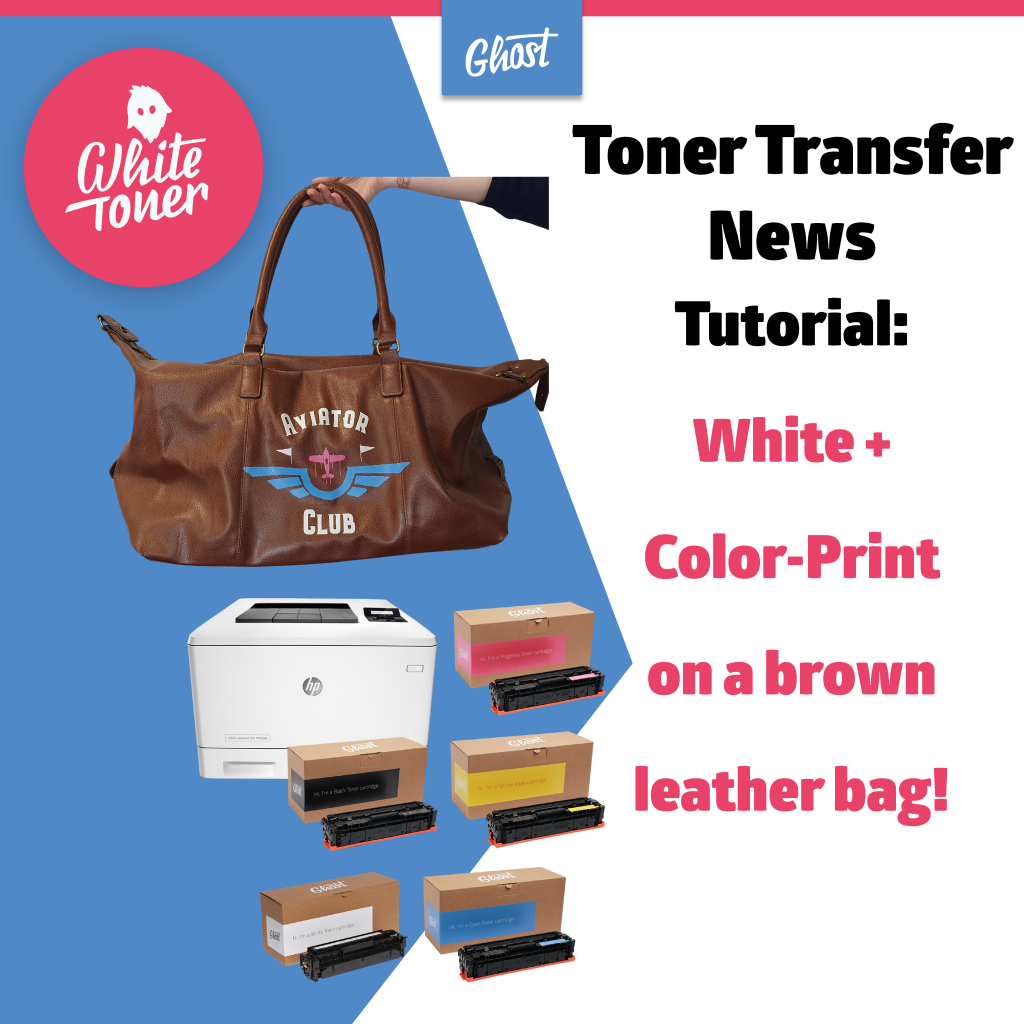
This video is going to show you how easy it is to print on leather using Ghost White Toner and Laser-Dark Media. In this Tutorial you can follow along how to personalize a brown leather bag with a Full Color Vector artwork using Ghost White Toner and Laser-Dark A-Foil and B-Paper. It has never been that easy to create custom T-Shirts, Bags, Mugs and Bottles. Ghost White Toner and Laser-Dark Transfer Media enable you to do all this for small runs and even single items are possible at a fraction of the cost of traditional technologies like screen print.
How to print on leather
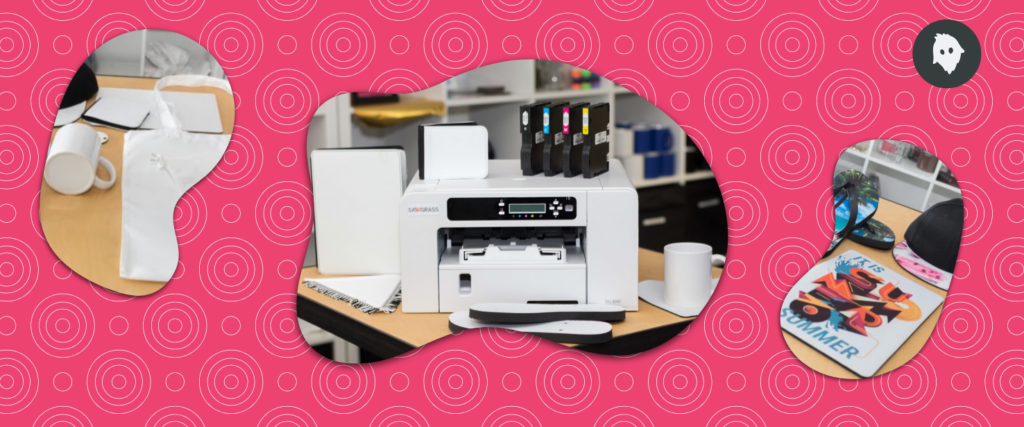
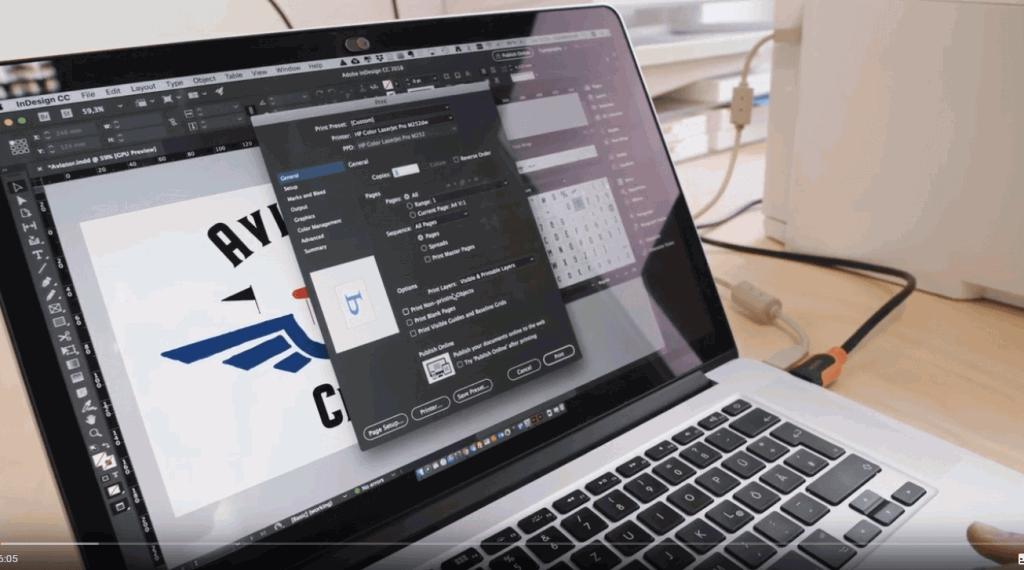
Start on your display
After you have selected the correct settings (Foil/ transparency) and adjusted the color settings if necessary, put the rough side of the A-Foil upwards into the Ghost printer.
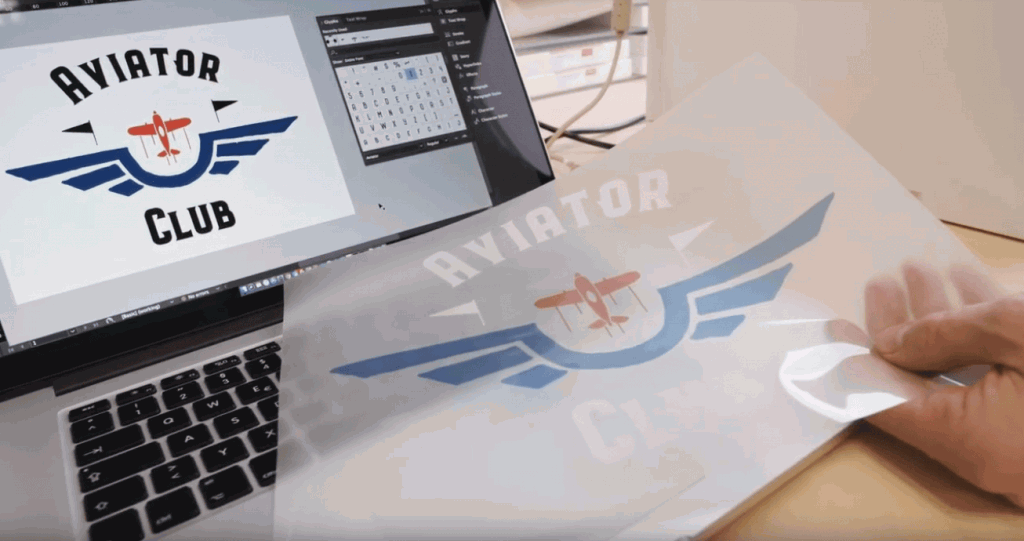
Printing on the A-Foil
Start the printing process of your Ghost White Toner printer. You can also print multiple copies in a row for larger runs. Make sure you have enough Laser-Dark (no-cut) A-Foils loaded.
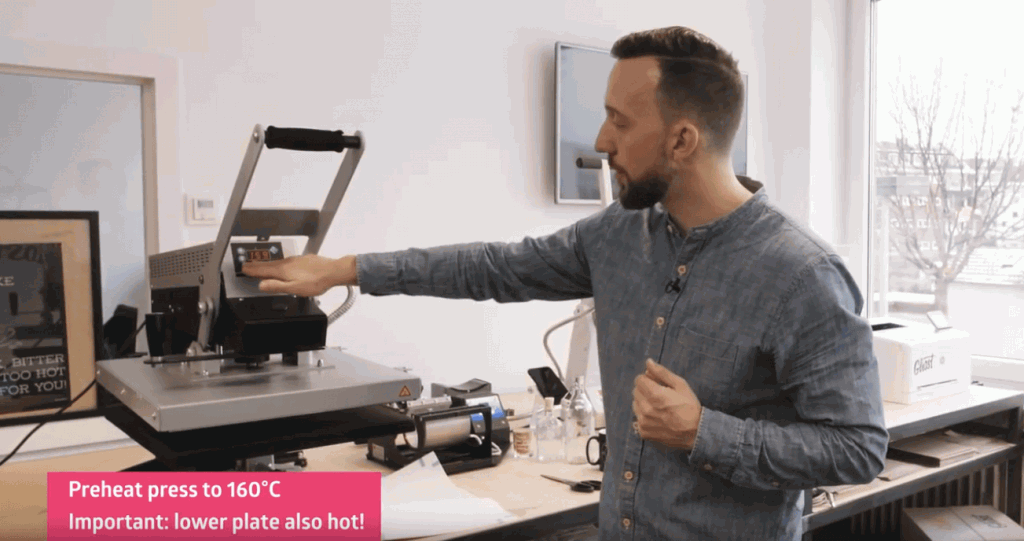
Step 1: Heat Press preparing
Heat your transfer press to 160 degrees celsius and perform a test run. The lower plate is now well heated for optimal transfer.
Step 2: Pressing A & B
As in the video, place the two printed sheets on the preheated press. For protection you should put 5-8 sheets copy paper in A3 on top. Then press the press down and press for 2 minutes at 160 degrees C. In this process, the glue from the B-paper is bonded to the white and colored print from the A-foil.
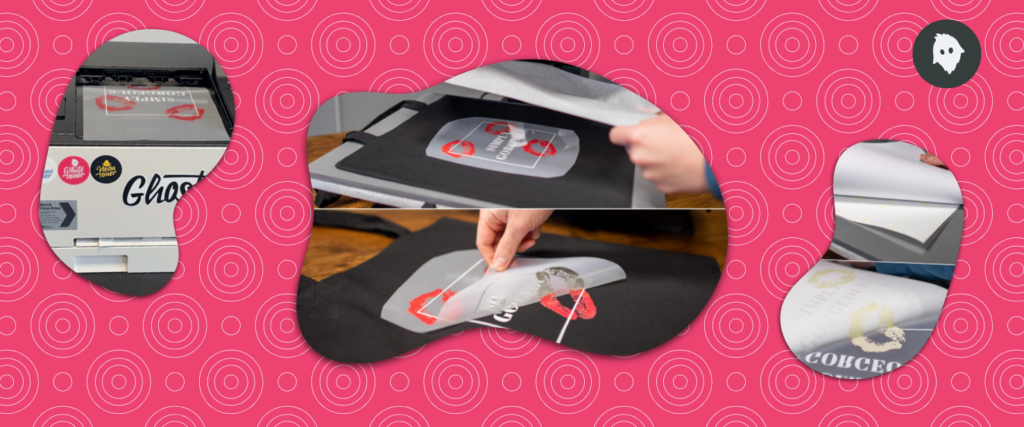
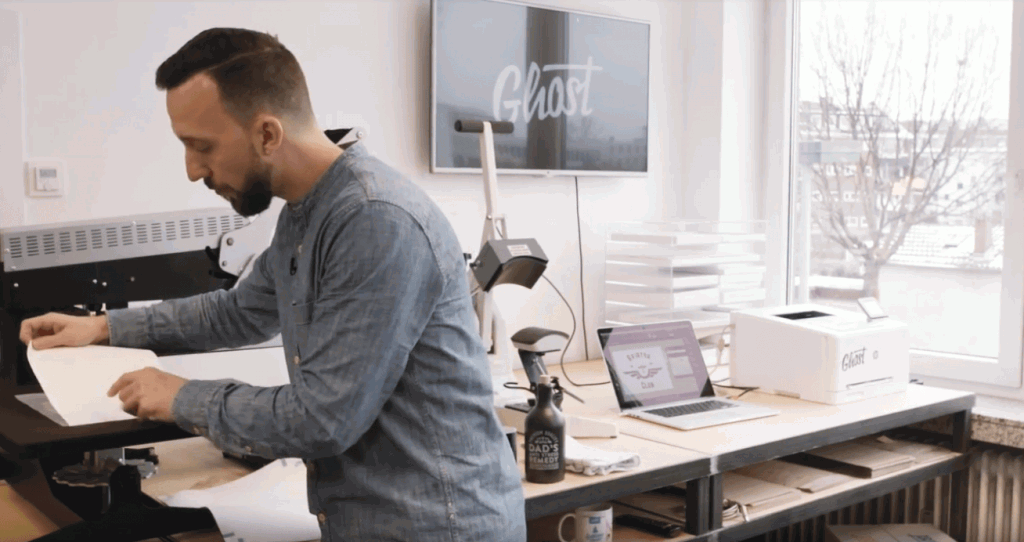
Step 3: Peeling after pressing
After 2 minutes, open the press and remove the A-Foil directly from the B-Paper while it is hot.
Start at one corner of the foil and peel it off parallel and evenly.
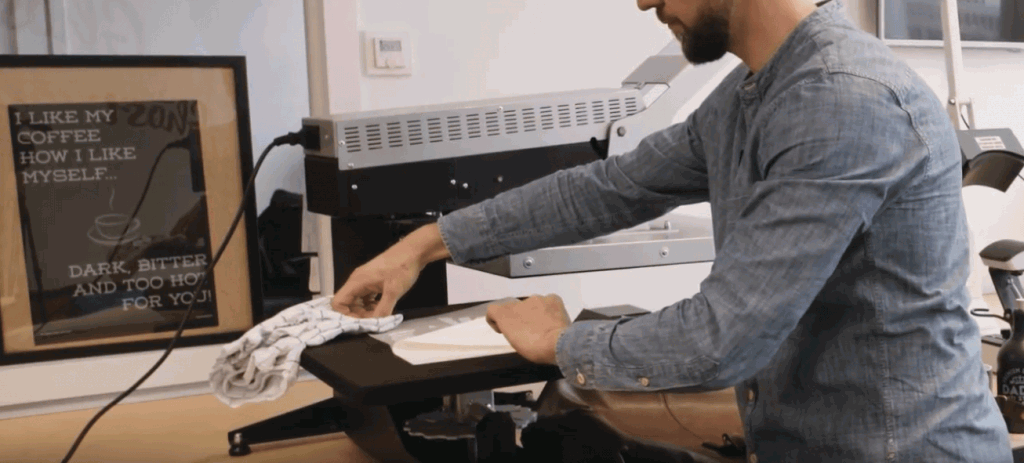
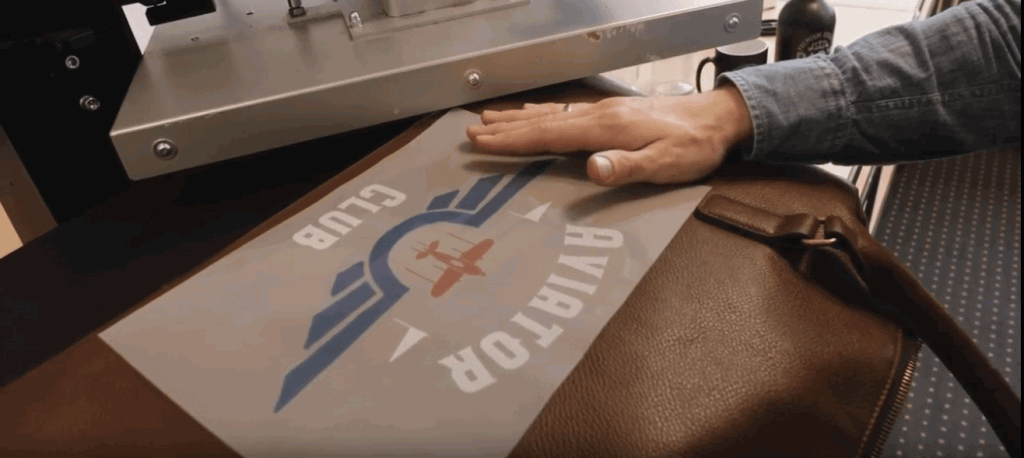
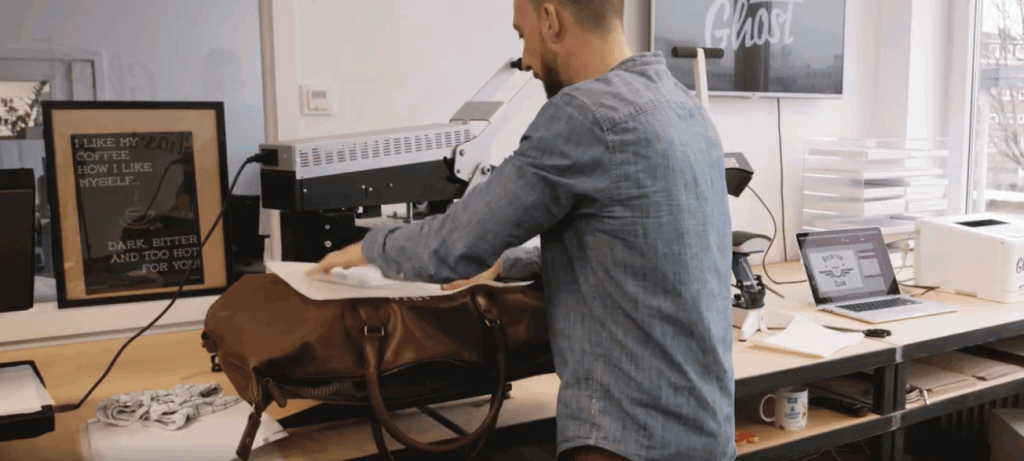
Step 4: Positioning
Now the motif can be positioned on the leather bag. It is important that the leather bag lies flat on the press, so that the print is well distributed.
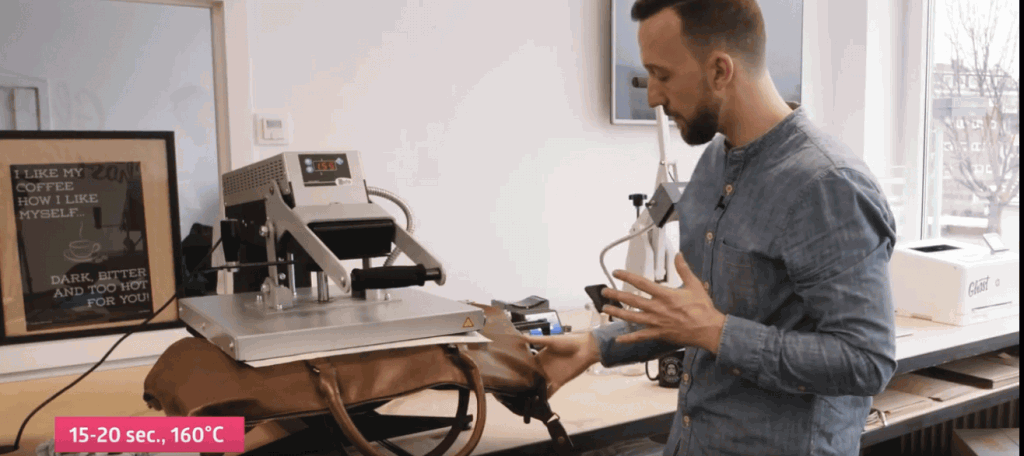
Step 5: Pressing
At the same temperature of 160 degrees celsius, the motif is pressed onto the leather bag for 30 seconds.
Use Matt Finish Paper to protect the textile.
Last step: Peeling & Finishing
After the bag and foil have cooled down, the foil can be carefully removed. Then press for 5-10 seconds to increase the durability of the print.
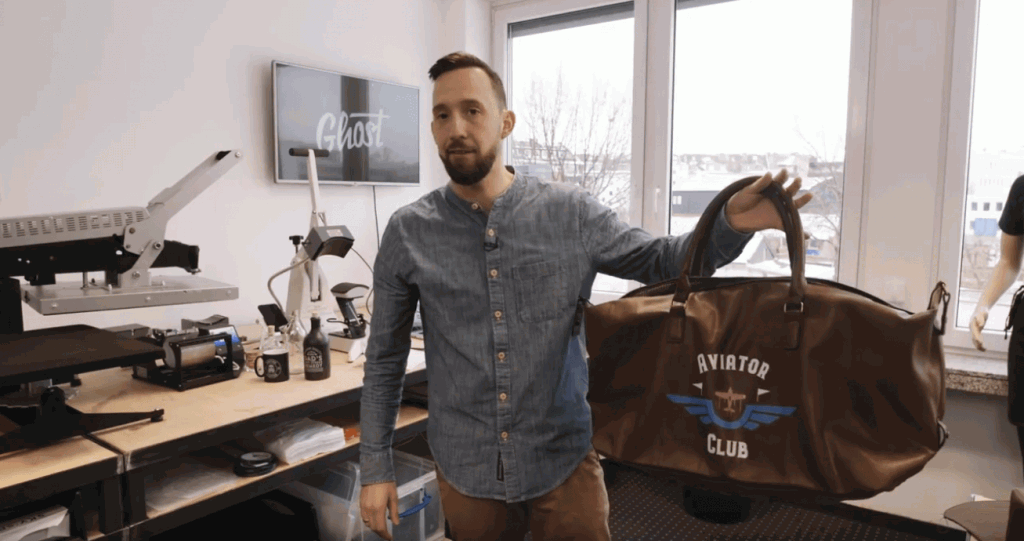
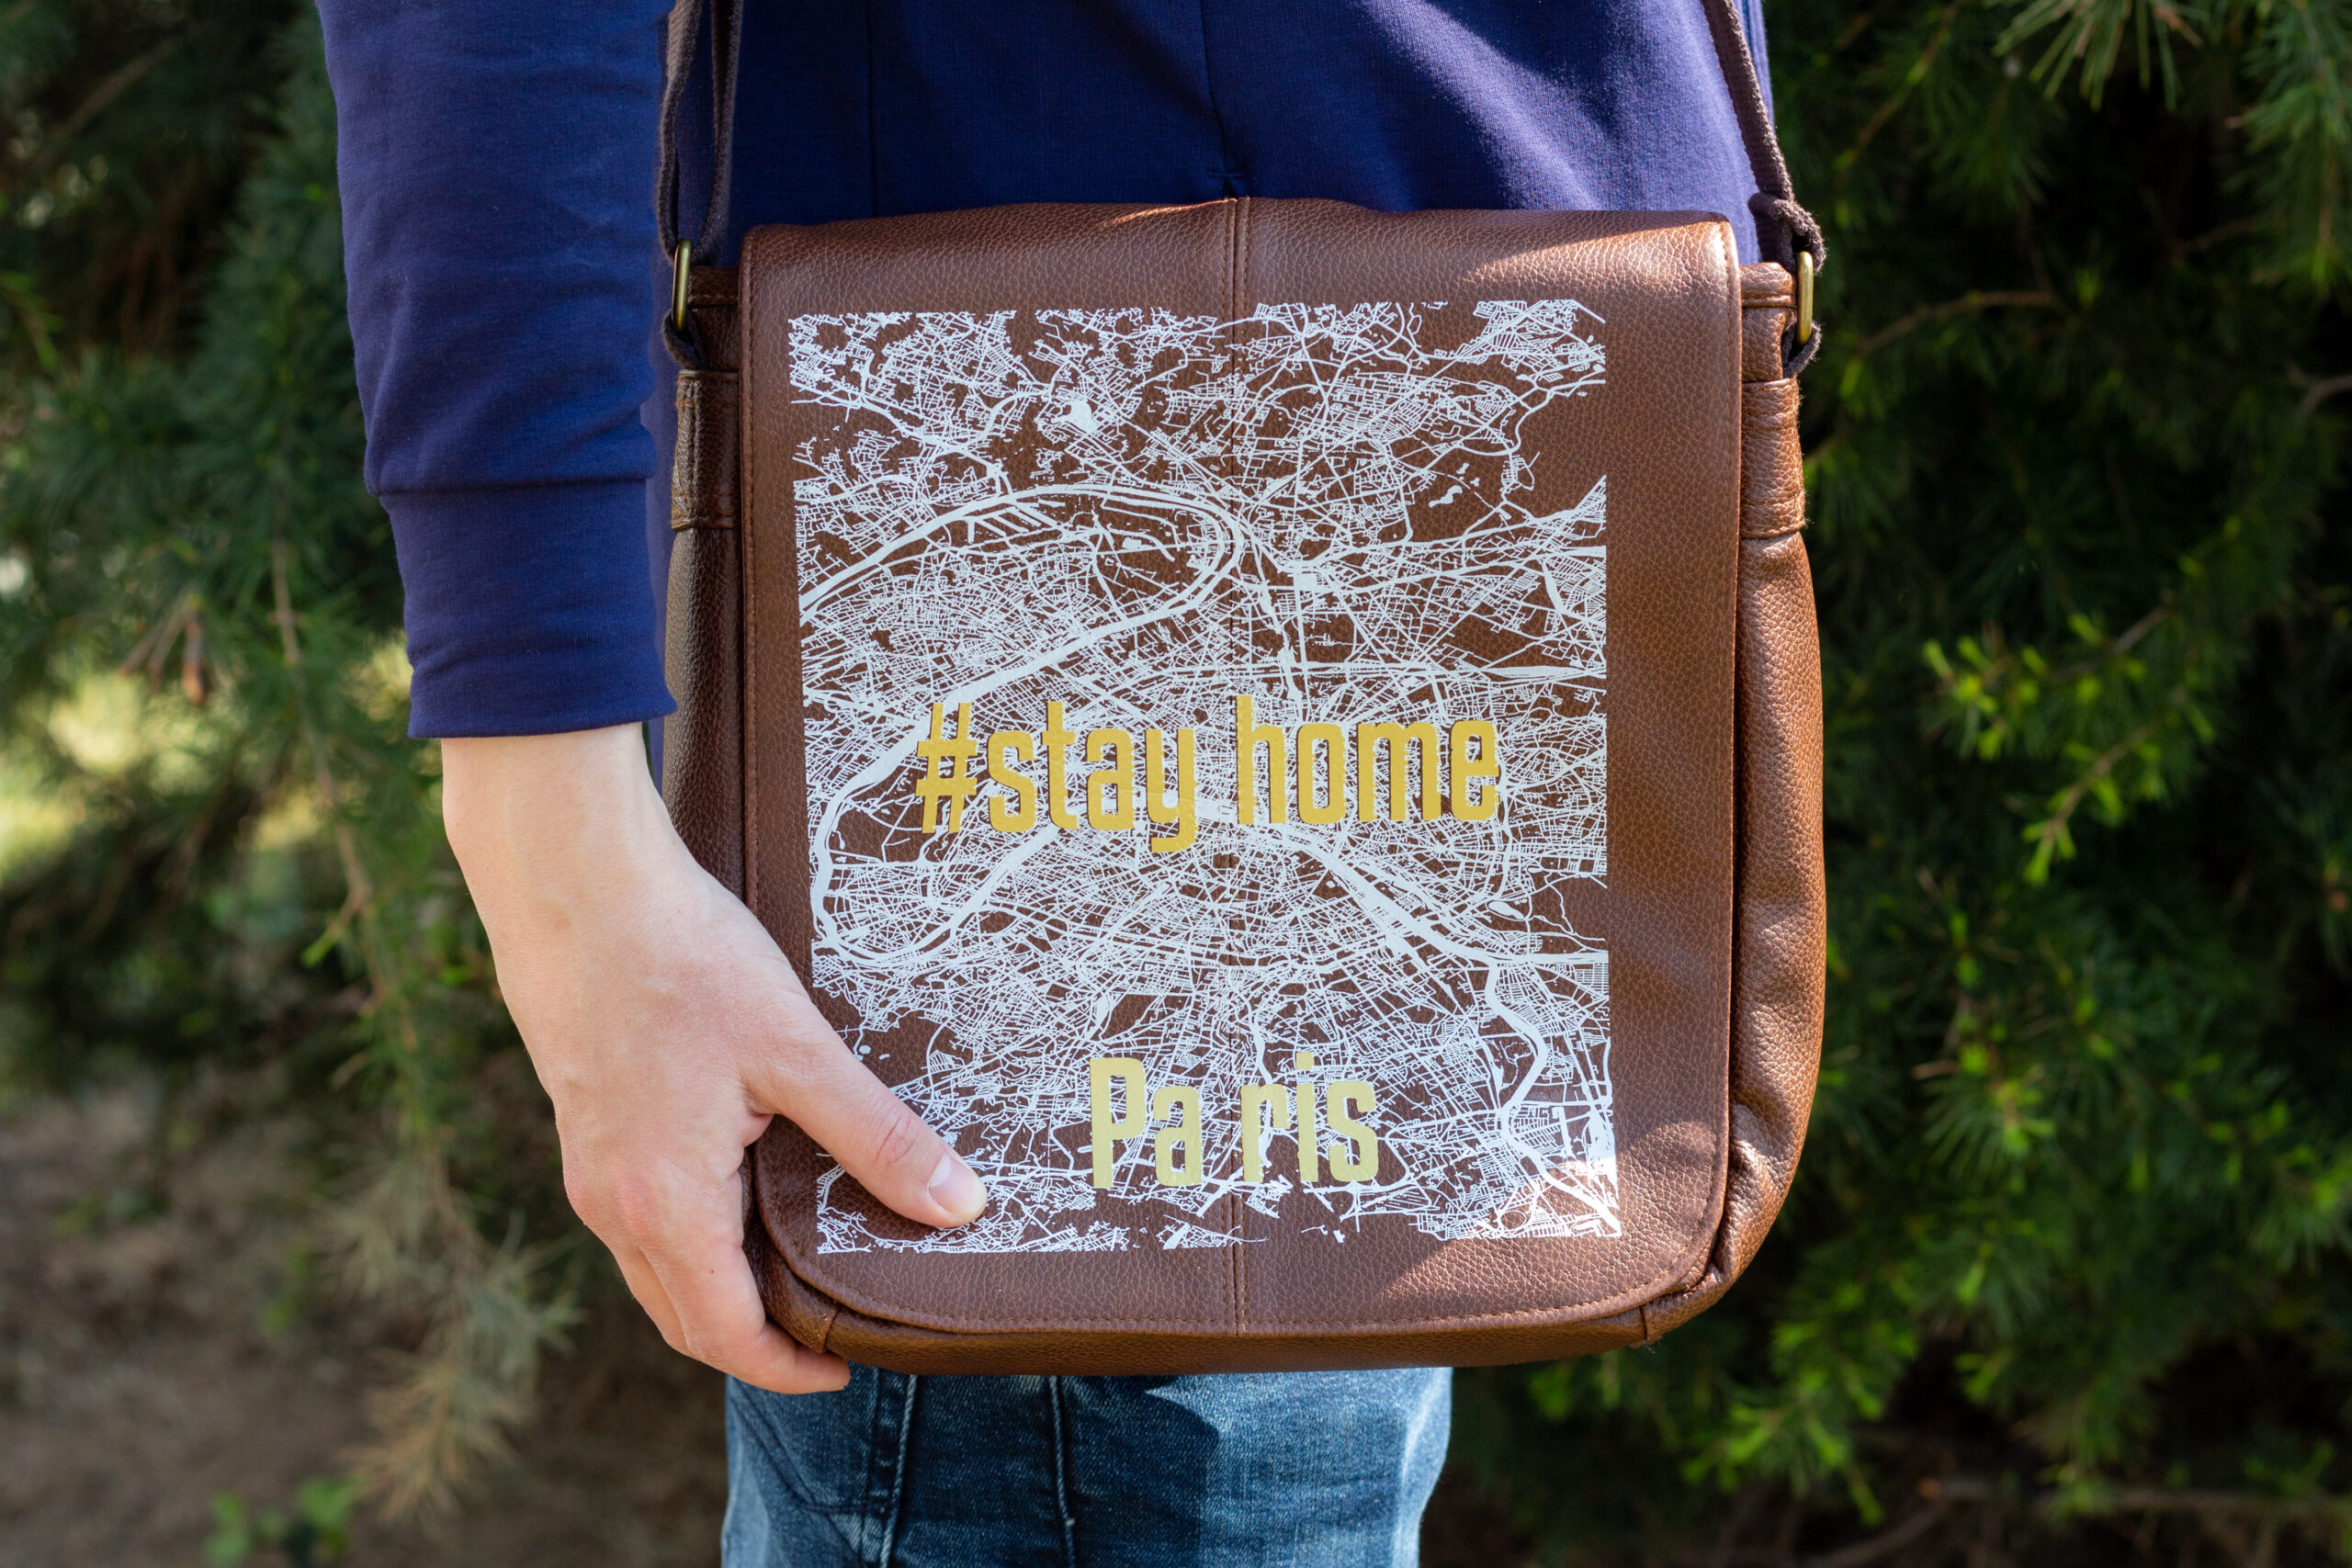
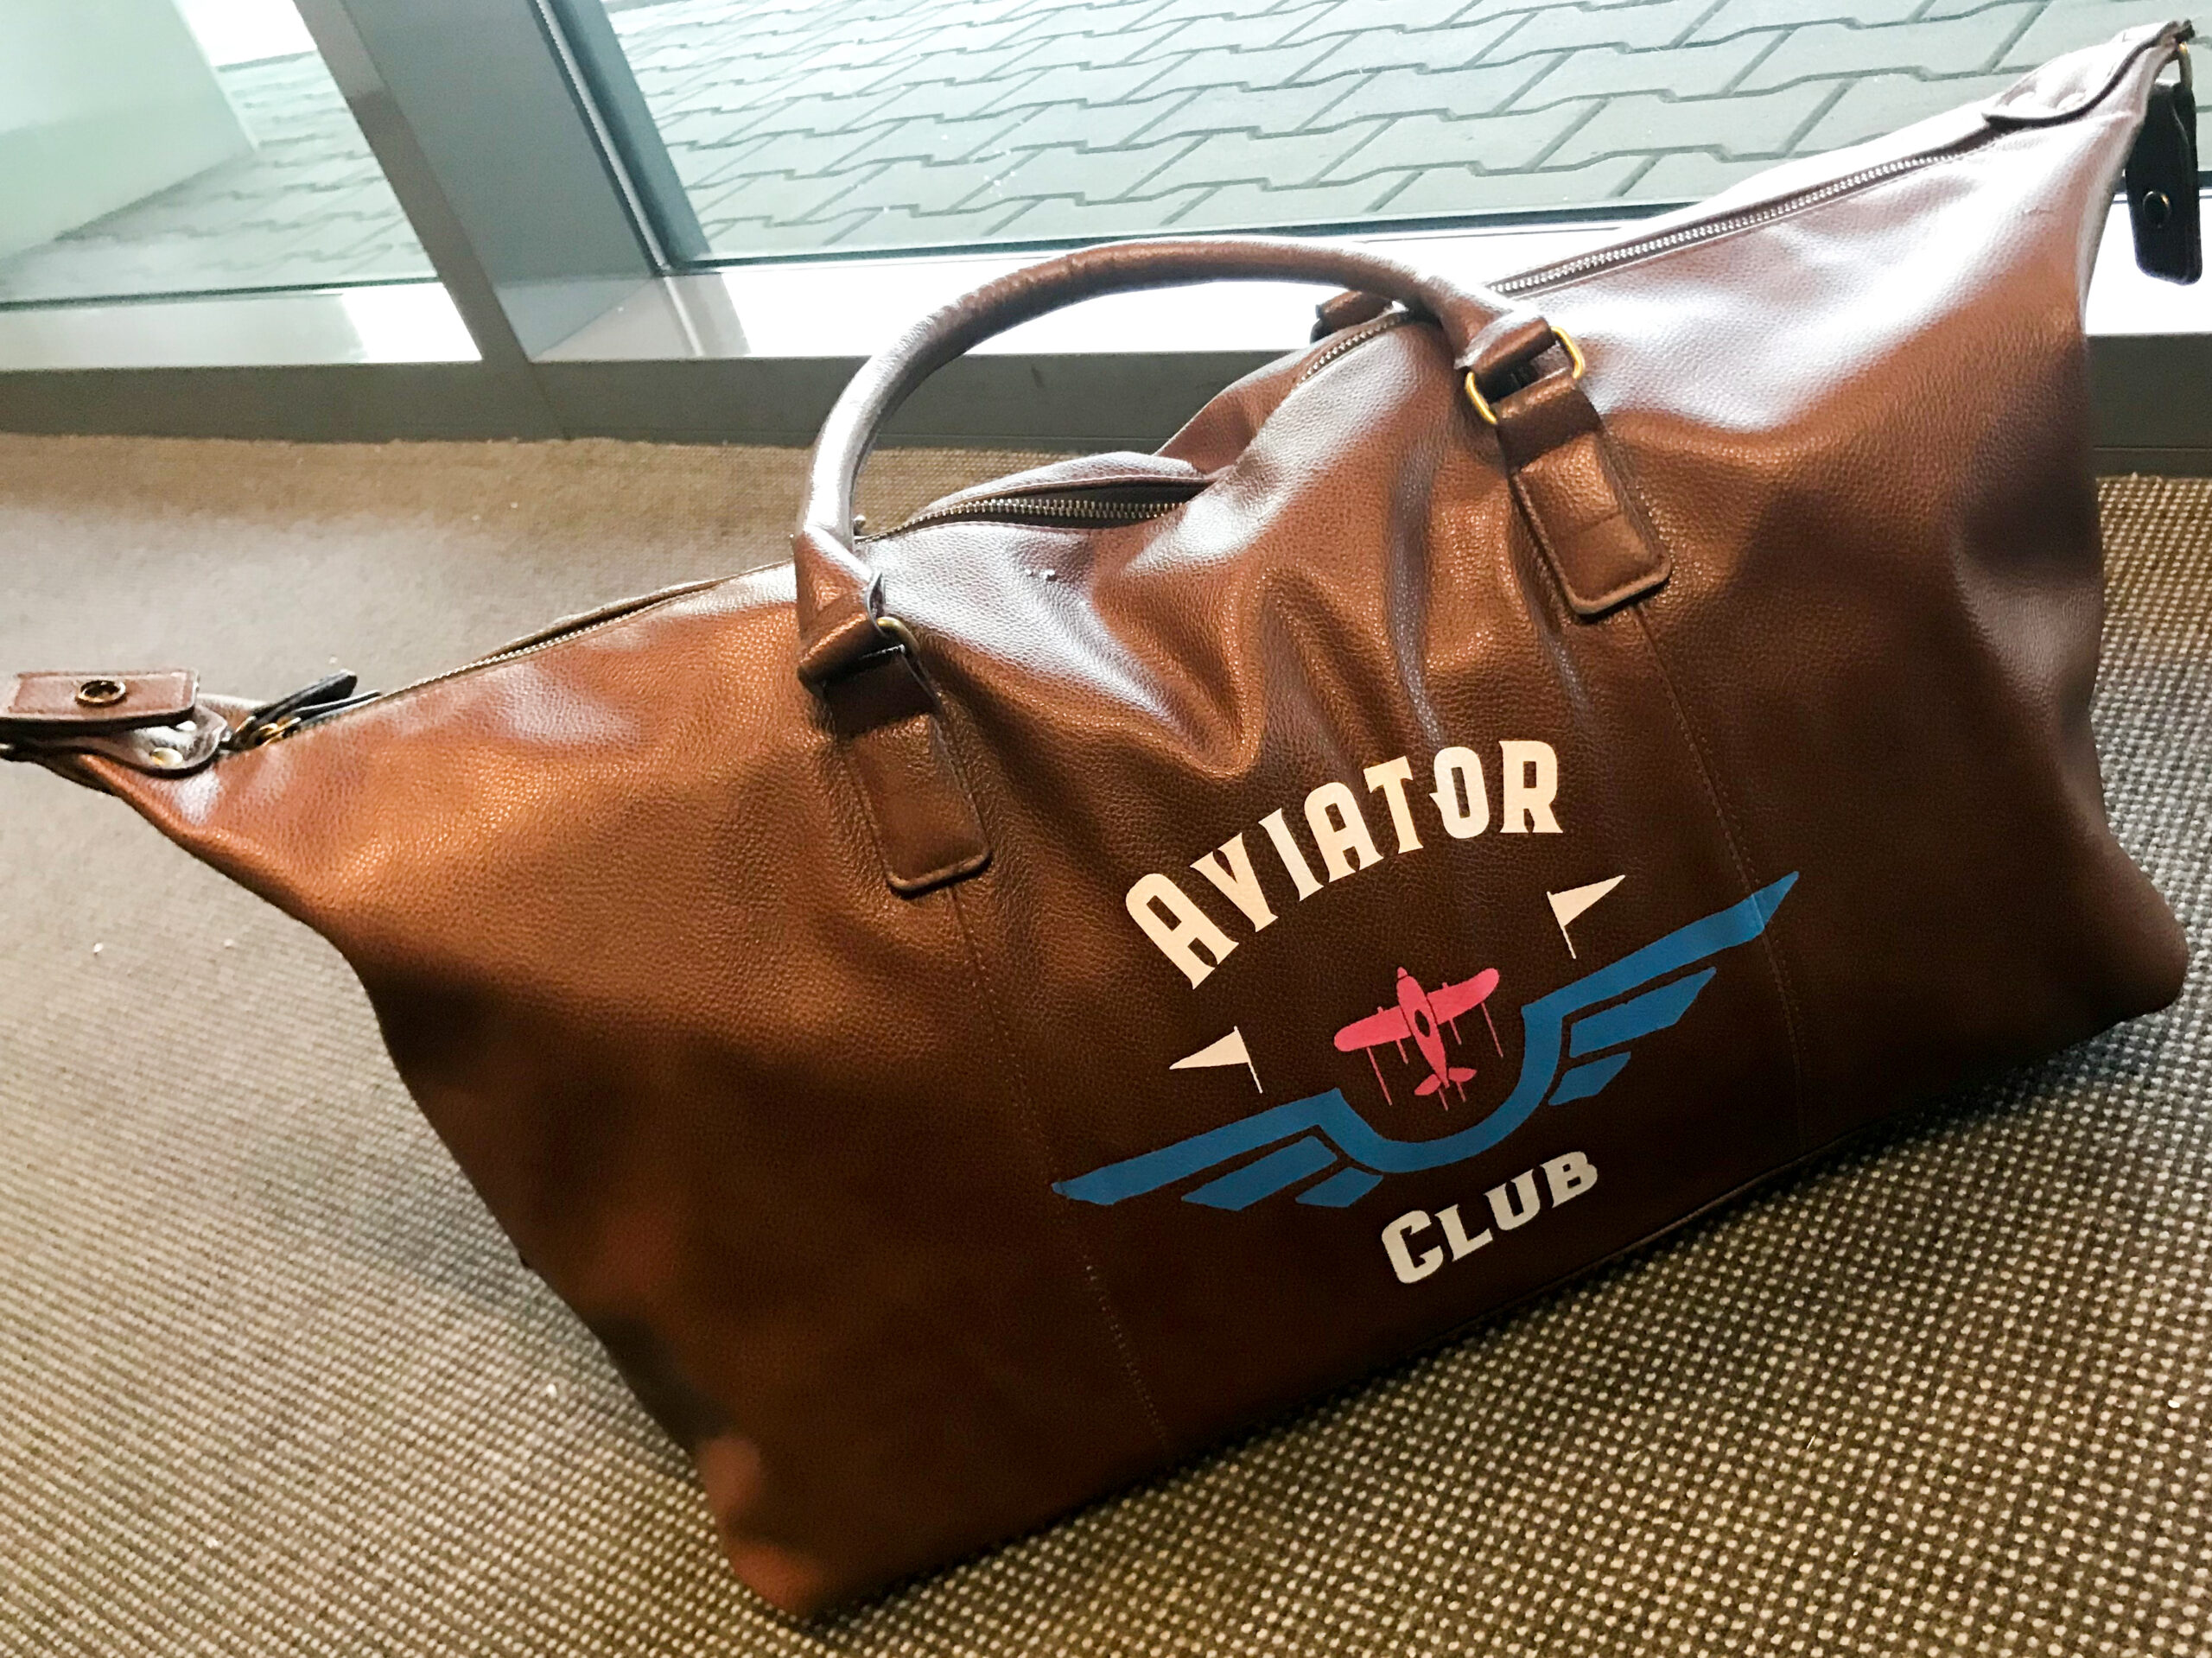
The result
The individual leather bag is ready in a short time and only a few steps. Many things can be produced with the same processes.