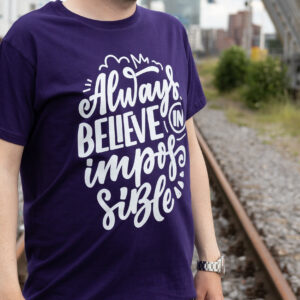
Print a T-Shirt yourself
Want to do T-shirt printing yourself and get top-notch results? Thanks to modern accessories for home use, this is not only inexpensive, but also relatively uncomplicated. With an appropriate printer and suitable transfer materials, you can create high-quality and long-lasting print results on your T-shirts.
The quality of T-shirt printing can vary greatly. You can achieve beautiful results with a laser printer and heat press, so we would like to introduce this method below. Alternatively, the transfer of foil to fabric is also possible with simple means such as an iron. For this you can buy ready-made motifs, which you simply iron on. However, their durability and appearance are nowhere near the quality of toner, transfer film and, if necessary, finishing paper.
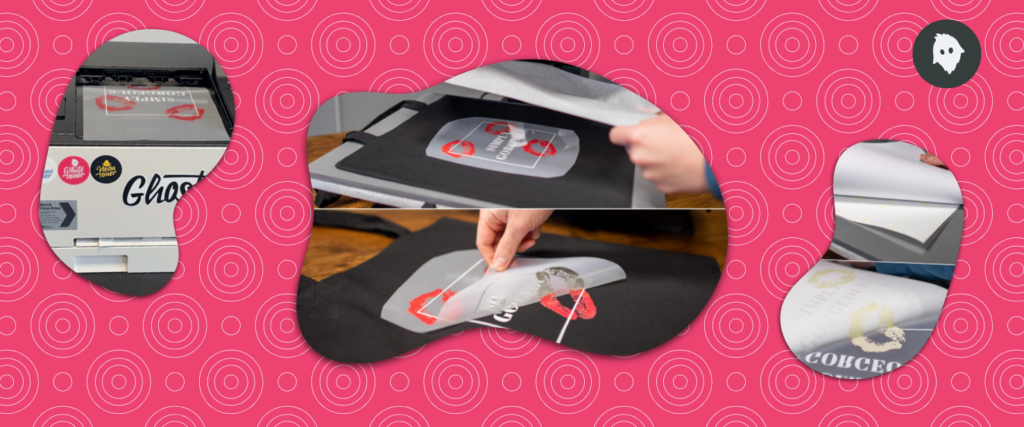
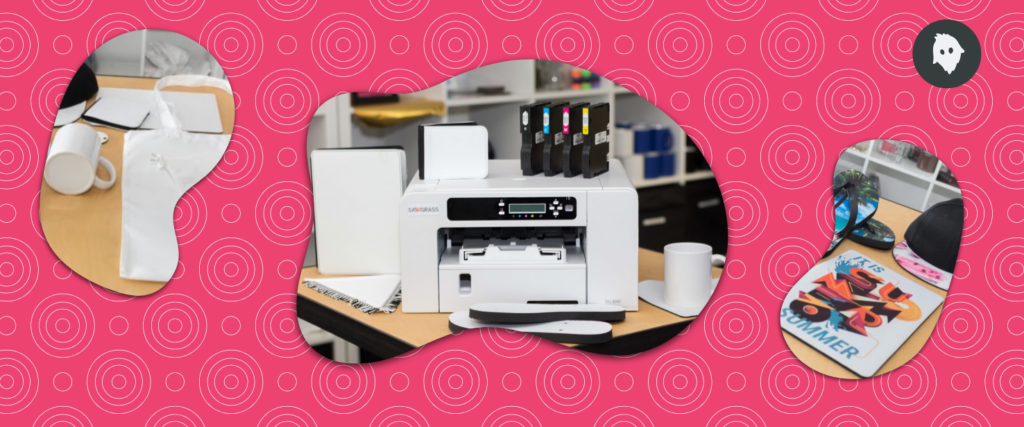
In this video we will show you how the toner transfer on textiles, especially on cotton T-shirts, works. You print your design directly onto the A-foil using Ghost White toner and the other Ghost Color Toner. The printed A-foil is then transfered together with the B-paper under a suitable heat press and pressed onto your desired textile. Toner transfer is a fantastic way to customize textiles like cotton, felt, polyester, leather and even other surfaces like wood in a creative way. For this we use the Little Ghost printer, the matching Ghost White toner, the colored Ghost toner, the “Laserdark (No-Cut) A-Foil A4” and the “Laserdark (No-Cut) B-Paper A4”.
Printing a T-shirt yourself with toner transfer in color and white
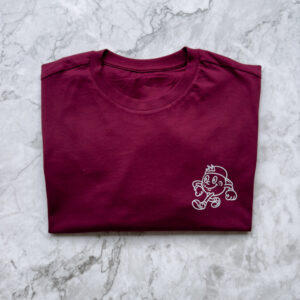
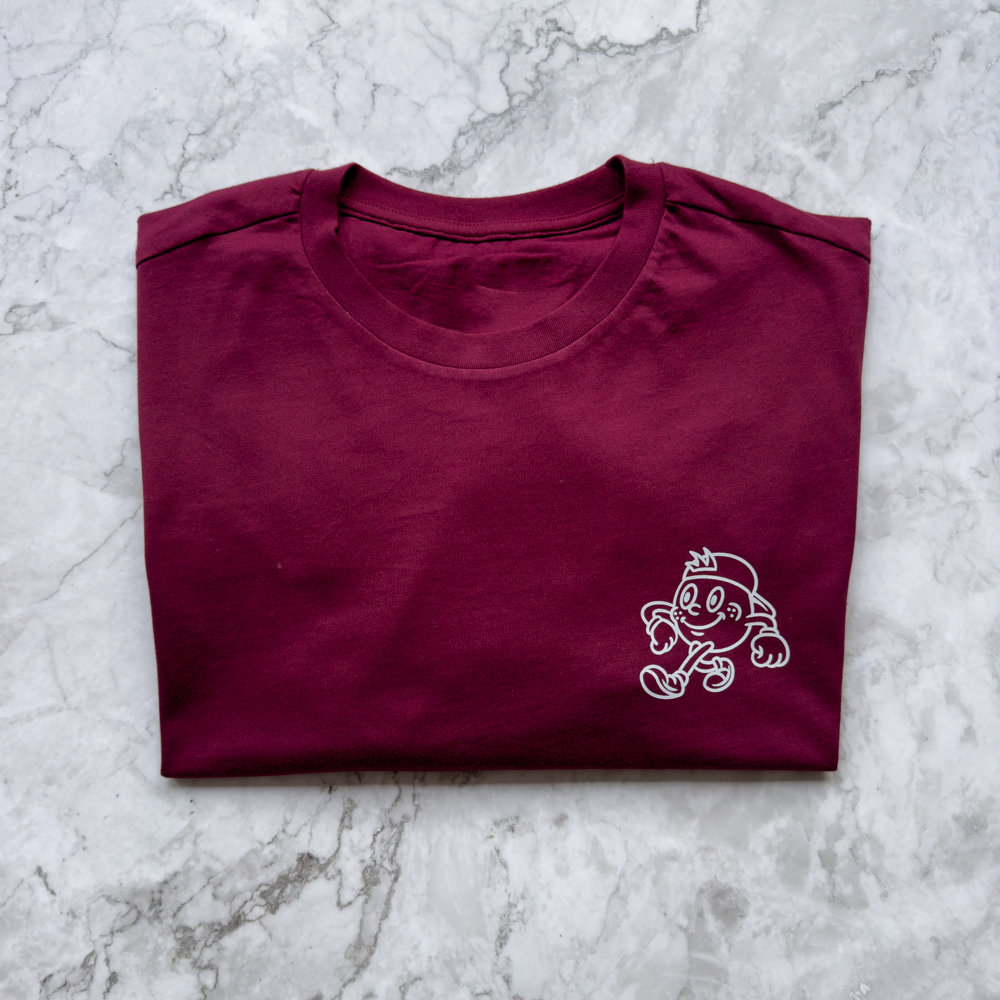
Printing on white t-shirts is beginner-friendly, but with white toners you can achieve amazing results even on dark shirts – we will present you these methods in detail. The first step is to design a desired motif for your T-shirt. For the toner transfer and the transfer with a transfer foil you don’t need a vector graphic like with flex printing. You can use a simple graphics program or other software.
Creating the transfer foil
Once you are satisfied with the image, logo or lettering, you create a mirrored version of your design and print it on a transfer foil (A-foil) using a printer. We recommend the modern laser printers from HP, which are equipped with Ghost toners in black, yellow, magenta and cyan. If you want to print a dark T-shirt by yourself without giving up detailed color reproduction, we also advise you to use a Ghost White toner cartridge. After printing the design, use the heat press to bring the A-foil and B-paper together. Press the two together for two minutes at about 160 °C. The adhesive on the B-paper is absorbed by the A-foil. In the process, the adhesive of the B-paper gets onto the print and enables the subsequent bonding with the shirt.
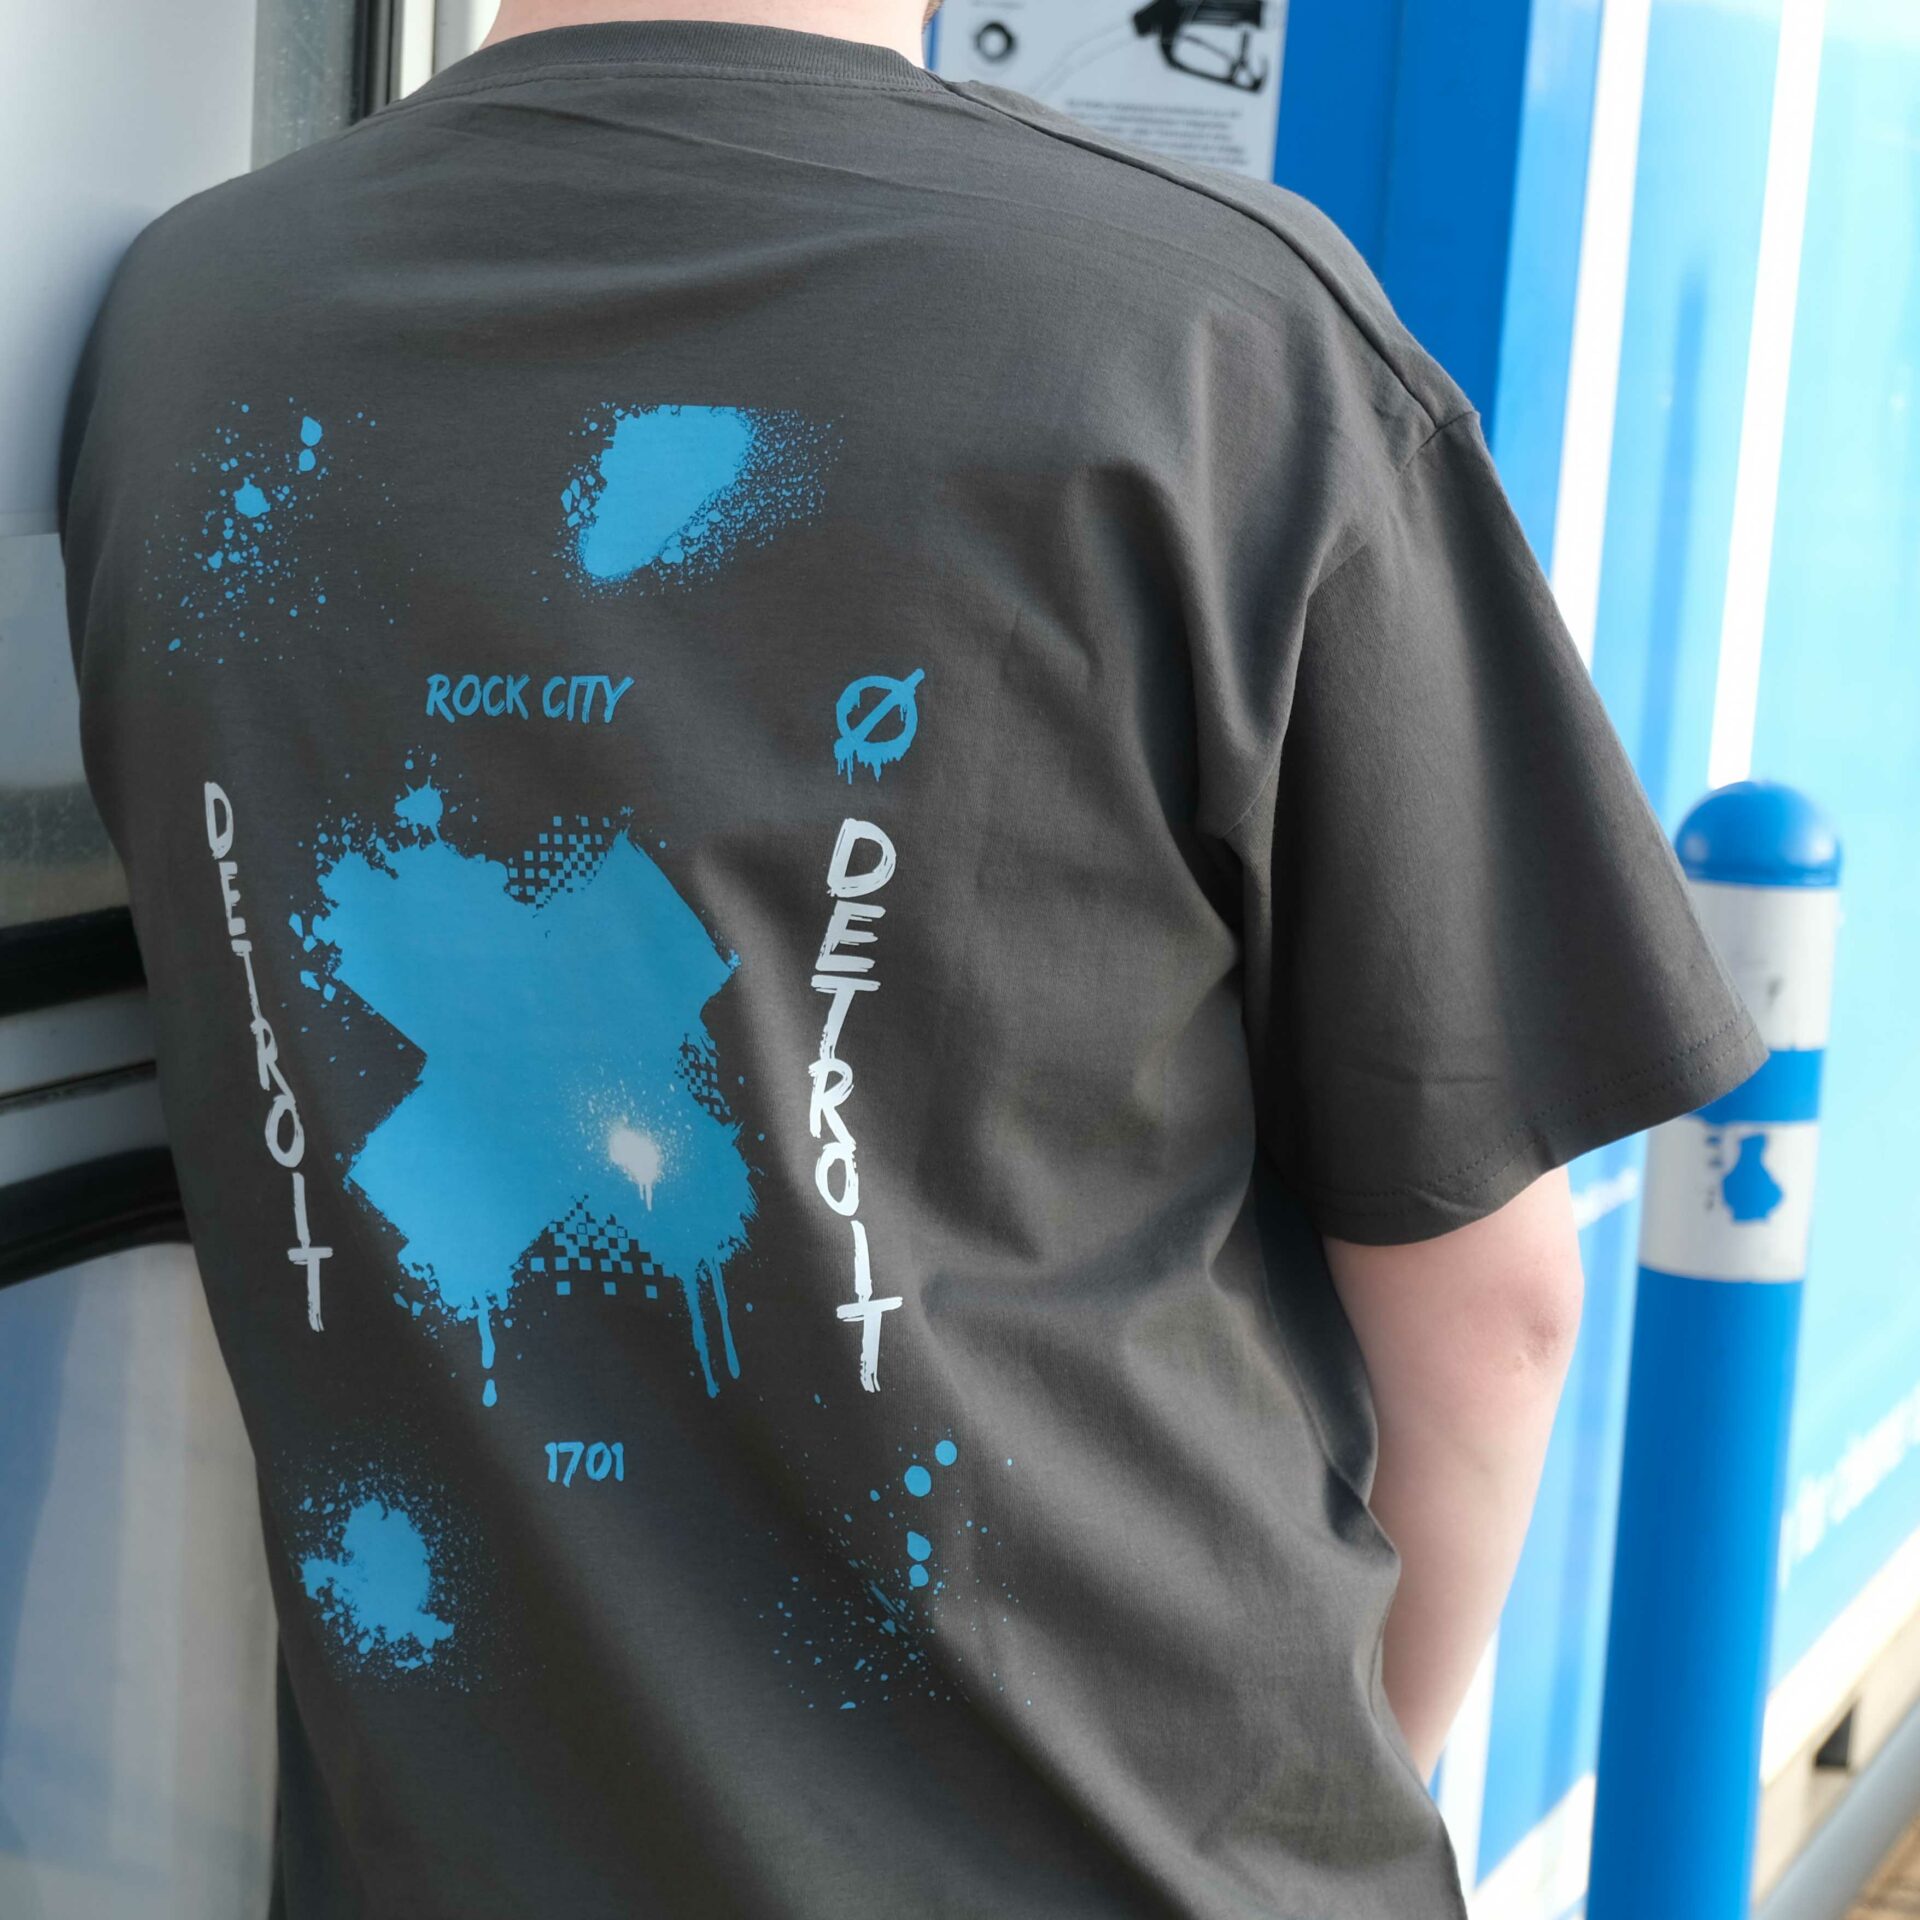
Printing a dark T-shirt yourself – this is how it works
Before we tell you about the transfer to the fabric in the last step, we have one more hint: there is an alternative for T-shirt printing on dark backgrounds. Previously, a technical limit existed for a long time in design when it came to the color white. With Ghost White toners, we trick the laser printer and can print white on colored surfaces. Instead of black toner, we use a white one from Ghost. Since toners contain a powder rather than a liquid, the replacement can be done immediately without cleaning.
You simply create white areas as black areas on the PC. The printer then thinks it is printing them in black – which of course it is not, because you replaced the black toner with Ghost White Toner! By the way, white toners support the luminosity of colors on dark backgrounds. Use them as a base (underprint) for printing colorful motifs.
Transfer the desired motif to your T-shirt
Once you have printed out your foils mirror-inverted with colored or white areas and transferred the adhesive of the B-paper to the A-foil by pressing it together, it’s time to embellish the T-shirt itself. You can still cut the motif of the transfer foil to size and then position it as desired on the garment. Now use the heat press again and press for 30 seconds. Before you can admire the result, the shirt and the foil must cool down completely. Make sure to unroll the foil carefully, because this is the only way to achieve a good and long-lasting result.
In the last step, another short pressing process is necessary. It has two purposes: First, pressing under heat increases the wash resistance of the T-shirt print. Second, depending on the choice of silicone paper, you set a glossy or matte finish.
Printing a T-shirt yourself – your advantages
The presented method is very simple and allows the production of small and medium quantities. This makes it interesting for companies, hobby creatives and advertising purposes. With a little more effort and other processes such as flex printing or sublimation printing, other practical fields can be realized. Flex printing impresses with a special feel on the shirt, while sublimation converts photo-realistic images in a particularly long-lasting way.
Toner transfer is more universal and – apart from the one-off purchase costs for a printer and press – an inexpensive way to let off steam in a number of ways. This is how you create high-quality, individualized products.
Photo credits:
ghazii – stock.adobe.com