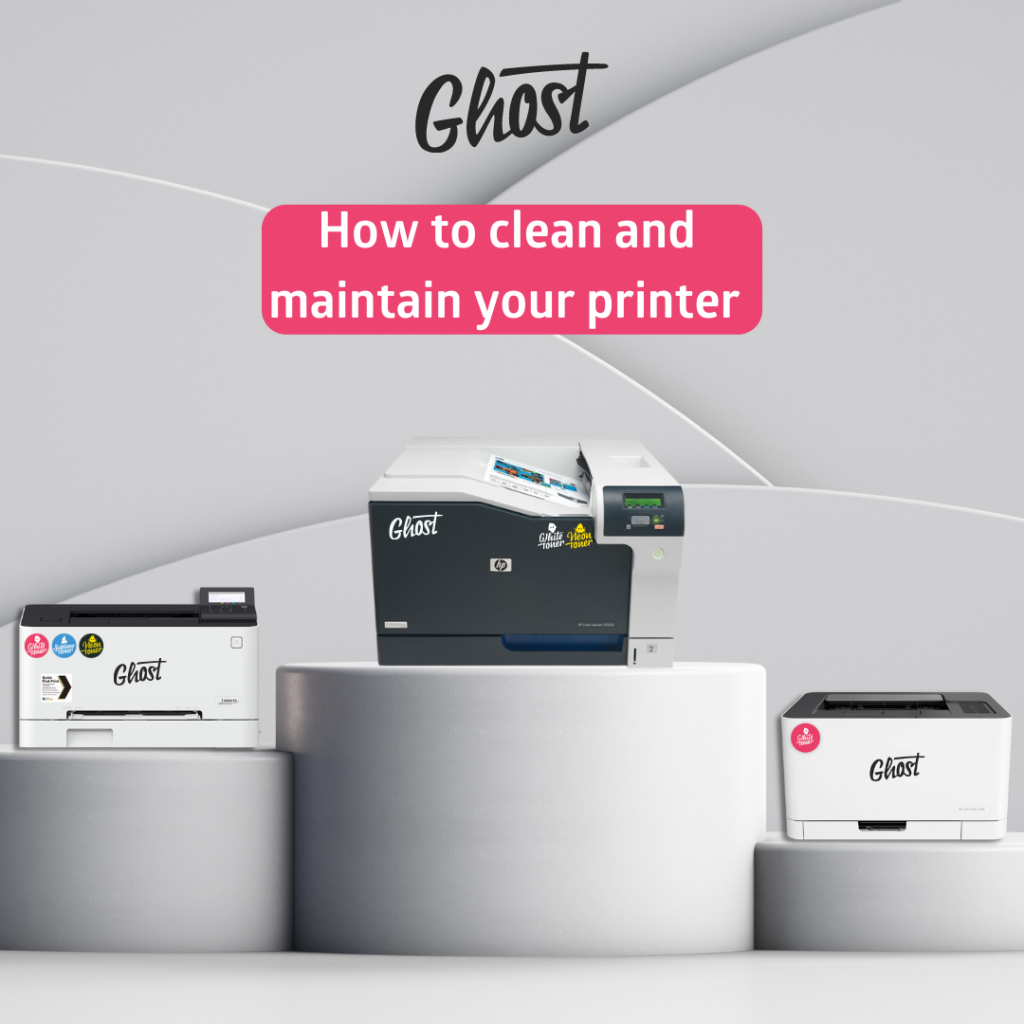
How to Maintenance and Clean Your Printer
Printers sometimes can give you a headache and problems when they make paper jams or when the printing quality is not that good. Therefore, we recommend that you perform a cleaning cycle on your printer on a regular basis. This could maybe help remove some paper jams and get your printer back into a healthy state.
!! IMPORTANT !!
DISCONNECT THE PRINTER from the powersource. Never work on an open printer when it´s connected to power and for handy, also disconnect it from the network.
Regular maintenance and cleaning will keep your printer running smoothly. Laser printers can get into all sorts of trouble. Paper jams and poor print quality are hopefully a thing of the past with this video. With a few simple steps, we’ll show you how to clean your Canon laser printer. You can do this as a preventative measure or if you already have a problem.
White Toner for everyone!
To learn about our Mini Ghost, click here and for the Big Ghost click here.
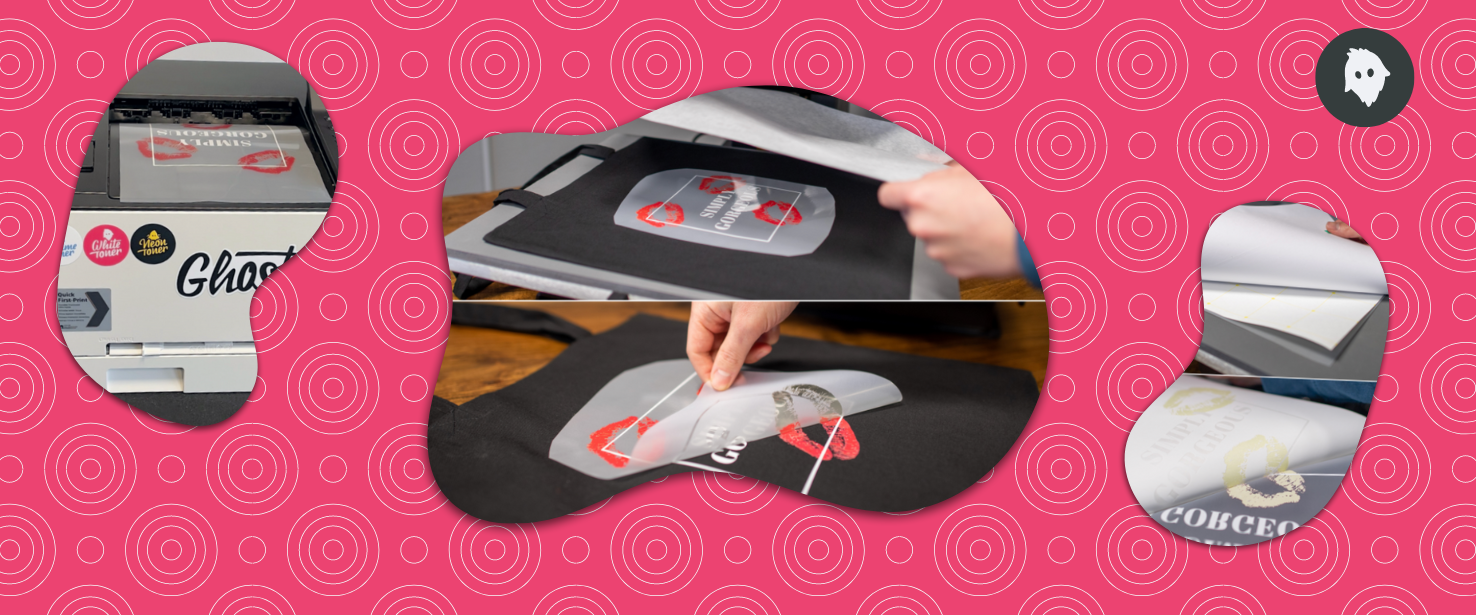
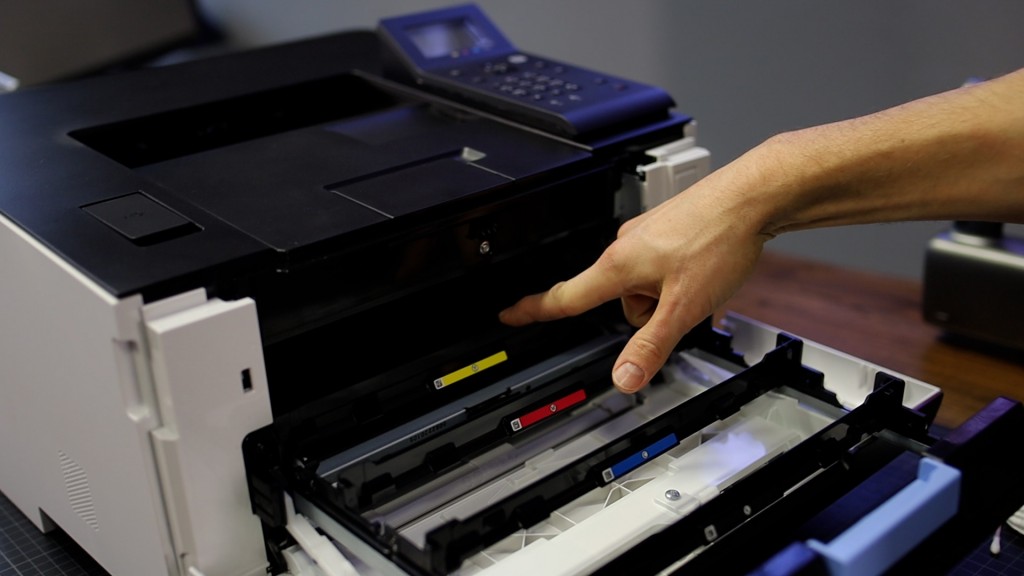
When removing the cartridges from the printer, we recommend storing them in the way they came.
That means, attaching the caps that came with onto the cartridge to protect it from light and circumstances.
With swapping the toners back and forth it might happen that some toner powder comes out of the cartridge.
This is nothing to worry about. Some spots and sparkles of toner powder inside a printer is
totally normal, If in any case some toner powder drops on your way workspace or even on your
clothes, it is easily removed with a vacuum cleaner. Please do not use water! Water and toner will kind of mix up weirdly. Just use a vacuum cleaner to vacuum the excess toner powder.
Disconnect your printer from the powersource and network.
Turn your printer around so you can open it from the front and from the back,
where you can access the fusing Assy and everything
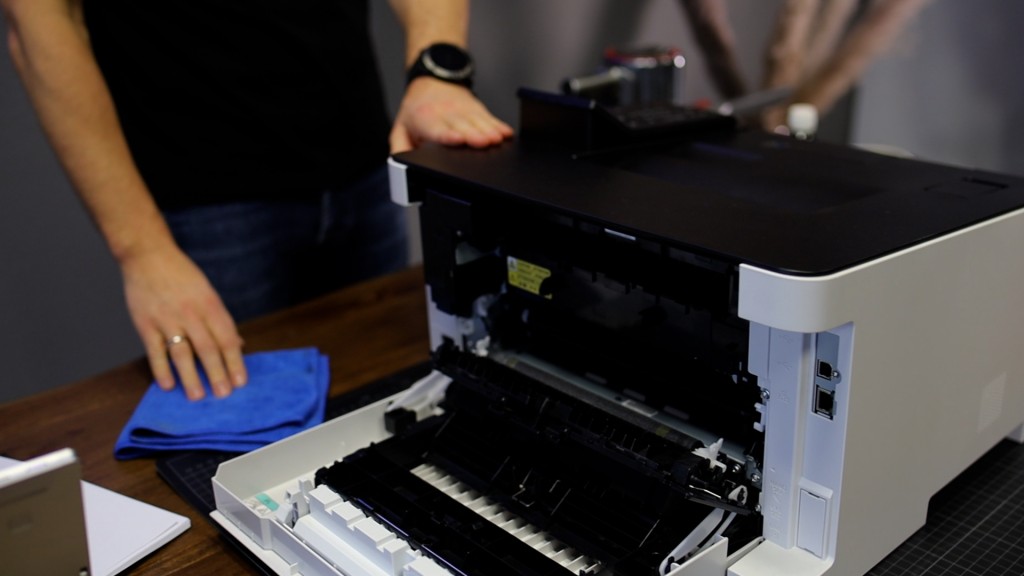
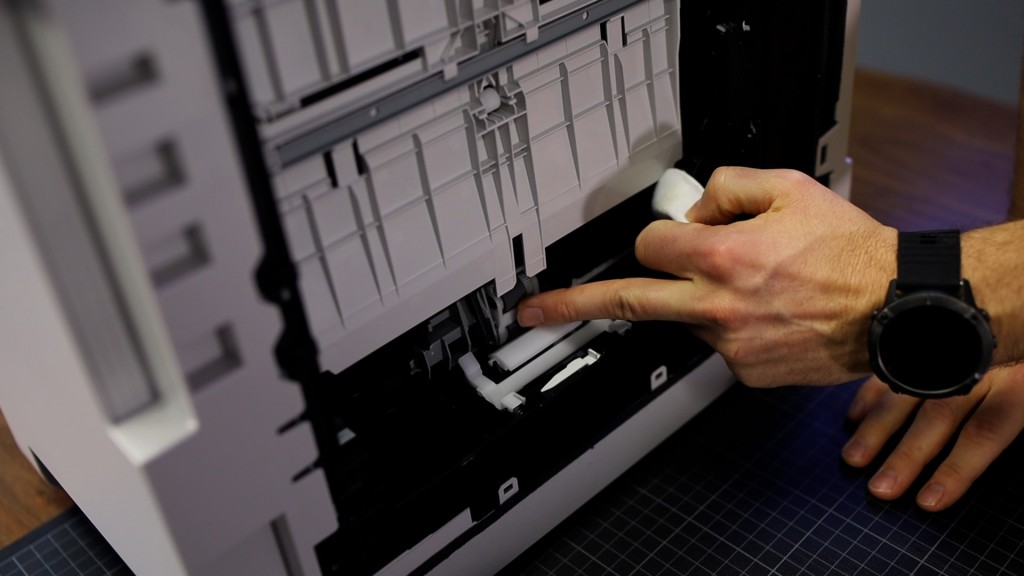
When taken out the toners, you can see a kind of black band inside: the transfer belt.
This unit is fixed in the printer. This is where the toner and the print are transferred to
your paper.
THIS CANNOT BE CLEANED. We do not recommend touching it. To clean the transfer
belt you can run a cleaning cycle in your software.
We will show you how to do this at the end of the tutorial.
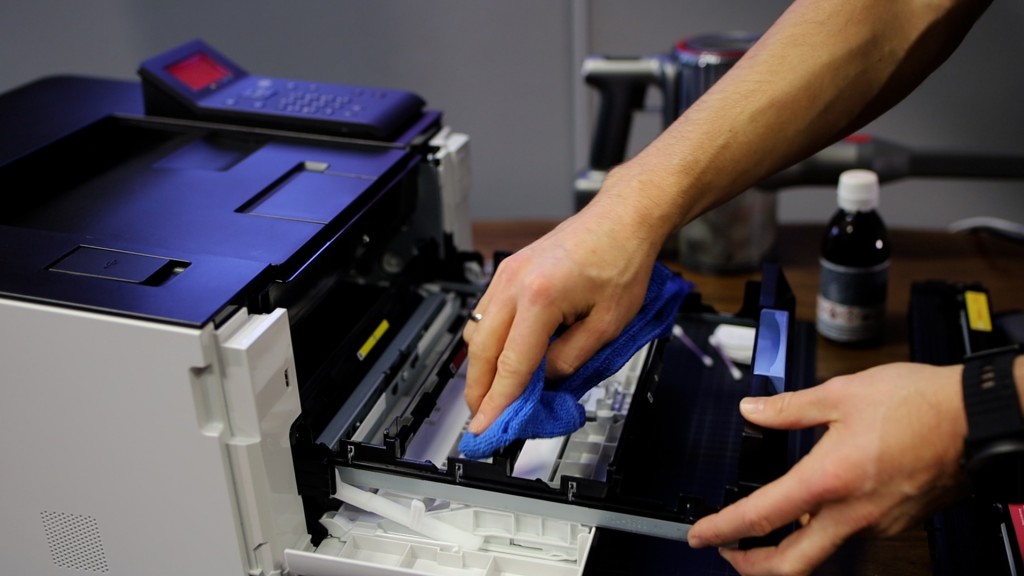
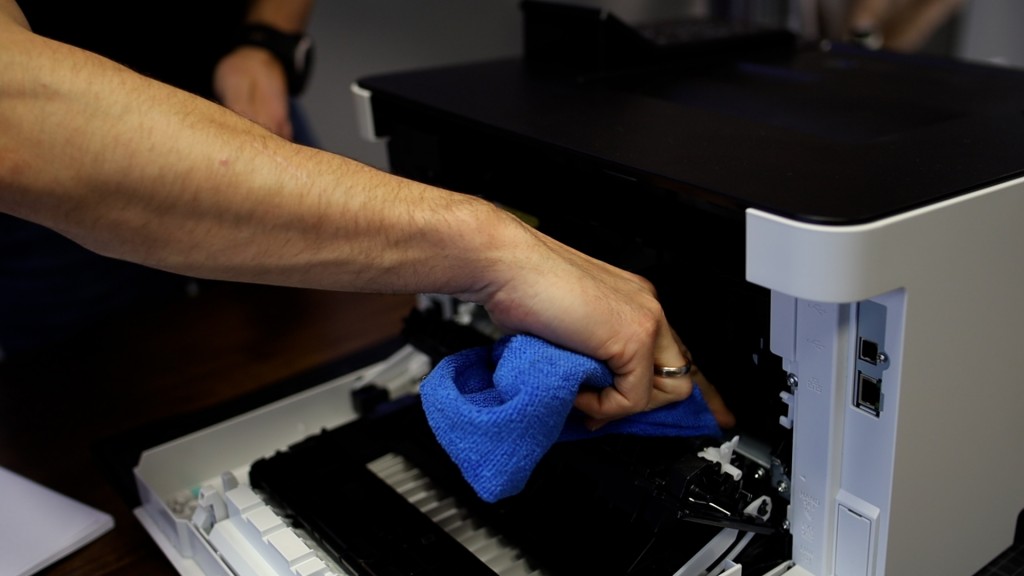
Just take a cloth and clean any dirt, dust or speckles of toner from the cartridges tray.
When cleaned, you can just reinsert your toner cartridges.
If at any point, some of the toner powder leaks on your table, just wipe it away with a
cloth or you could vacuum clean it.
Do not use water to clean or remove spilled toner powder!
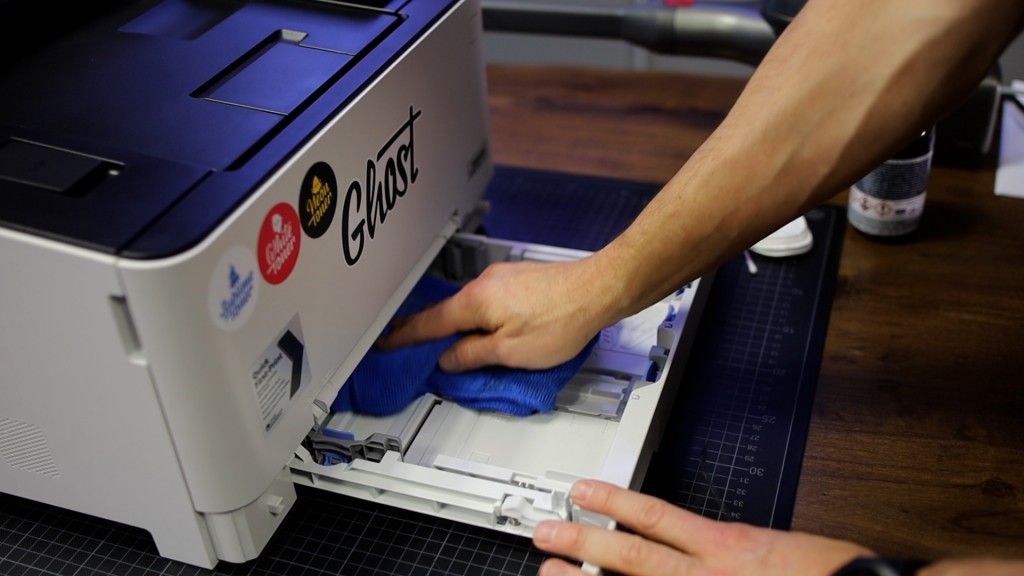
Remove your paper in the paper tray and take out the tray.
If there is any dust or spackles of toner just clean it again with a cloth.
This little black pat can be cleaned with pharmaceutical alcohol to get a better paper pick up.
Put some alcohol onto a little sponge and tap it on the black pat to refurbish it.
This we will also do on the pick-up roller, which will help the paper pickup tremendously.

Turn the printer over so you are looking at the bottom of the printer. Here you will
see the grey gummy pick-up roller. Remove the manual paper tray by sliding it out to
get better access to the pick-up rollers.
These rollers pick up the paper when it is transported. Also pat these with some
pharmaceutical alcohol, which will make them a bit darker.
Slide the manual paper tray back in, turn the printer back around and reinsert the
other paper tray back. There is not much to clean on the back of the printer. This is
the area where you would be able to remove any paper jams.
From here you can see the transfer belt, which you will not clean.
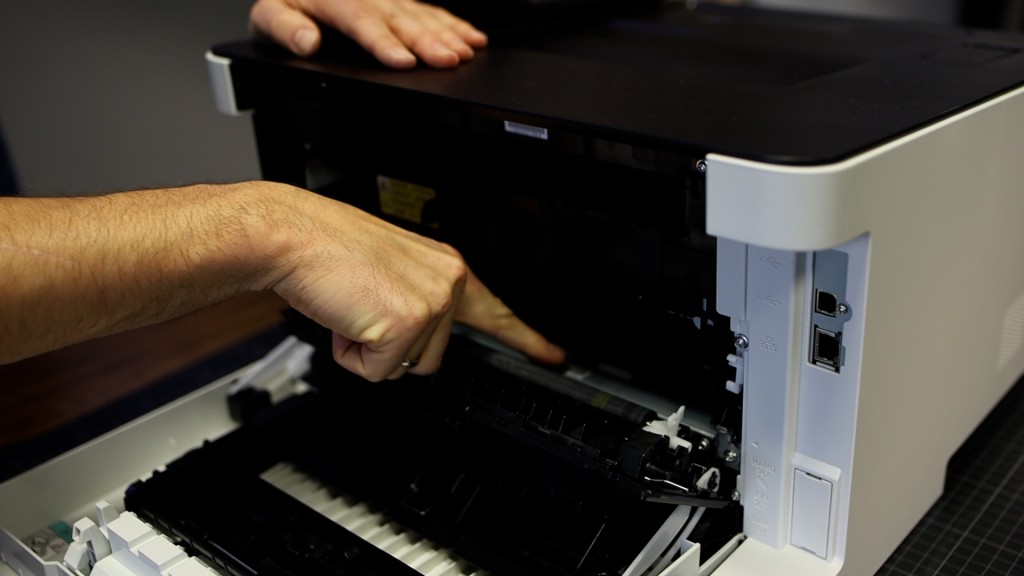
If there would be some excess toner in this area, take a cloth and wipe it gently,
or if you have some more toner, vacuum it without touching the printer!
When everything is nice and clean, close the printer again. Now the last steps,
performing the ITB and the Fuser transfer cycle on the software.
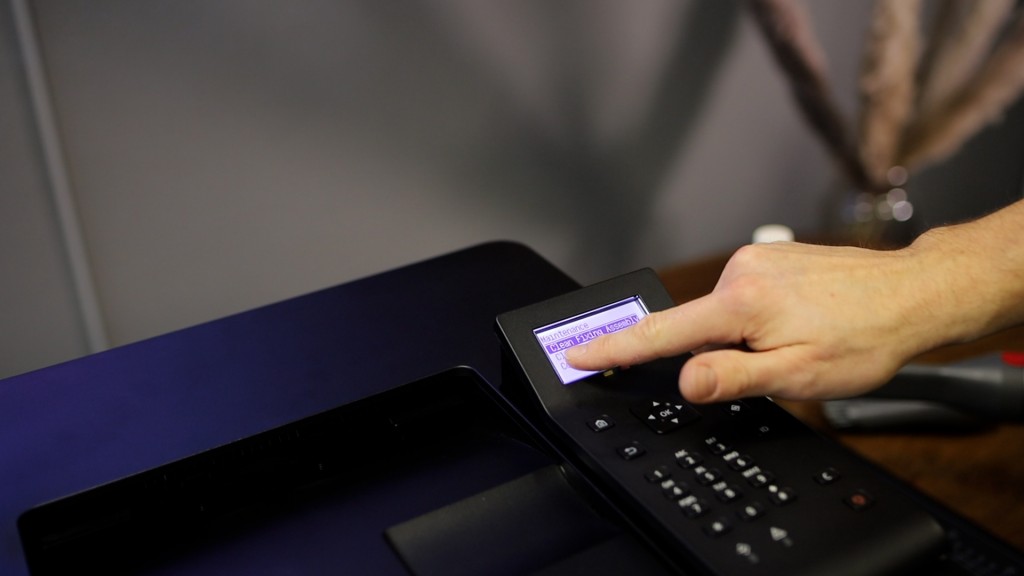
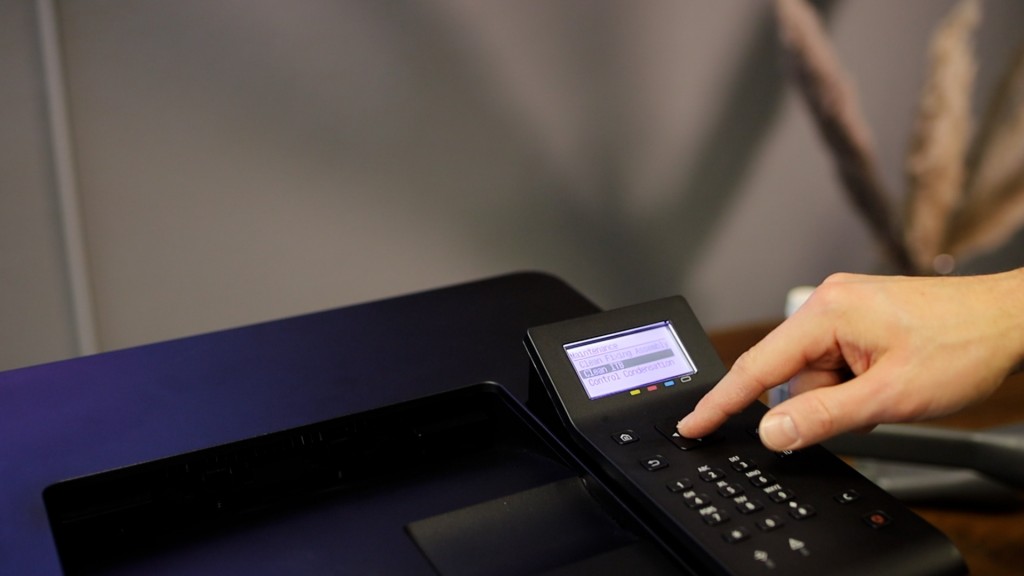
Doing a cleaning cycle “Fixing ASSY”
Reconnect the printer to the powersource and to the network. Then perform
the ITB and the Fuser transfer cycle on the software.
MENU–> ADJUSTMENT MAINTENANCE –> MAINTENANCE –> CLEAN FIXING ASSEMBLY
Insert some standard copy paper in the paper tray and press OK.
It will have a sheet of paper move very slowly several times through the fixing assembly.
This will remove excess toner and excess paper. Most dust and dirt inside the printer
doesn´t come from the toner but from the paper. Paper contains a lot of dust, especially
uncoated papers, which does stuck into the printer
Doing a second cleaning Circle: Cleaning the “ITB” (the intermediate transfer belt)
Do not re-use the paper. Take a new copy paper and put it in your printer. The printer
will perform the same process and ensure that all excess toner, excess prints and the like
are removed from the transfer belt.
MENU –> ADJUSTMENT MAINTENANCE –> MAINTENANCE –> CLEAN ITB –> START