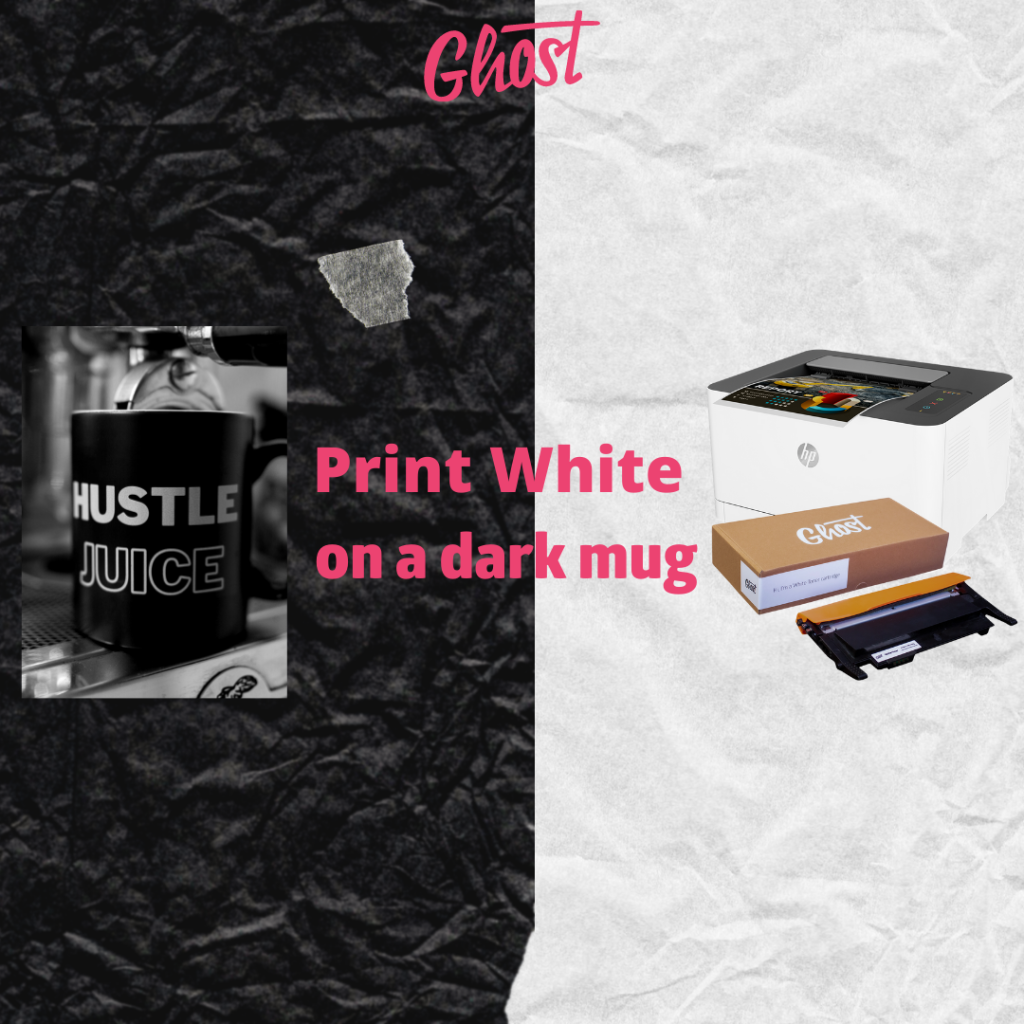
Print White on a Dark Mug: A Step-by-Step Guide with Ghost White Toner
Looking to print white on a black coffee mug? Ghost has made it easier than ever. With our innovative Ghost White Toner and Ghost Transfer foils, you can create custom designs on a variety of substrates without needing professional printing equipment. Whether for personalized gifts, promotional items, or marketing purposes, Ghost White Toner ensures your designs stand out.
In this blogpost we’ll show you how to easily print white on a black coffee mug with Ghost.
Ghost has been enabling users to print custom white on various substrates for years. In combination with Ghost Transfer foils, this is easy, effective and possible even for short runs.
Enjoy the following content!
Printing mugs with HP Color Laser 150 and Ghost White Toner
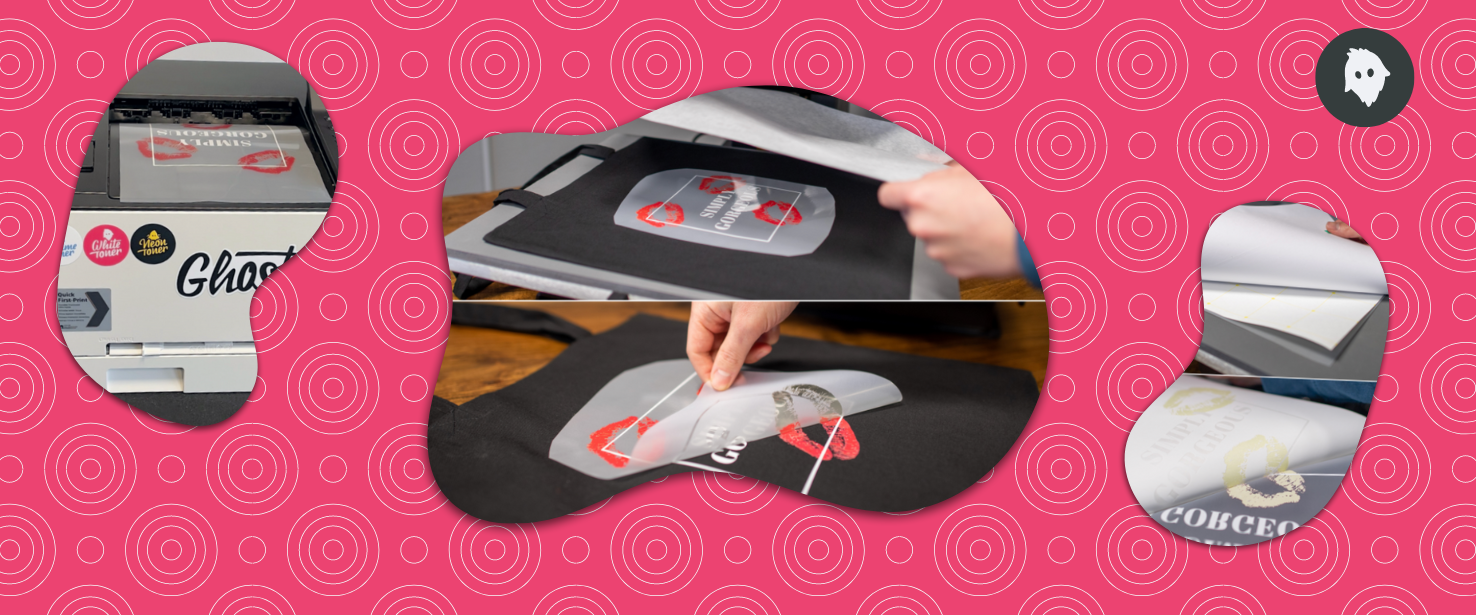
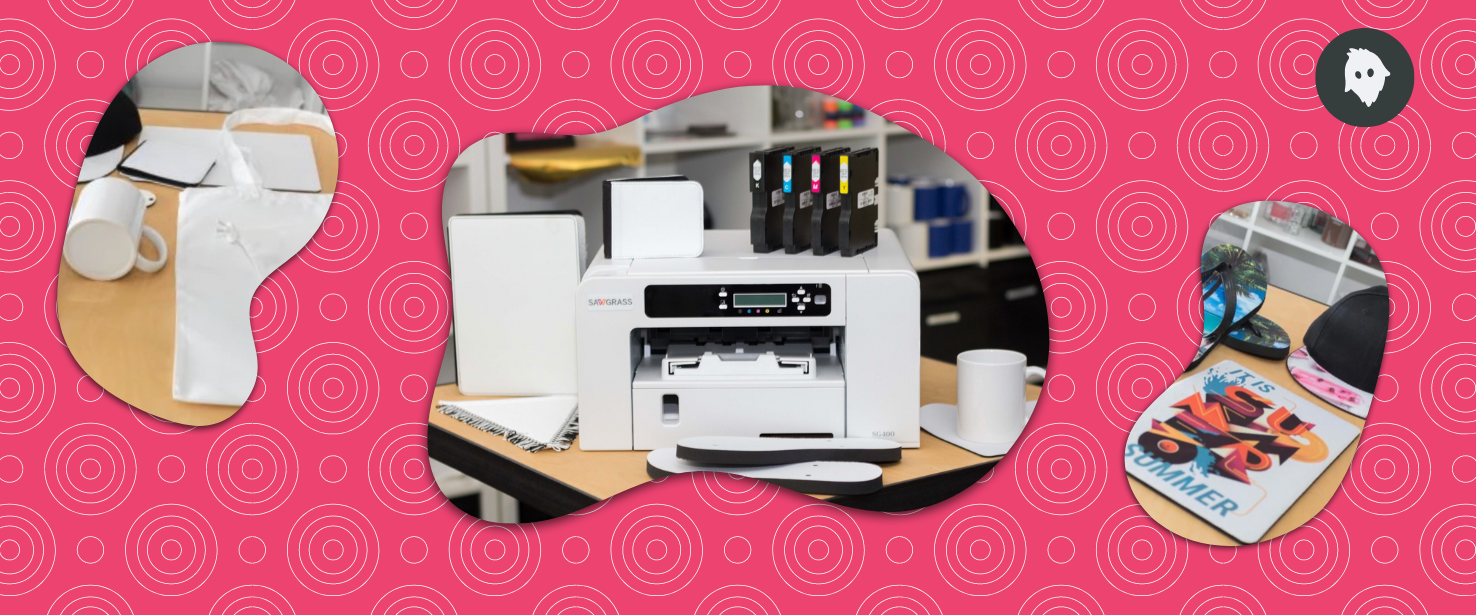
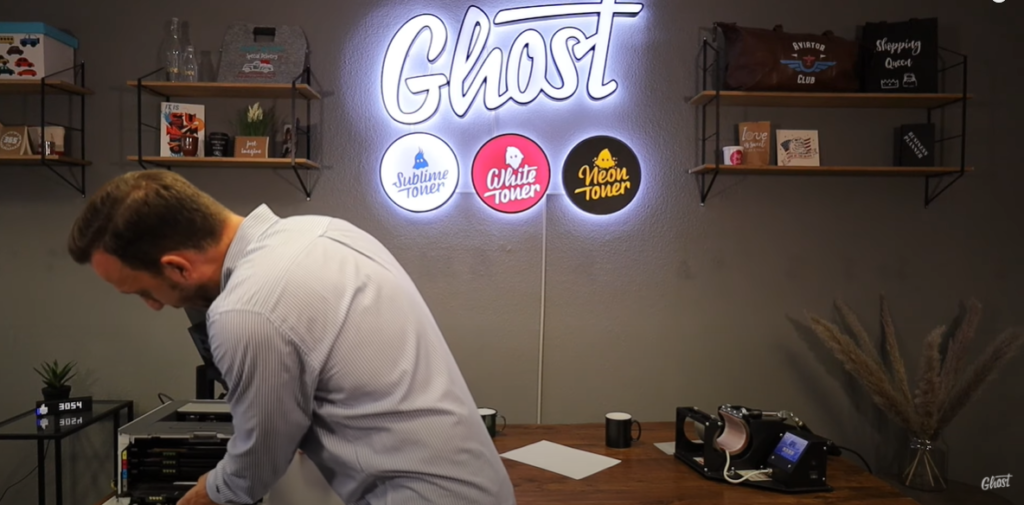
Mugs, cups, bottles and glasware are popular items as personalized gifts and presents as well as for marketing purposes. Printing small runs of these items with custom designs does not require expensive equipment, nor do you need to be a professional printer. With Ghost White Toner and Ghost Multitrans hard surface transfer media, you can print products like mugs or bottels, glassware and metal right from your home or office. You will just use your standard office laser printer and a Ghost White Toner Cartridge. Swap the black Toner inside your printer for a Ghost White Toner and you can print in white. This video will show you a quick and easy tutorial on how to create your design, print it on Multitrans transfer media, and transfer it to a black mug. By following the instructions in this video, you’ll be creating extraordinary products and gifts in no time.
Why Choose Ghost for Printing White on Dark Mugs?
Ghost White Toner has revolutionized the way we print on dark surfaces. With a standard office laser printer and a Ghost White Toner Cartridge, you can print on mugs, cups, bottles, glassware, and even metal. Here’s how you can get started:
Equipment You’ll Need
- Ghost Printer (e.g., Mini Ghost, Little Ghost)
- Ghost White Toner Cartridge
- Multitrans Paper
- Mug Press
- Silicone Mat
- Heat-Resistant Tape
Step-by-Step Tutorial: Printing White on a Black Mug
1. Insert the Ghost White Toner
Start by replacing your printer’s black toner with the Ghost White Toner. Once installed, the printer will initialize and be ready for use.
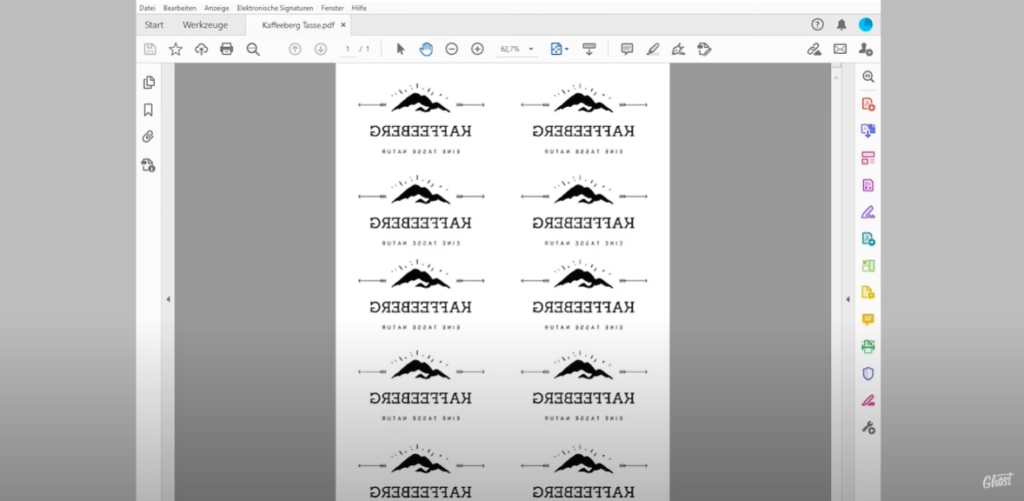
2. Prepare Your Print Settings and Paper
- Insert a sheet of Multitrans Paper into the printer.
- Open your design file in PDF format, ensuring it is 100% black.
- Select black/white (grayscale) printing, mirror the design horizontally, and choose the “photo paper high gloss” or a similar setting.
3. Print Your Design
Click “Print” and the Multitrans Paper will come out with your white print. Preheat your mug press to 140 degrees Celsius.

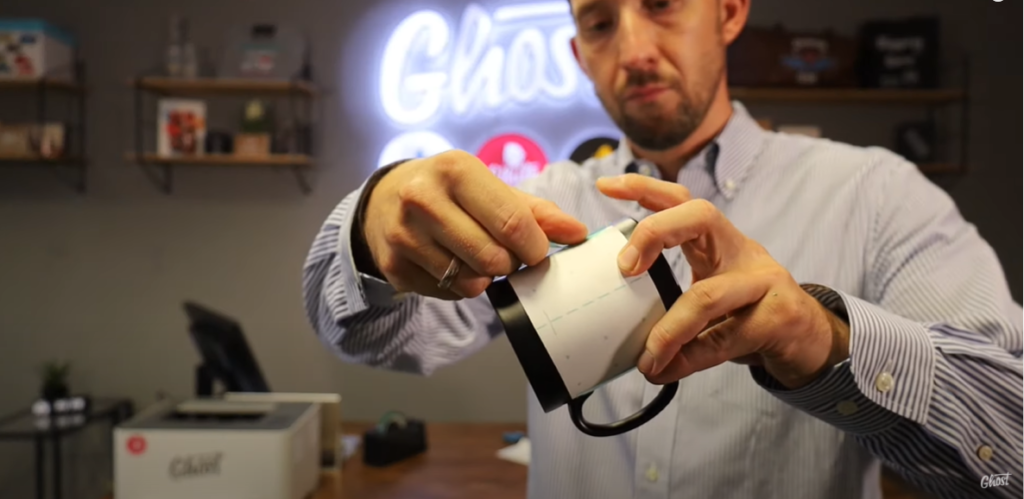
4. Prepare the Mug
- Cut out your design from the Multitrans Paper.
- Use heat-resistant tape to stick the printed side onto the mug.
- Place a silicone mat over the design for extra protection.
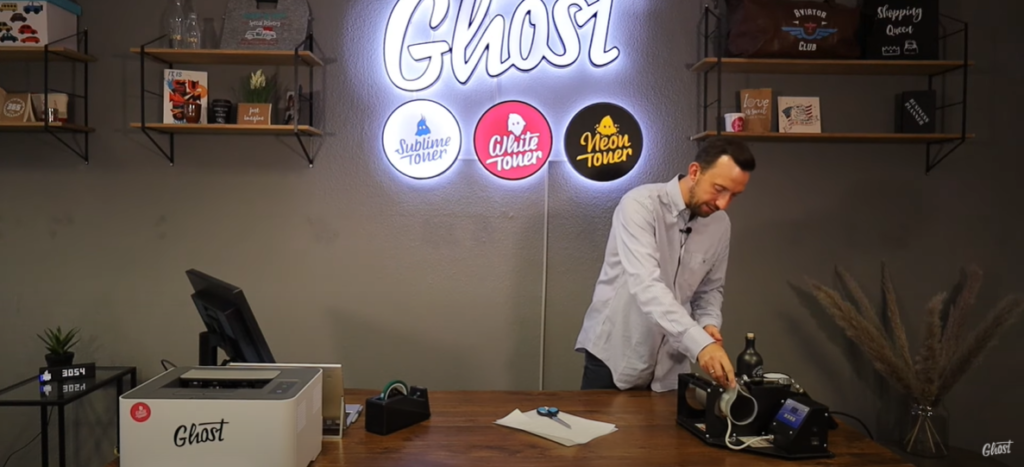
5. Press the Mug
- Place the mug in the preheated mug press.
- Close the press with high pressure and heat for 3 minutes.
- Remove the mug immediately after pressing.
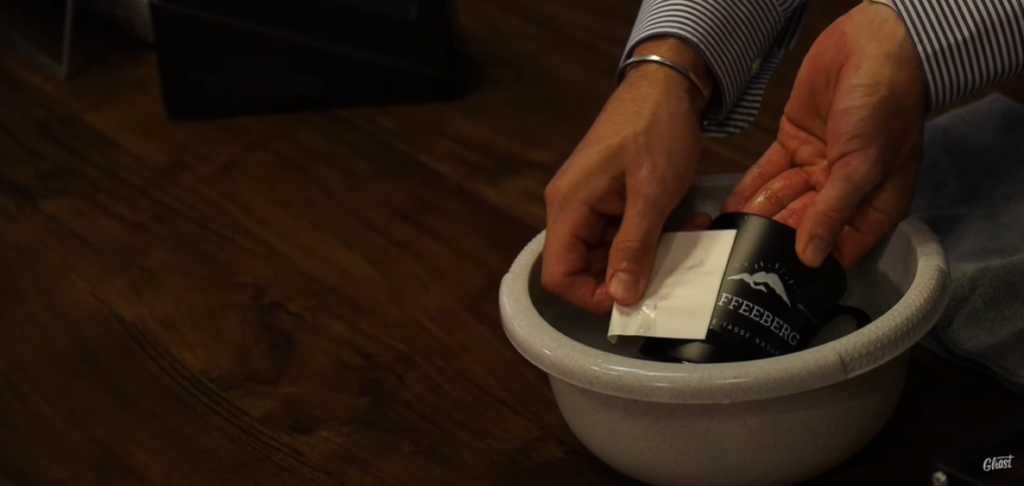
6. Cool Down and Peel
Allow the mug to cool completely. Slowly and evenly peel off the Multitrans Paper under cold water.
7. Final Steps for Durability
To ensure the print’s durability, heat the mug in an oven or microwave for a few minutes.

Create Extraordinary Products at Home
With Ghost White Toner, creating unique and personalized mugs is simple and effective. Ready to get started? Explore our range of white toner printers and printer bundles today and start making your designs come to life.
For more detailed instructions, watch our tutorial video on YouTube.