Little Ghost – Mug Transfer Bundle
Make your Easter mugs yourself: This bundle is your complete solution for mug printing with White Toner — including a mug press and everything you need for the transfer (except mugs).
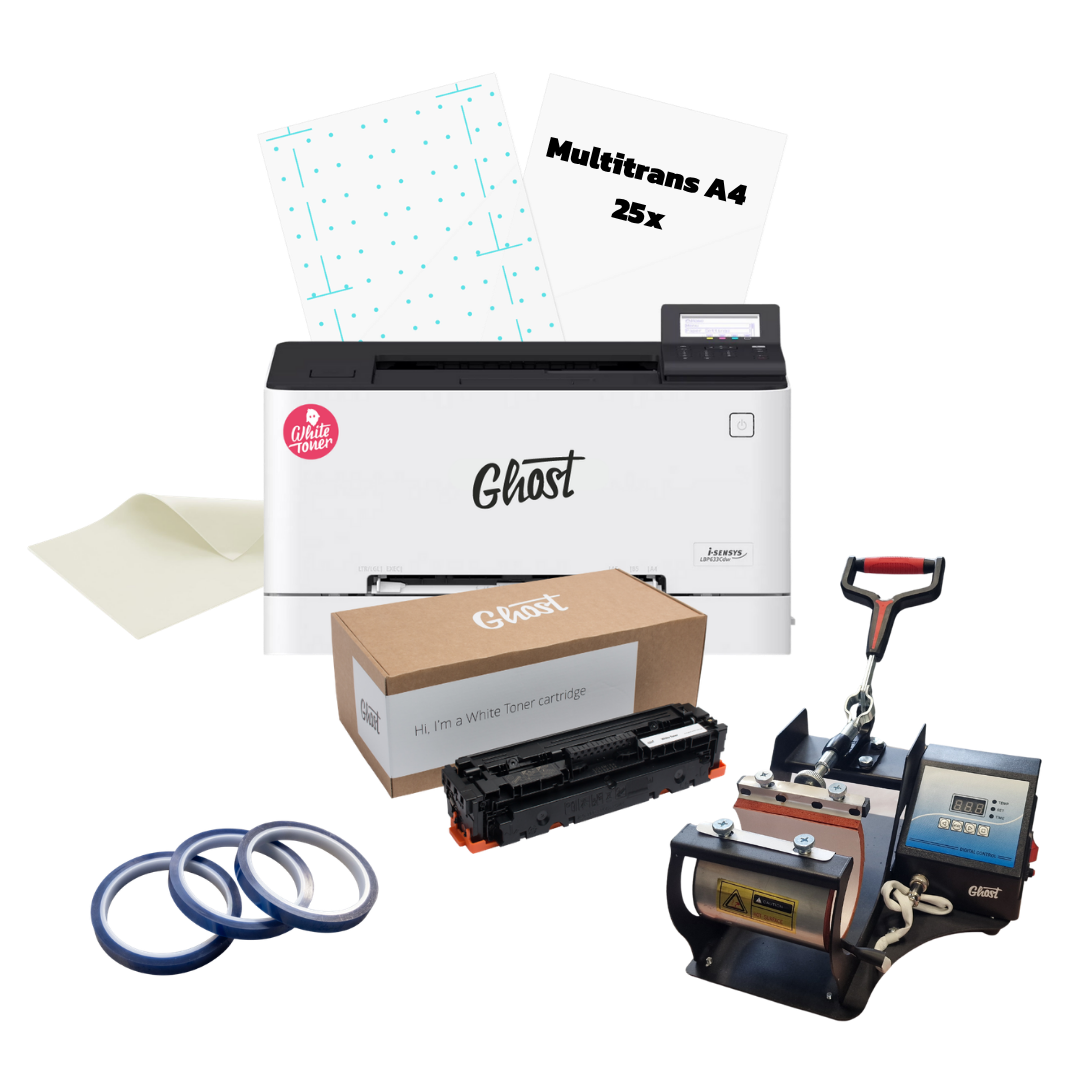
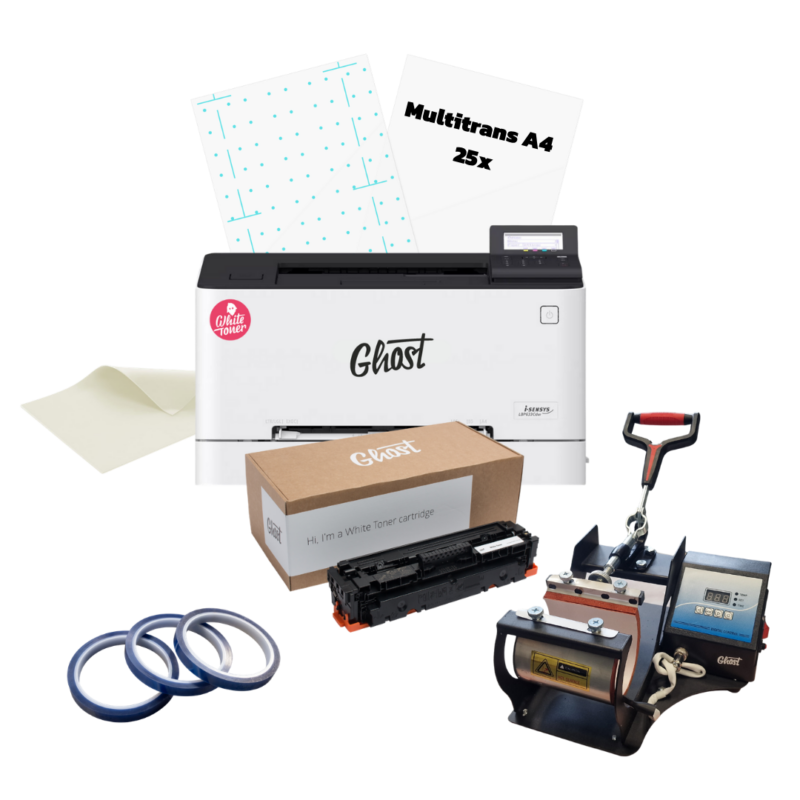
What you get (bundle contents)
- Little Ghost (A4 White Toner printing system), your base for White Toner printing and creative applications.
- 4-in-1 Mug Press, for printing mugs (and similar drinkware) in different sizes/forms.
- MultiTrans A4 (25 sheets), transfer media for hard surfaces such as mugs. Depending on your design size, you’ll typically fit at least ~6 motifs on one A4 sheet — making the transfer cost per piece very affordable, because you can produce multiple designs at once.
- Silicone Mat, required for a clean transfer in the mug press: helps ensure even pressure and a reliable, clean result.
- FREE included: Heat Tape, securely fixes your design so nothing shifts during pressing.
What’s included with the Little Ghost?
The Little Ghost package includes:
- Little Ghost white printer Canon iSensys LBP633cdw
- Ghost White Toner Cartridge (1,350 pages*)
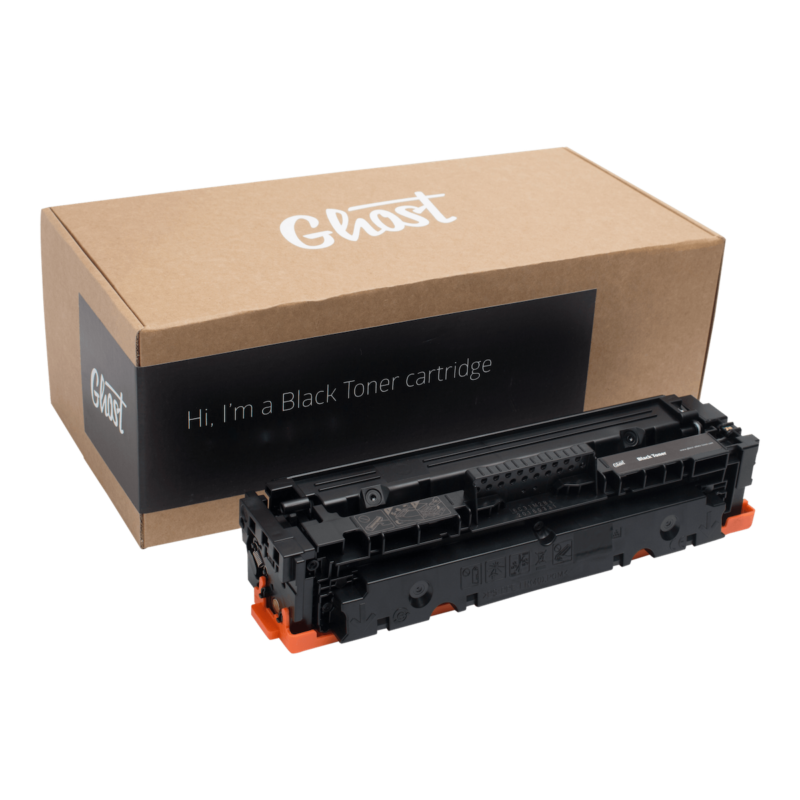
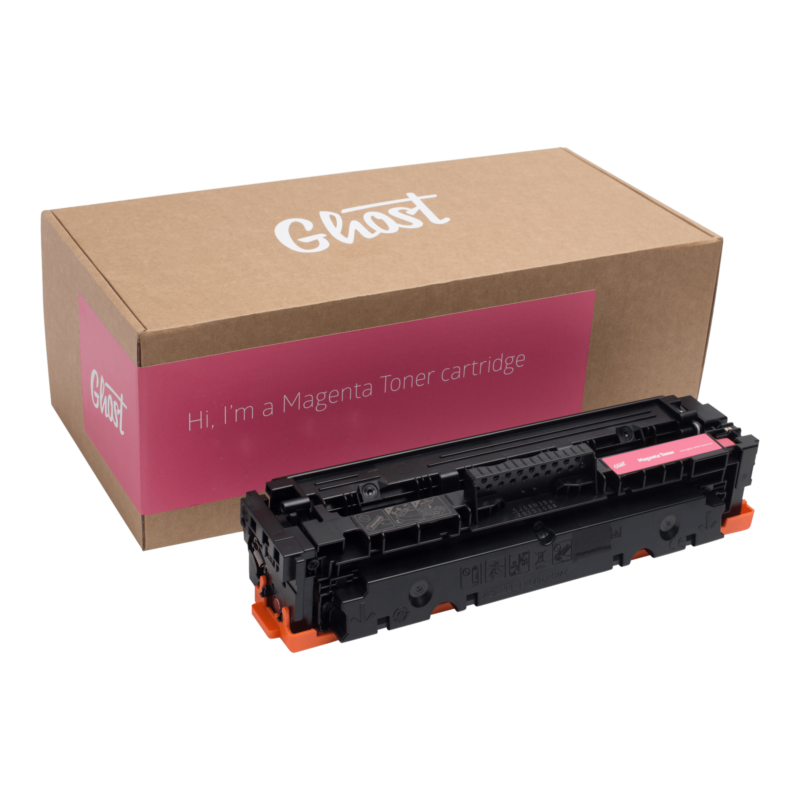
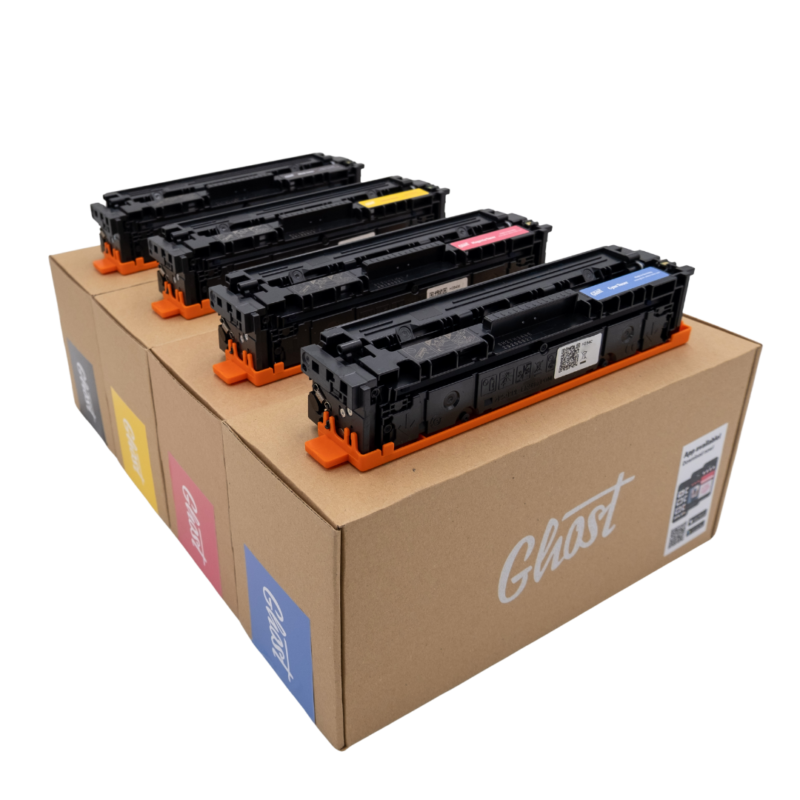
- Starter toner set* (Cyan, Magenta, Yellow, Black**)
- Logo sticker
- Includes Ghost support package
*The stated page yield/capacity is calculated by pixels and based on 5% coverage per page for toner cartridges.
**Starter cartridges included: Black approx. 910 pages and Cyan/Magenta/Yellow approx. 680 pages.
What you can do with it
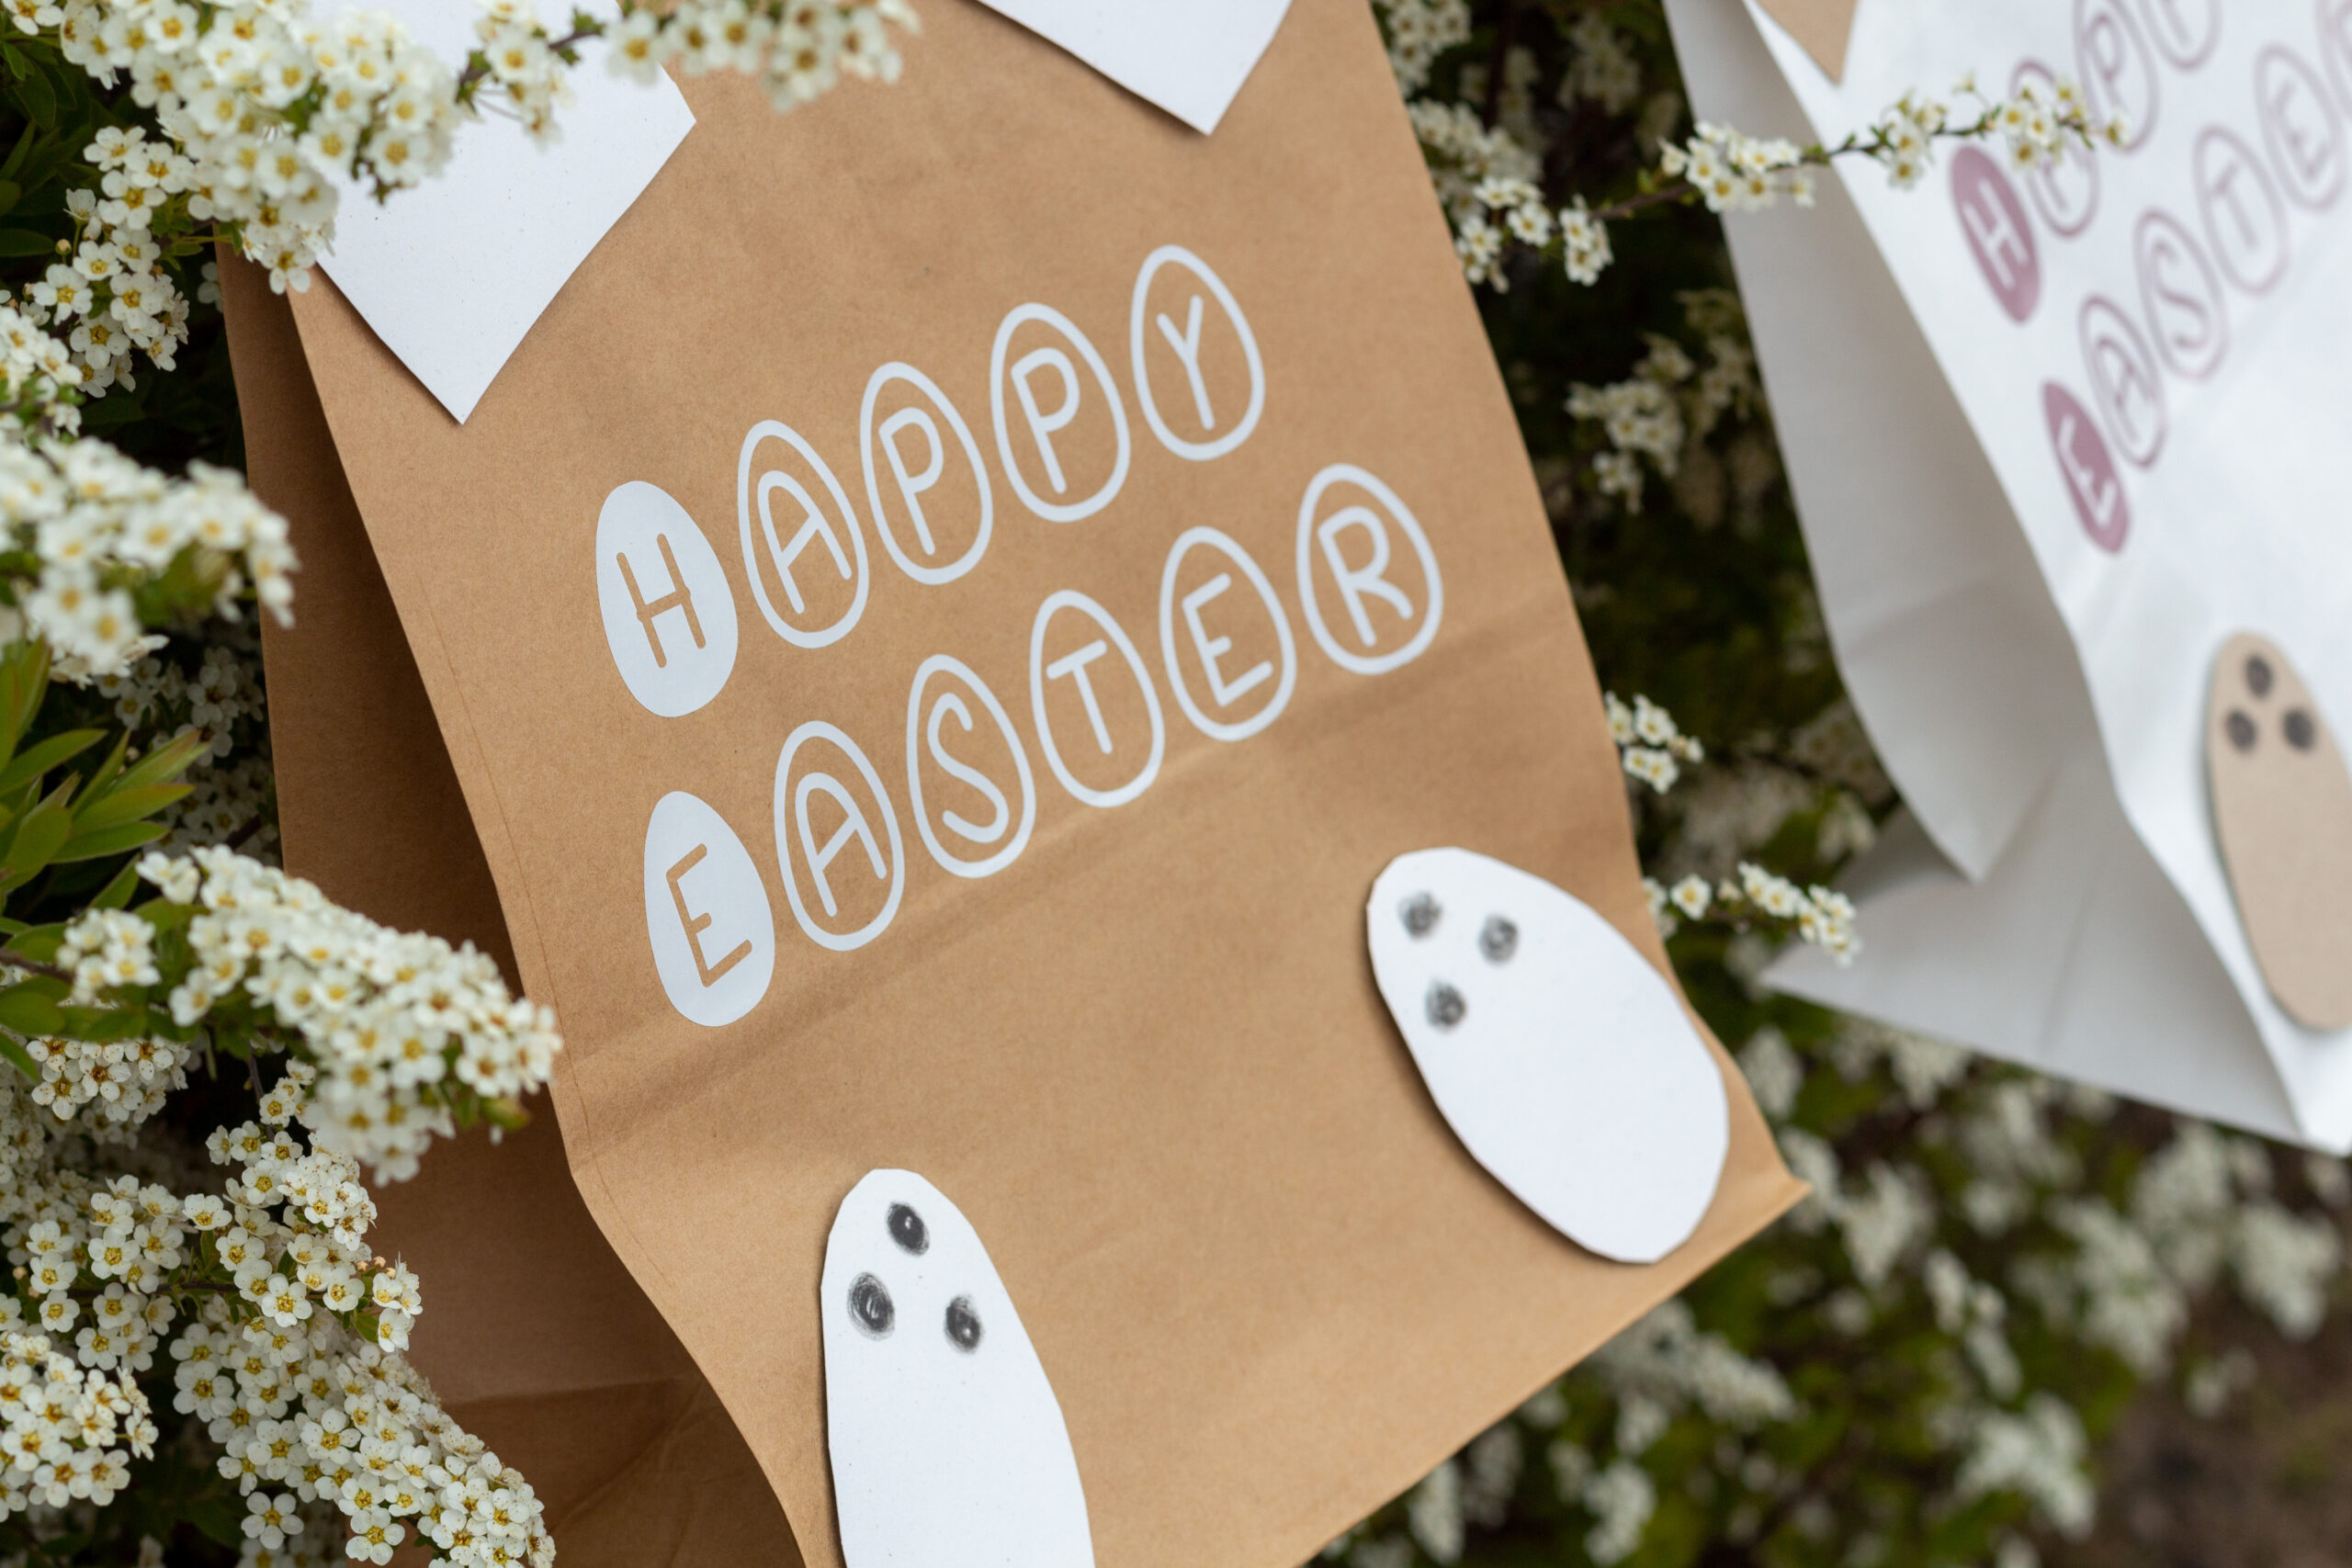
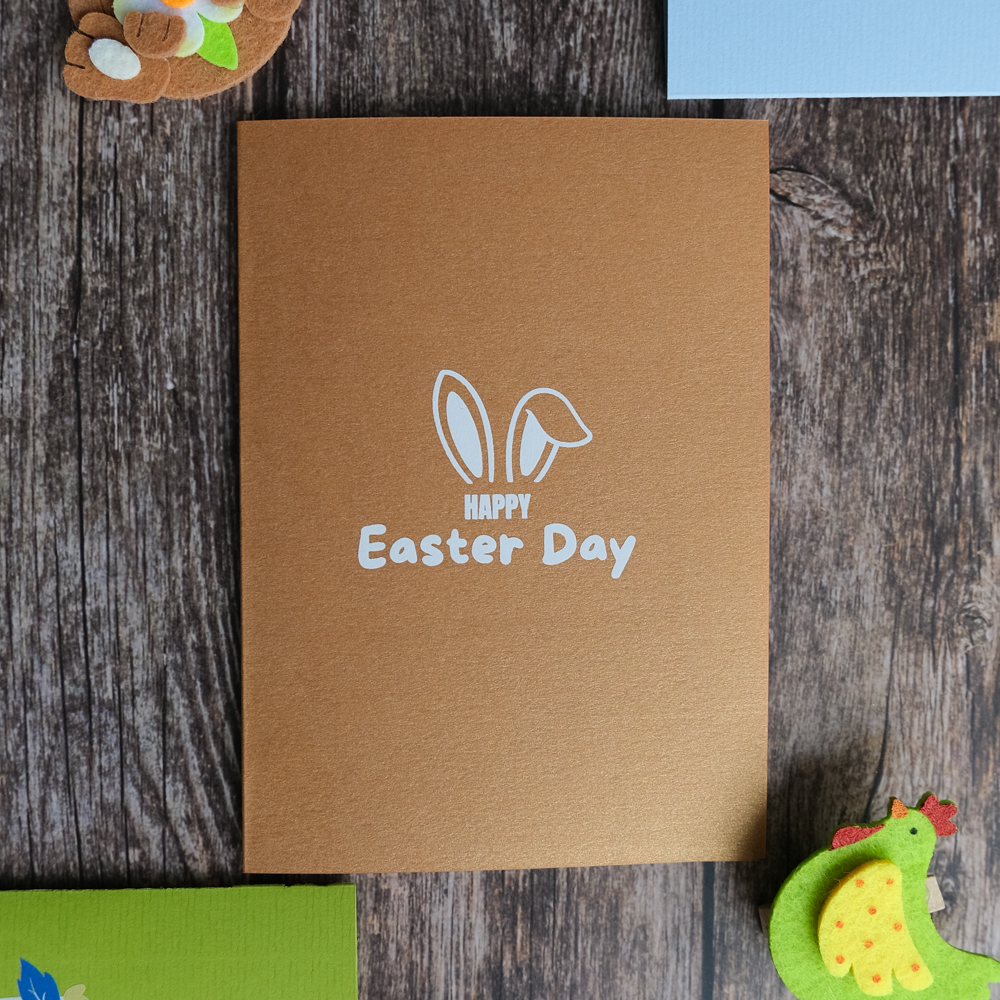
- Personalized Easter mugs (names, quotes, designs, small batches)
- Gifts & merchandise for family, team, customers, or your shop
- Pure white on colored & dark mugs: With the White Toner system you can print designs in strong, opaque white, perfect for colored or dark mugs when you want maximum contrast.
How it works (simple step-by-step)
- Create your design (e.g., lettering/illustration)
- Print directly onto MultiTrans A4 with the Little Ghost
- Roughly cut out the design (no need for perfect precision — just make it manageable)
- Fix it on the mug using Heat Tape (included for free)
- Wrap the silicone mat around the mug (for a clean, even transfer in the press)
- Place it in the 4-in-1 mug press and press
- Let it cool down, if you’re in a hurry, you can briefly place it in the fridge or freezer
- Peel off under water — done!
Important: What you still need
- Mugs/blanks (not included)
Financing & payment options
You can finance your bundle or pay flexibly using easyCredit, PayPal, Klarna, or Amazon Pay. You can select your payment method on the product page, in the cart, and at checkout. Eligibility checks, calculations, and available installments are determined by the payment provider.
Who this bundle is for
- Beginners who want a true “everything-in-one” solution (no guessing, no piecing together products)
- Makers & creatives who want to produce Easter gifts/small batches quickly
- Small businesses that want to offer mugs as a product or giveaway
How to print on a mug using White Toner
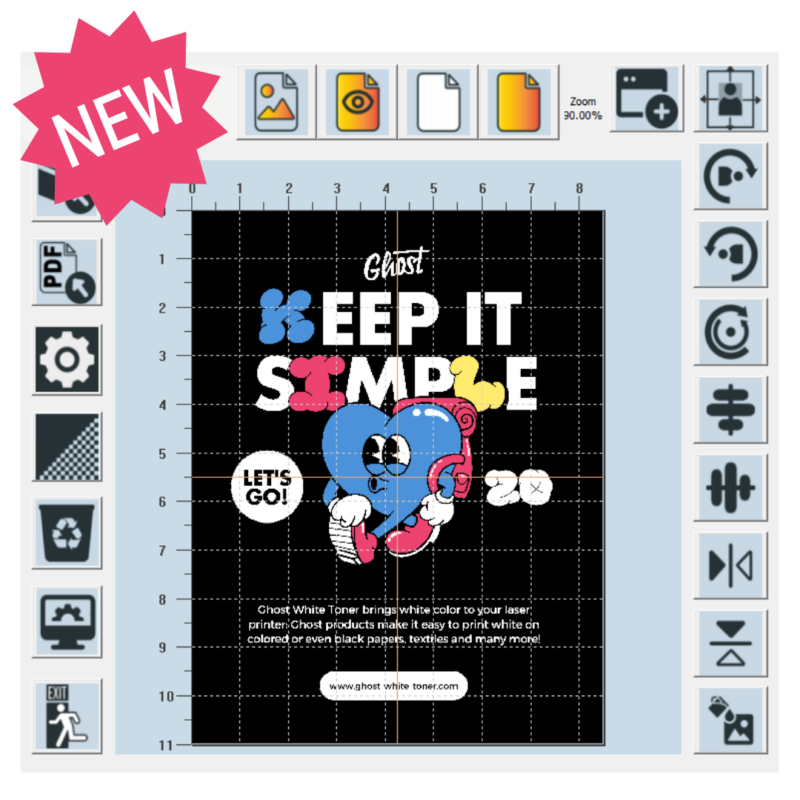
Image 1 – Create the design & export as a PDF
Create your design in a program of your choice (e.g., Canva). Set all elements to 100% black, then export the file as a print-ready PDF.
Image 2 – Open the PDF in Acrobat Reader
Create your design in a program of your choice (e.g., Canva). Set all elements to 100% black, then export the file as a print-ready PDF.
Image 3 – Print the PDF & set print settings
Print the PDF and, in the print preview, select: Grayscale, Mirrored, and Paper Type: Coated 3. Then print.
Image 4 – Multitrans comes straight out of the printer with white print
Within a few seconds, the Multitrans is fed out of the printer with a pure white print.
Image 5 – Trim the design & secure it on the mug
Roughly cut out the design, position it on the mug, and secure it with heat-resistant tape so nothing shifts.
Image 6 – Place the mug in the press with a silicone mat
Place the mug into the mug press wrapped with a silicone mat so the print is pressed evenly and securely.
Image 7 – Press: 140°C for approx. 3 minutes
Close the mug press and press the mug at around 140°C for about 3 minutes.
Image 8 – Remove & let it cool completely
Take the mug out of the press and let it cool down completely. If you’re in a hurry, put it in the freezer briefly.
Image 9 – Soak the mug
Place the cooled mug in water or hold it under running water. Let it soak briefly so the carrier film releases more easily.
Image 10 – Carefully peel off the Multitrans/foil
Peel off the foil carefully and evenly.
Image 11 – Reveal the design cleanly
Work slowly until everything is fully removed and the design sits cleanly on the mug.
Image 12 – Done!
And that’s it, your mug is finished. This is how you can quickly and easily customize dark mugs with white prints using Ghost White Toner.
How to print on a mug using White Toner
Image 1 – Create the design & export as a PDF
Create your design in a program of your choice (e.g., Canva). Set all elements to 100% black, then export the file as a print-ready PDF.
Image 2 – Open the PDF in Acrobat Reader
Create your design in a program of your choice (e.g., Canva). Set all elements to 100% black, then export the file as a print-ready PDF.
Image 3 – Print the PDF & set print settings
Print the PDF and, in the print preview, select: Grayscale, Mirrored, and Paper Type: Coated 3. Then print.
Image 4 – Multitrans comes straight out of the printer with white print
Within a few seconds, the Multitrans is fed out of the printer with a pure white print.
Image 5 – Trim the design & secure it on the mug
Roughly cut out the design, position it on the mug, and secure it with heat-resistant tape so nothing shifts.
Image 6 – Place the mug in the press with a silicone mat
Place the mug into the mug press wrapped with a silicone mat so the print is pressed evenly and securely.
Image 7 – Press: 140°C for approx. 3 minutes
Close the mug press and press the mug at around 140°C for about 3 minutes.
Image 8 – Remove & let it cool completely
Take the mug out of the press and let it cool down completely. If you’re in a hurry, put it in the freezer briefly.
Image 9 – Soak the mug
Place the cooled mug in water or hold it under running water. Let it soak briefly so the carrier film releases more easily.
Image 10 – Carefully peel off the Multitrans/foil
Peel off the foil carefully and evenly.
Image 11 – Reveal the design cleanly
Work slowly until everything is fully removed and the design sits cleanly on the mug.
Image 12 – Done!
And that’s it, your mug is finished. This is how you can quickly and easily customize dark mugs with white prints using Ghost White Toner.